

Design
I like to get my early designs into metal as soon as possible and often ideas present themselves when sketching directly in metal. This kind of experimentation (or play) allows you to go back to basics and challenge the accepted way of doing things. Of course there is a perfectly good reason for jewellery looking the way it does traditionally and its perfection and uniformity is admired for good reason.
But what about devolving it and maybe even finding some new, or at least unusual, ways of doing things before turning the perfection dial up again? If you are interested in finding out more about my design philosophy check out the blog and about pages.
You can get a taster of how I look at things in "The Seven Links Experiment" in the article below. Or, just browse my metal sketches and prototypes and find something you'd like me to make for you using the buttons below:
Seven Links - A Quick Experiment
Experimentation is important. A design comes to mind and is maybe explored and refined through sketching but it cannot be fully tested until it exists. How do you know about the mechanics of a link and how it feels to wear without making and wearing it? This leads to a lengthy process if every concept that you have has to be fully realised before you can see whether it is up to the task.
The whole process will be sped up with the evolution of 3D metal printing. But, although I love technology I find myself drawn to the cause of the hand-made, where every component is the same but different. It is thinking about the inevitability of a world where a design is thought, 3D templated and printed that I find myself wanting my work to be more nuanced. This requirement for nuance should never be licence for imperfection but rather an acknowledgement of the need to explore the gaps where, I personally hope, it will not be cost effective for technology to reach. Otherwise where does that leave us, the makers?
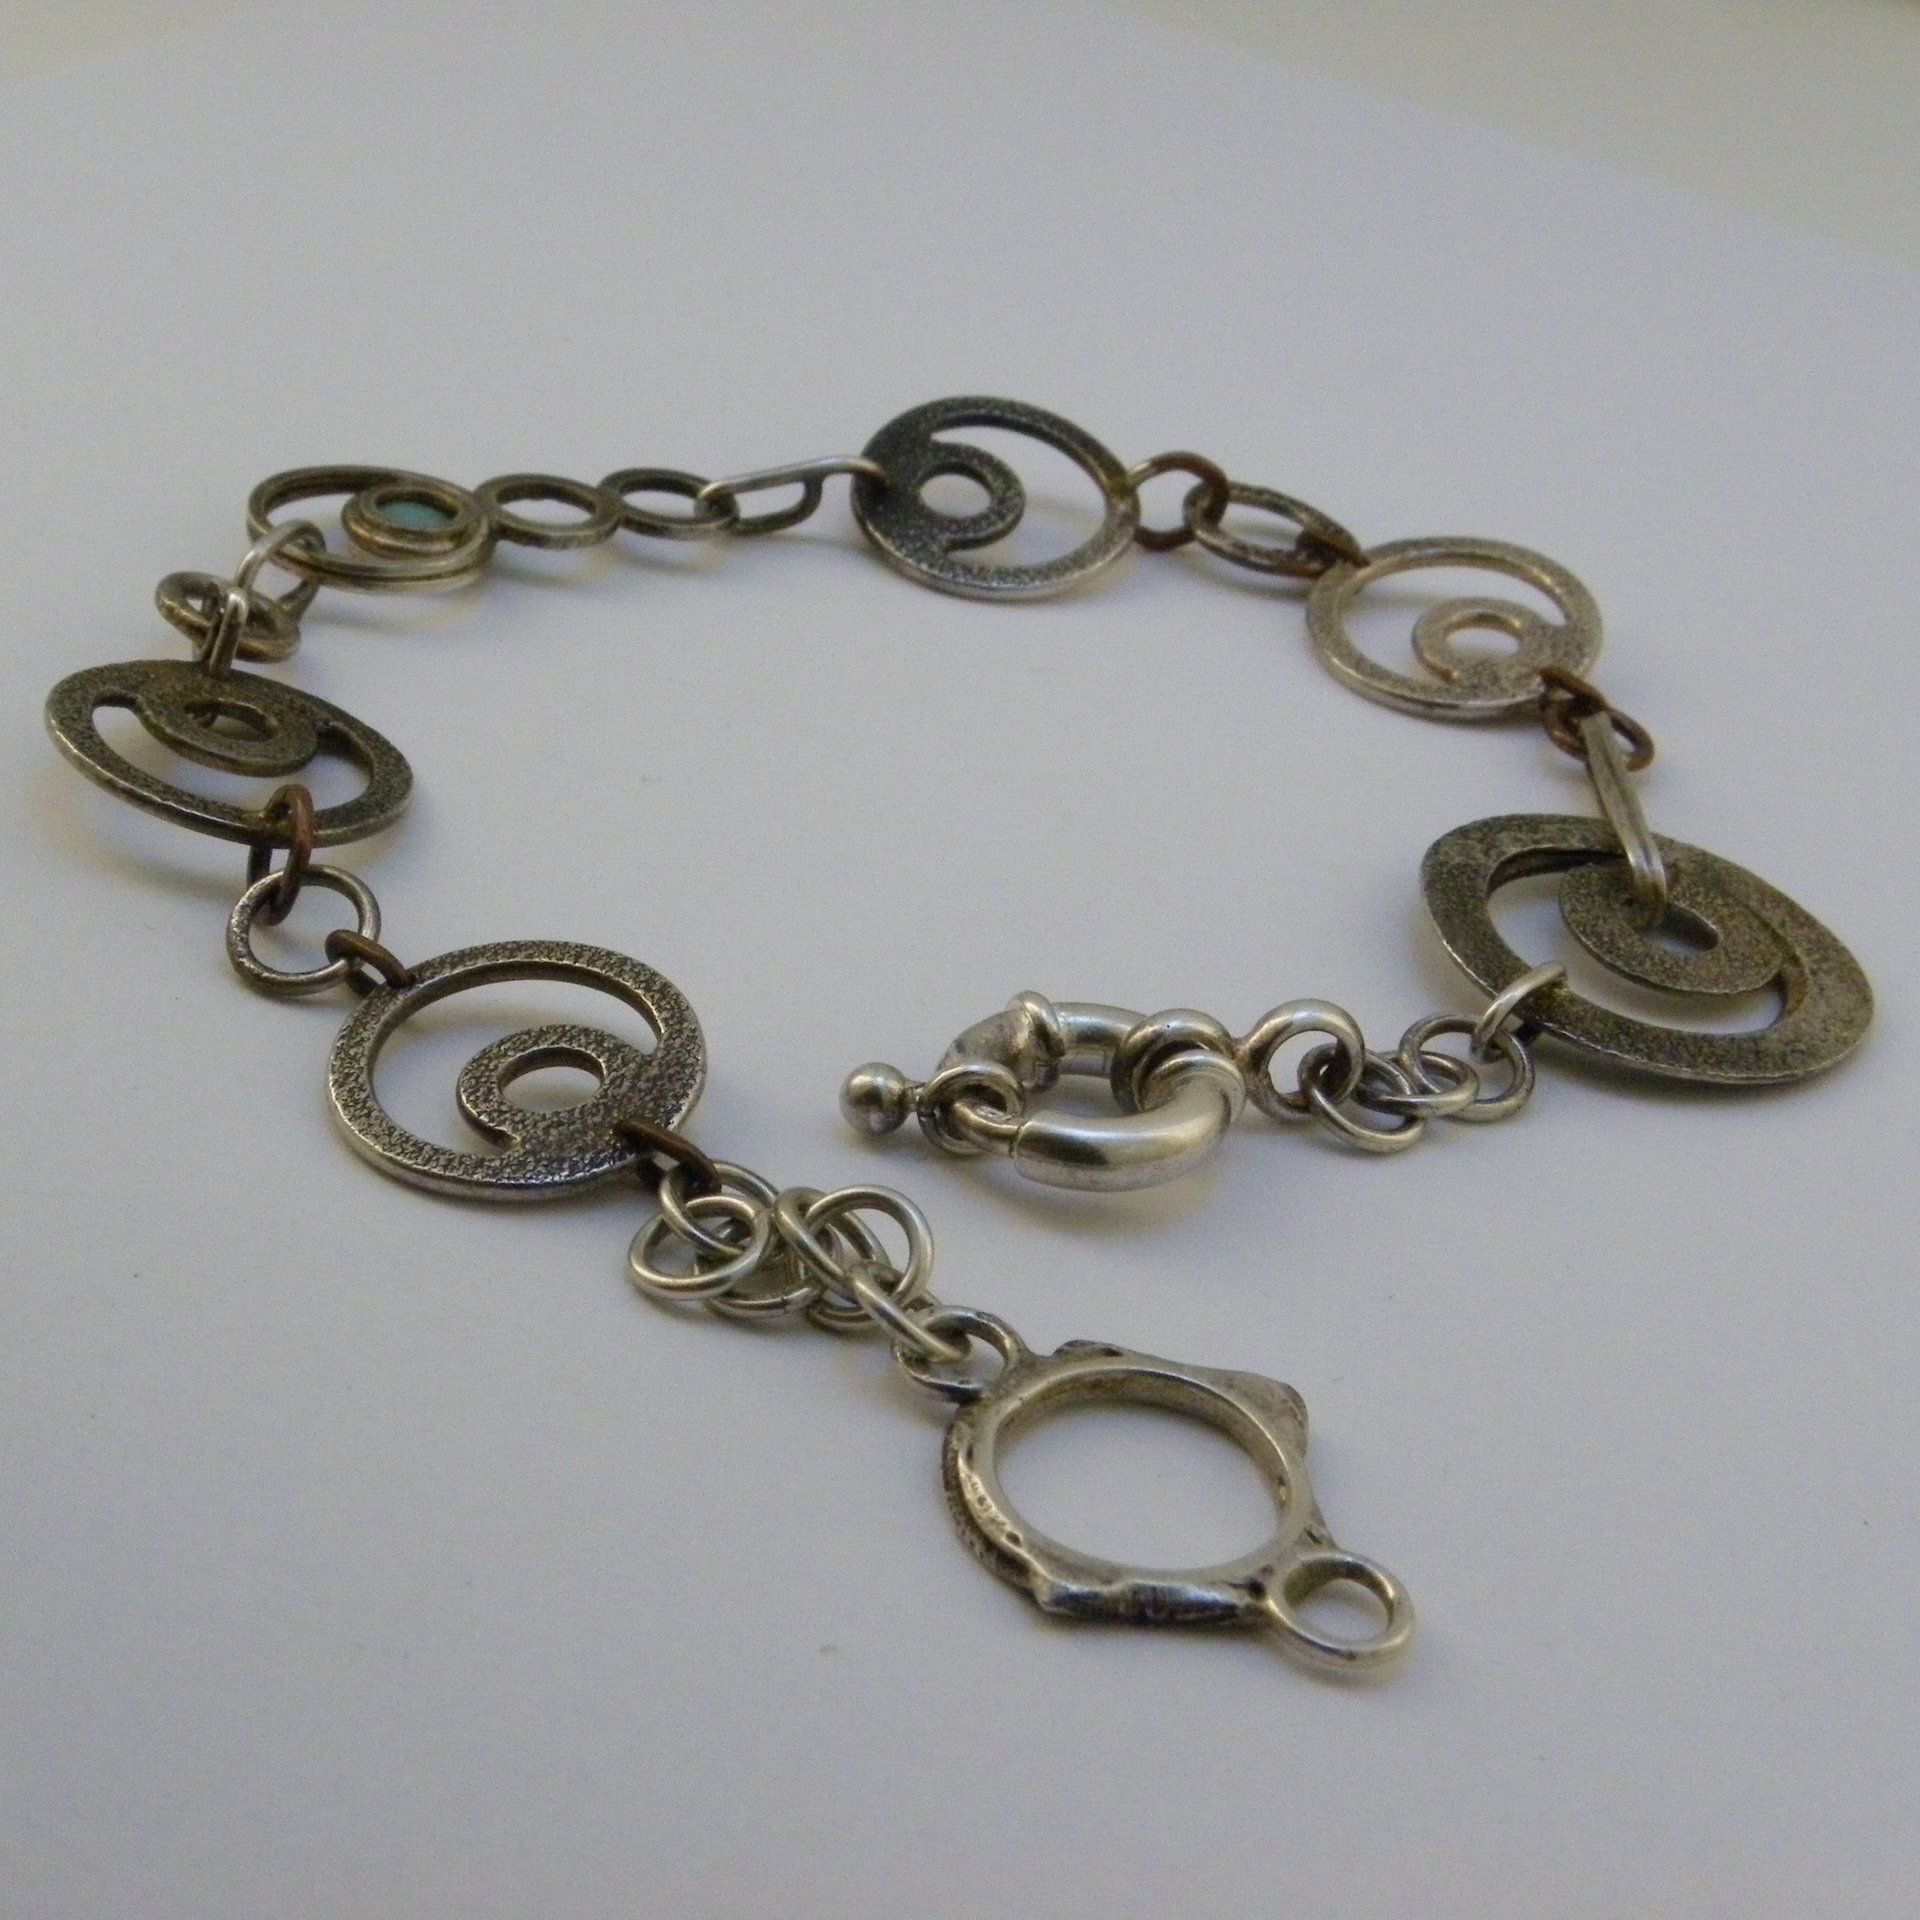
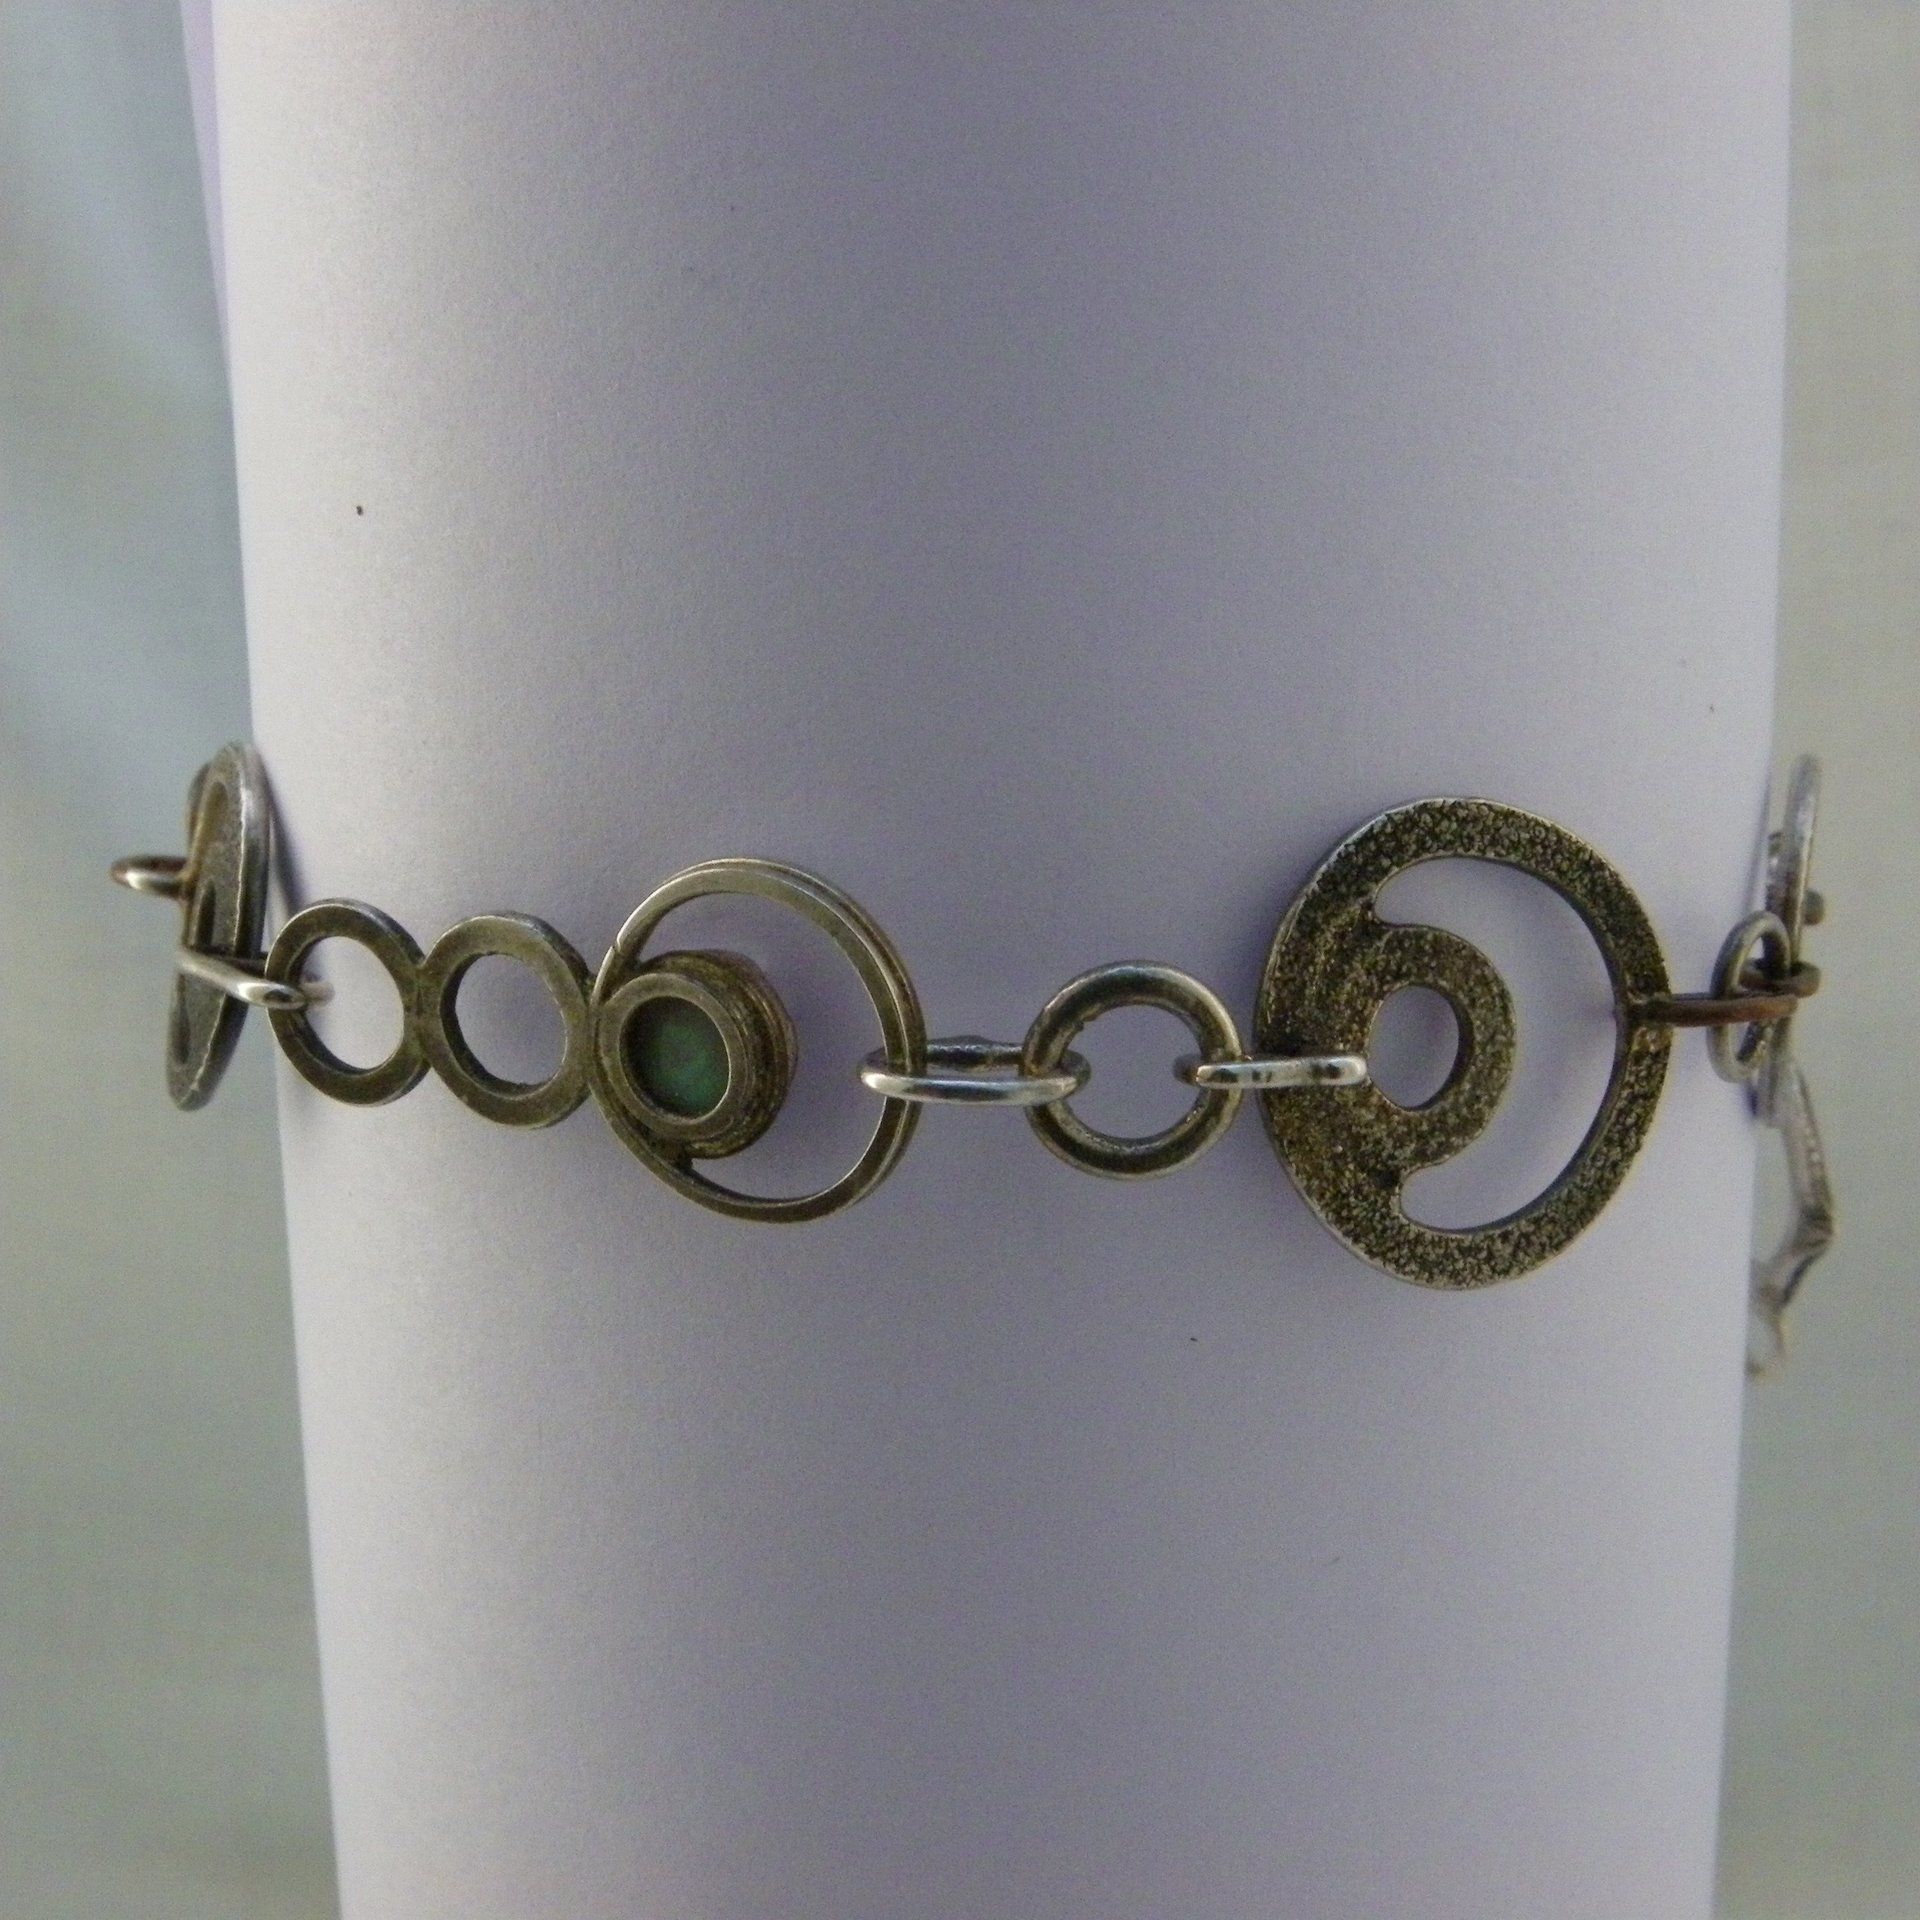
In the galleries below I show “The Seven Links” experiment that I set for myself in order to create new types of links without any external reference. It was me at play in my workshop with an audiobook in my ears. One of my favourite places to be. Boundaries are required though. A limitless horizon of possibilities is daunting. You must have achievable purpose. So I worked within the following rules:
1. I would quickly make a wearable bracelet using only components that I already had in my workshop.
2. As I would be using pre-existing components the links would always need an interlink (a loop to allow connection to the following link) but they should always connect differently to or use different interlinks.
I discuss how the links turned out in the galleries that follow:
The whole process will be sped up with the evolution of 3D metal printing. But, although I love technology I find myself drawn to the cause of the hand-made, where every component is the same but different. It is thinking about the inevitability of a world where a design is thought, 3D templated and printed that I find myself wanting my work to be more nuanced. This requirement for nuance should never be licence for imperfection but rather an acknowledgement of the need to explore the gaps where, I personally hope, it will not be cost effective for technology to reach. Otherwise where does that leave us, the makers?
In the galleries below I show “The Seven Links” experiment that I set for myself in order to create new types of links without any external reference. It was me at play in my workshop with an audiobook in my ears. One of my favourite places to be. Boundaries are required though. A limitless horizon of possibilities is daunting. You must have achievable purpose. So I worked within the following rules:
1. I would quickly make a wearable bracelet using only components that I already had in my workshop.
2. As I would be using pre-existing components the links would always need an interlink (a loop to allow connection to the following link) but they should always connect differently to or use different interlinks.
I discuss how the links turned out in the galleries that follow:
When the flame comes away at just the right time you are left with a moment frozen in time. Testimony to your stopping a process when it looks right, and, just before disaster strikes. The centre of this link remains as it was originally made. The design on the outside is Molten Chance.


Molten Chance:
Once everything can be printed and finished with the touch of a button, where does that leave us? Those of us who need to make? What is it that we can offer? What can we do to remain truly relevant in a machine-made world? I’ve been thinking about this for a while there will be a link to a relevant blog post here soon.
This link is called ‘Molten Chance’ and it represents an exciting moment for anyone who regularly heats up metal. There is a moment whenever you are making a piece with more than one stage where one misguided over-reach or lapse of concentration could mean that the piece becomes a ball of molten metal. The opportunities for events of this kind become rarer as you naturally dial back the parameters that allow them to occur with improved skill. But for me one of the joys is always having the possibility for failure there. Having the flame a little larger than conservatively necessary, going for that extra step, pushing on when you are tired. You begin to deliberately invite these moments, to play with them, to give calamity opportunity; then stop, pulling the flame away just in time.
Molten Chance represents a moment that will, I hope, not be financially viable for the machines to mimic. It’s gaps like these, gaps of human nuance offered by human makers, that will enable us to maintain relevance in a 3D printed world.
So even though ‘Molten Chance’ isn’t particularly pretty, nor even ,strictly speaking, a proper link in this experiment, I still decided to make it number 1.
I like making my bracelets with a tail that falls into your palm when you're wearing them and ‘Molten Chance’ is a charm at the end of one of these tails. For the owner it is something to play with, and it catches the eye. if you are not used to a bracelet with tail, it becomes normal quite quickly. For me it will allows for more wearing styles and size options.
I think a tail looks especially beautiful down the back of a neck on a choker. I intend some of my future designs to rely on tension, and providing a tail will cover more wrist and neck sizes and ensure my work can be worn and displayed as intended.
1. I like: What it represents.
2. I dislike: The imperfection of the surrounding elements.
3. Consider: Adding additional elements after the molten chance event for contrast with control and definition.
The Nothing to Report:
Fancy some unashamed filler? This is an unchanged leftover link from a quarter moon bracelet that I made. In fact, most of the links originate from these links made from 1.2mm Argentium silver wire. The observations get more interesting, but this was attached with normal round jump-rings as a make weight ensuring that my bracelet was long enough. Hence:
1. Nothing to report.
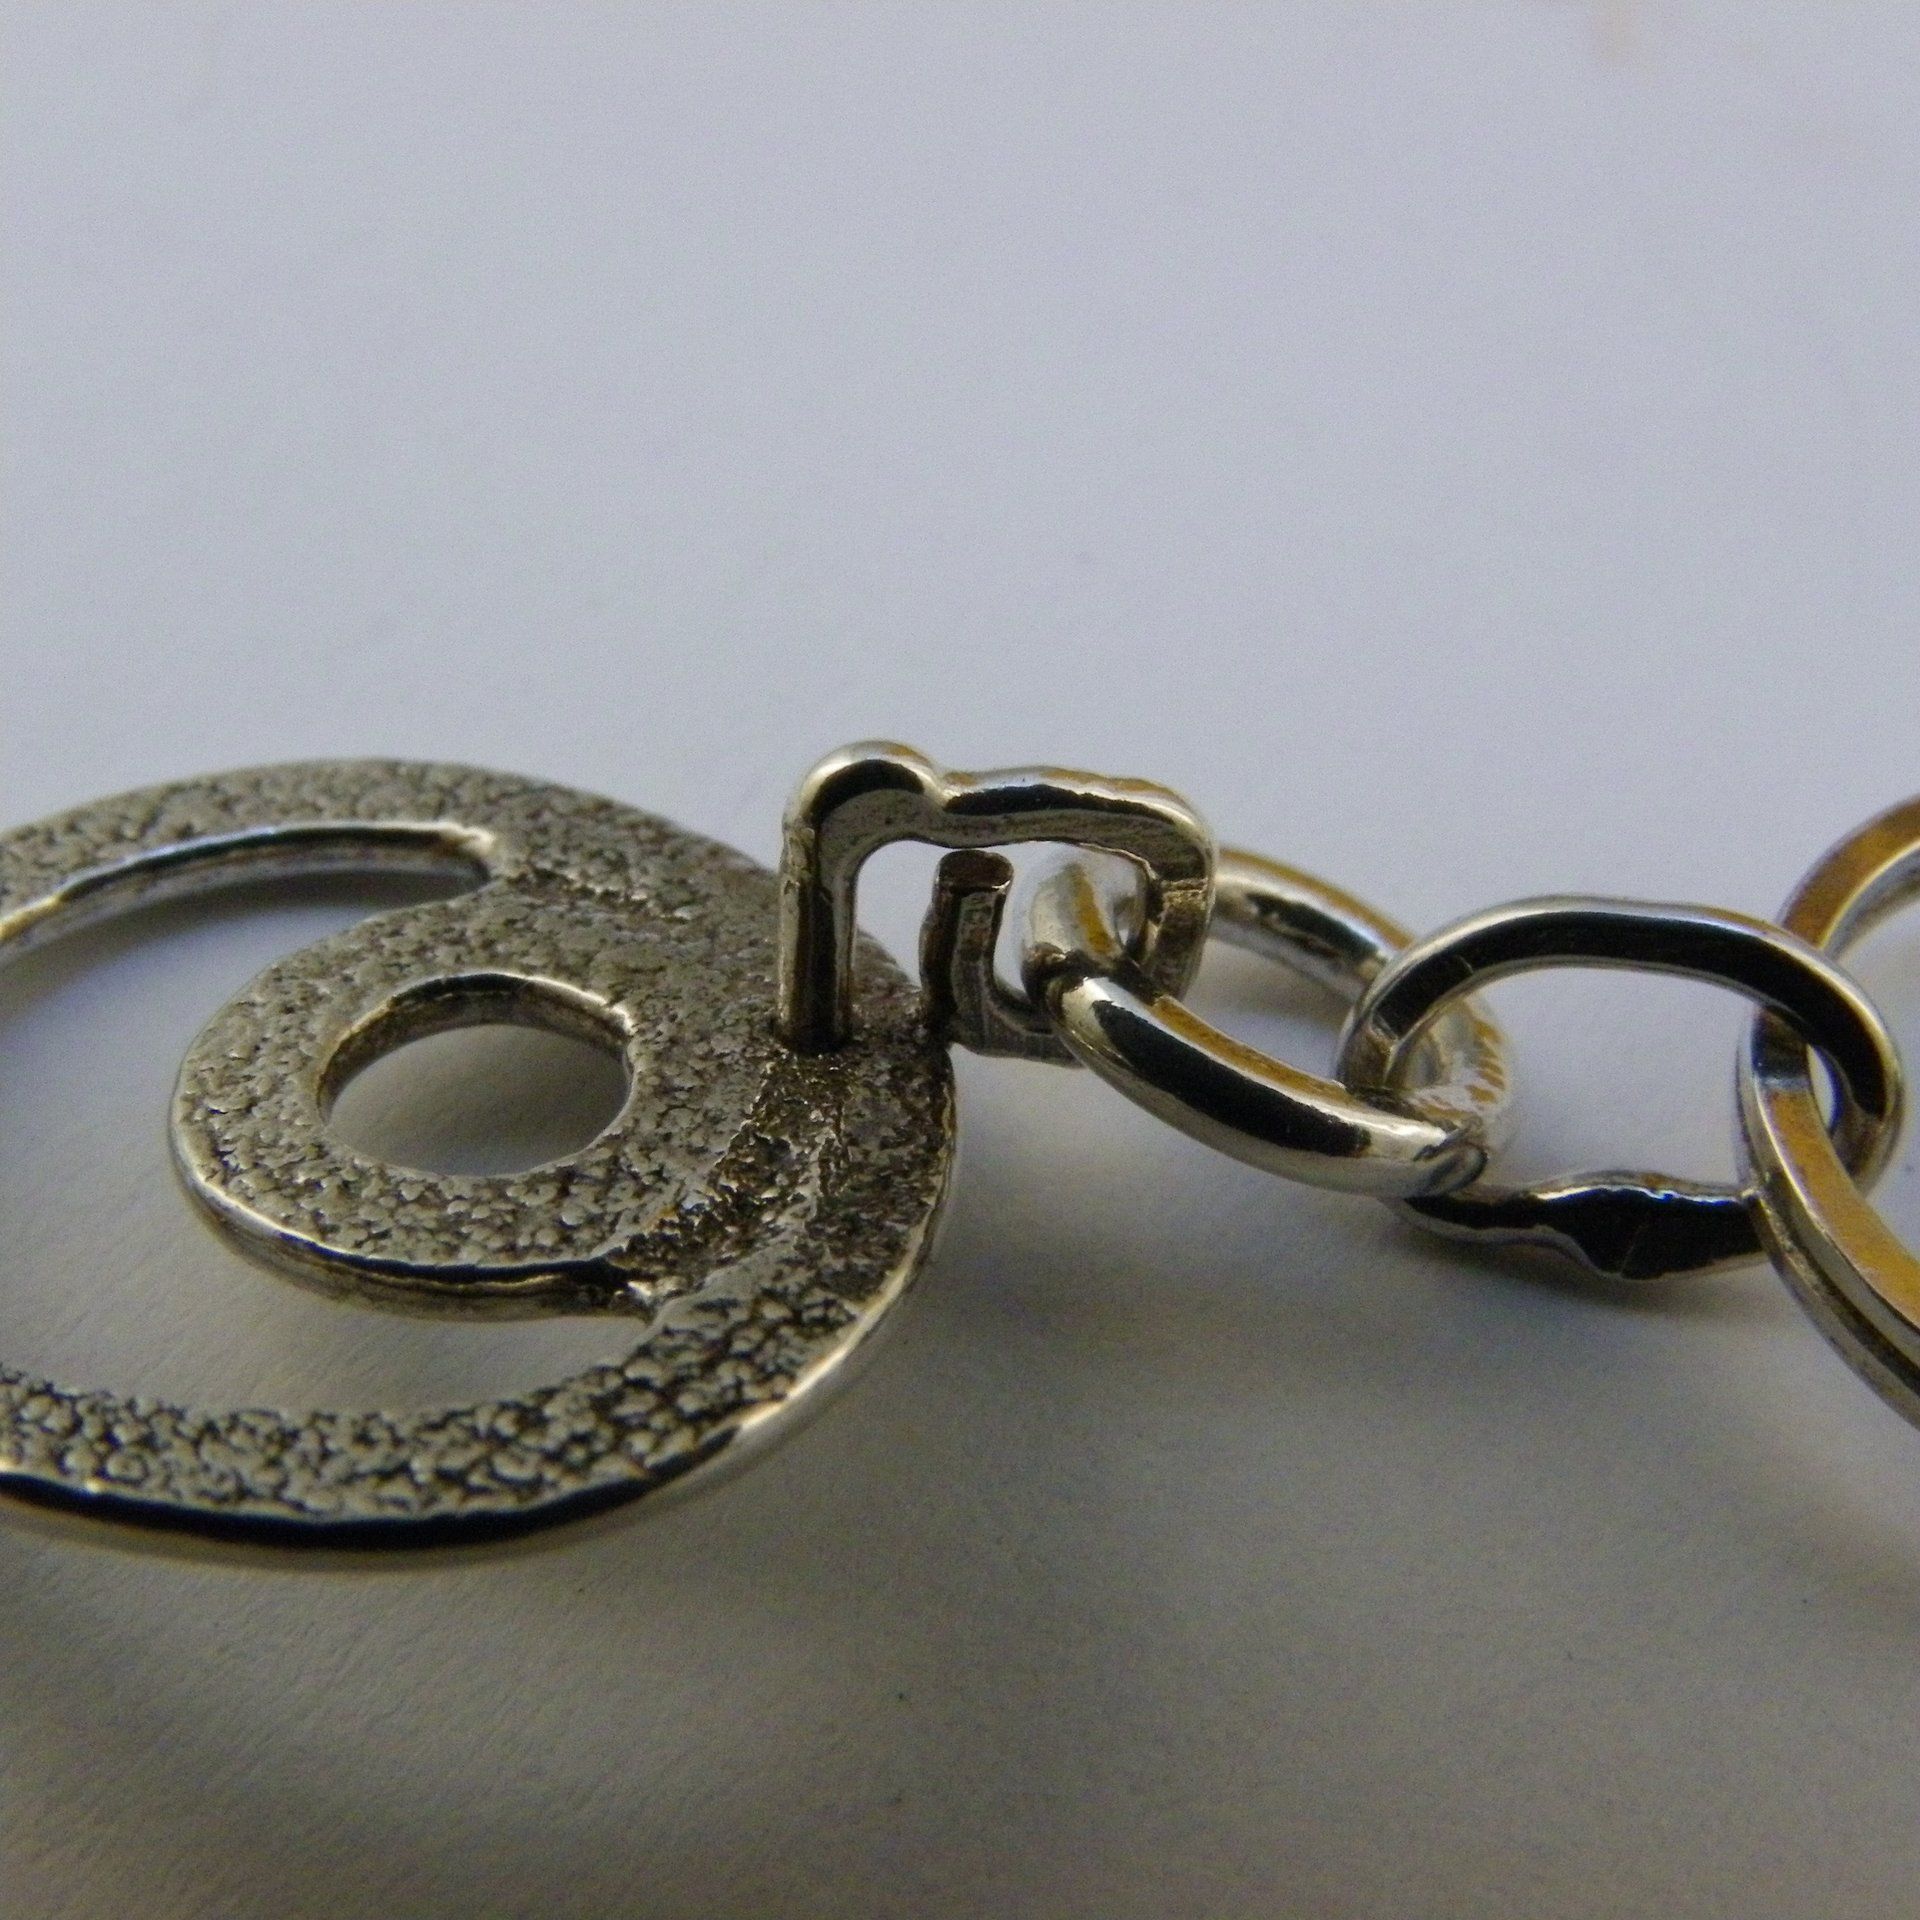
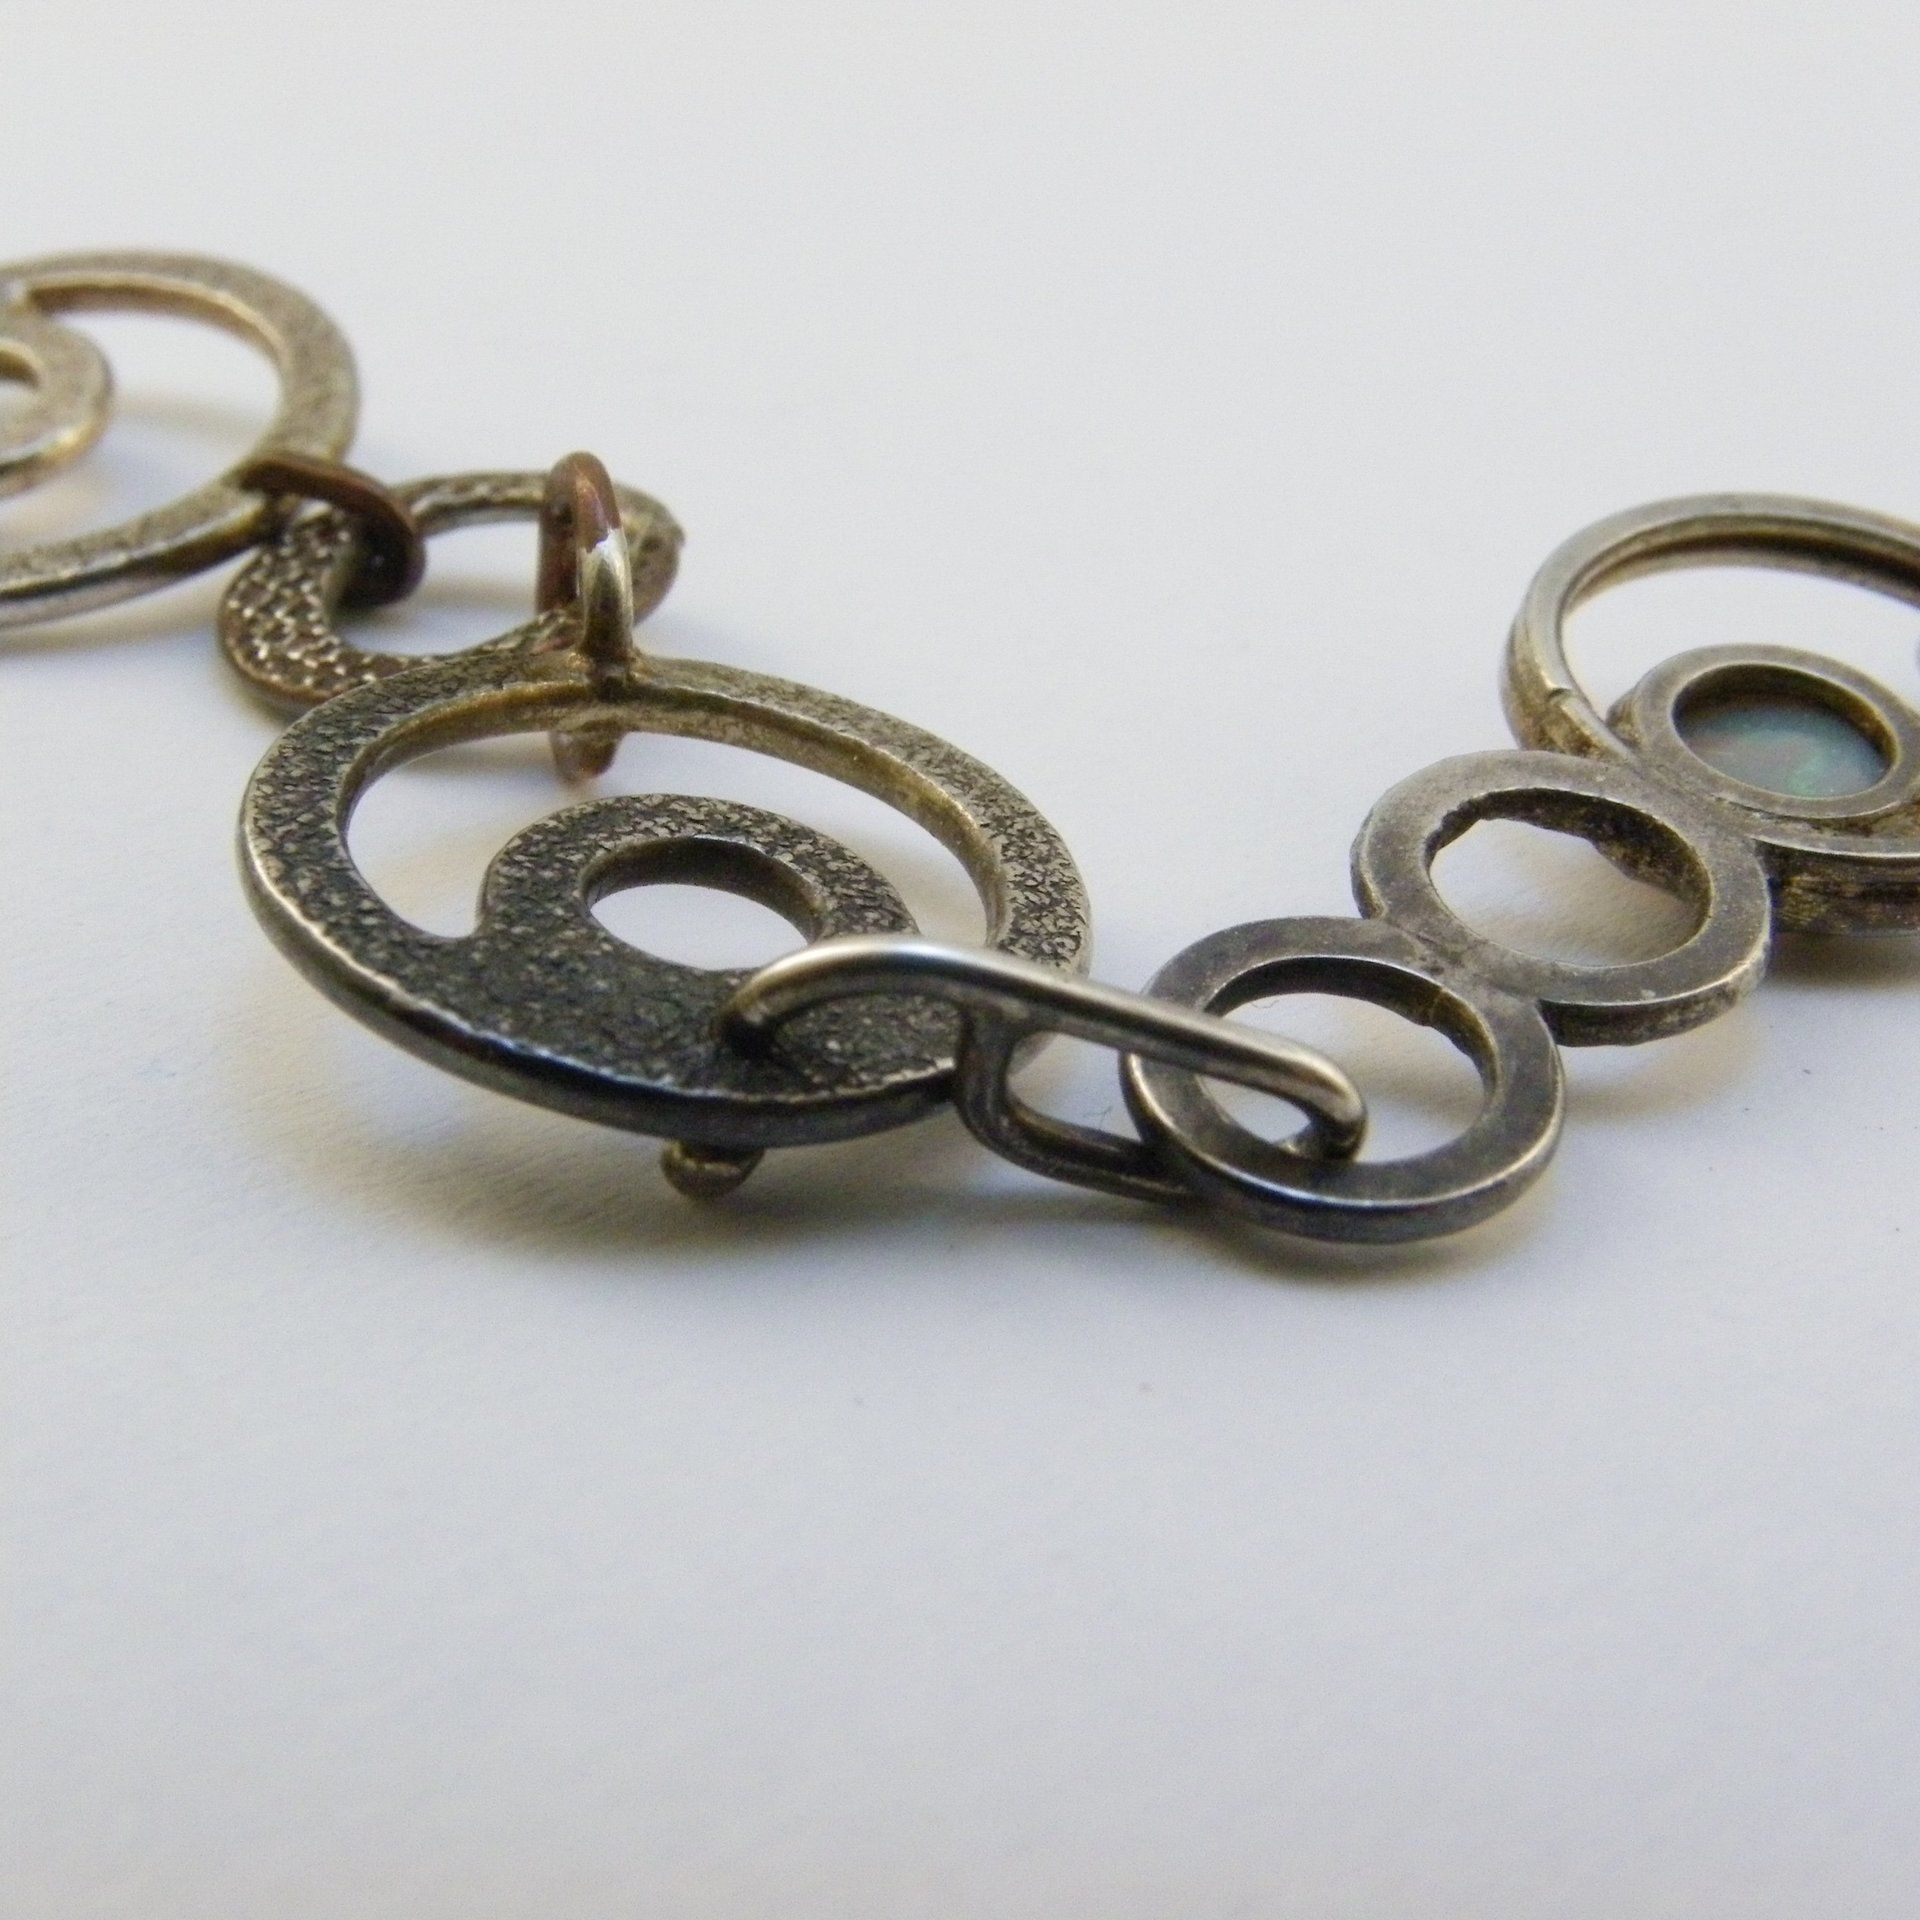
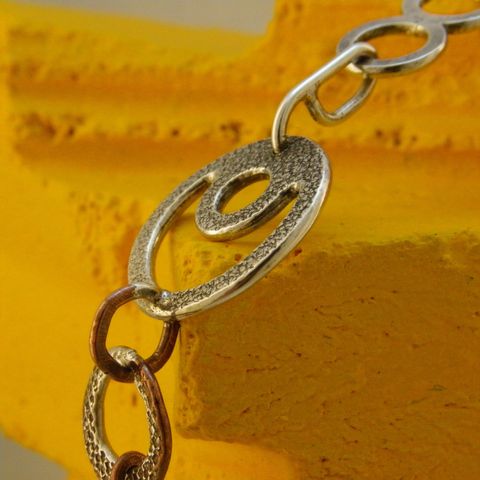
The Proudly Inconvenient:
One of the reasons that I wore this bracelet for a month, besides it making me look more interesting than usual, was to test out this link. As ever it is only through practical experience that you get a real measure of how an object is going to treat its owner. This link looked like it was going to catch on everything, but it didn’t. As well as this, the ball on the underside wasn’t a comfort issue at all.
So, it was more successful than expected when worn, but aesthetically it is just an over complicated piece of ostentation. I could see it being adapted to hold an interesting interlink away from the wearers skin (This would work only if the choker or bracelet was under tension).
1. I like: the potential presented from attachments on either side of a link holding an interlink up and away from the skin.
2. I dislike: The way that the attachments drilled and soldered on either side of the link do not enhance or even fit with the link. It is not particularly elegant in its current form.
3. Consider: Using platforms between two links to raise an interlink.

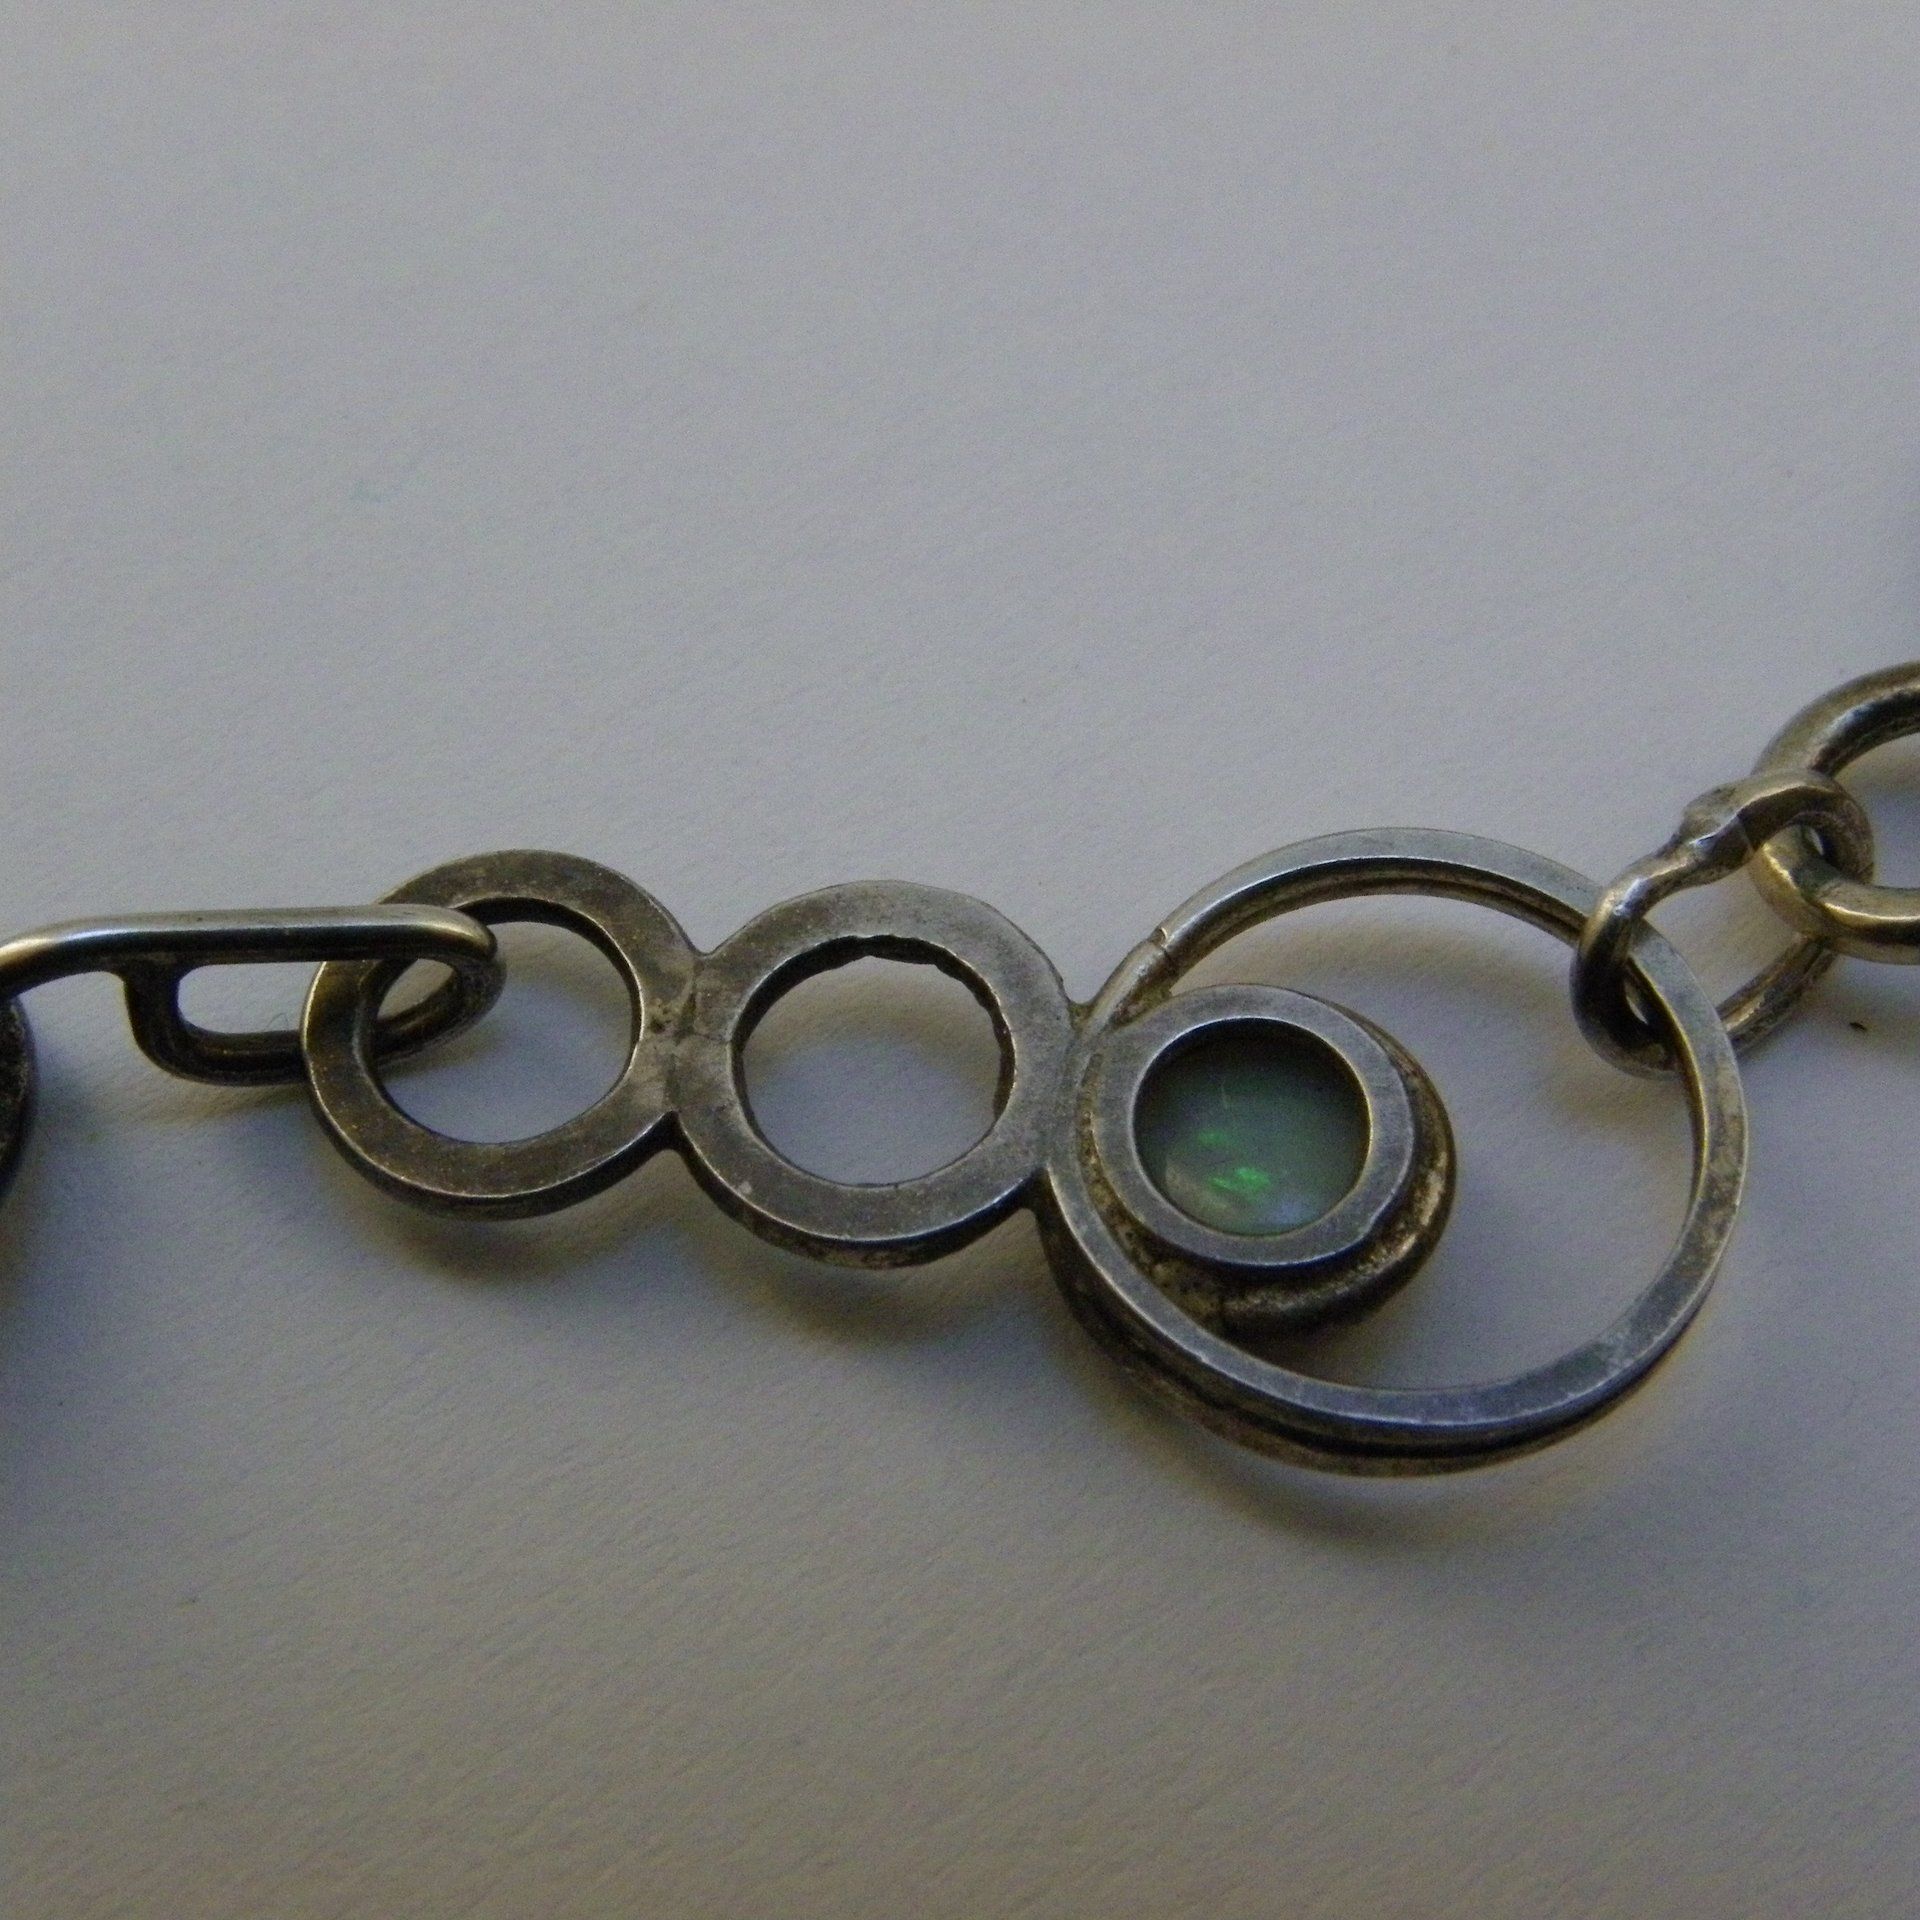

The Opal Pendant:
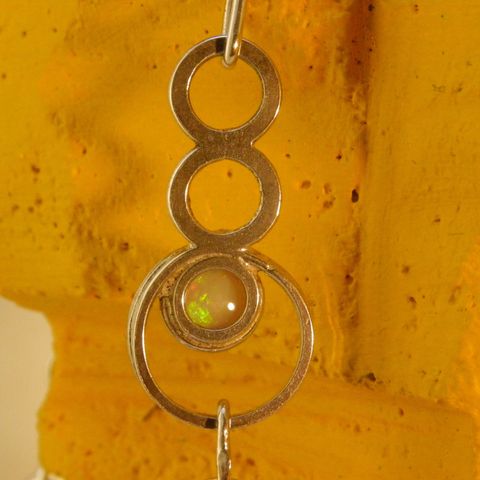
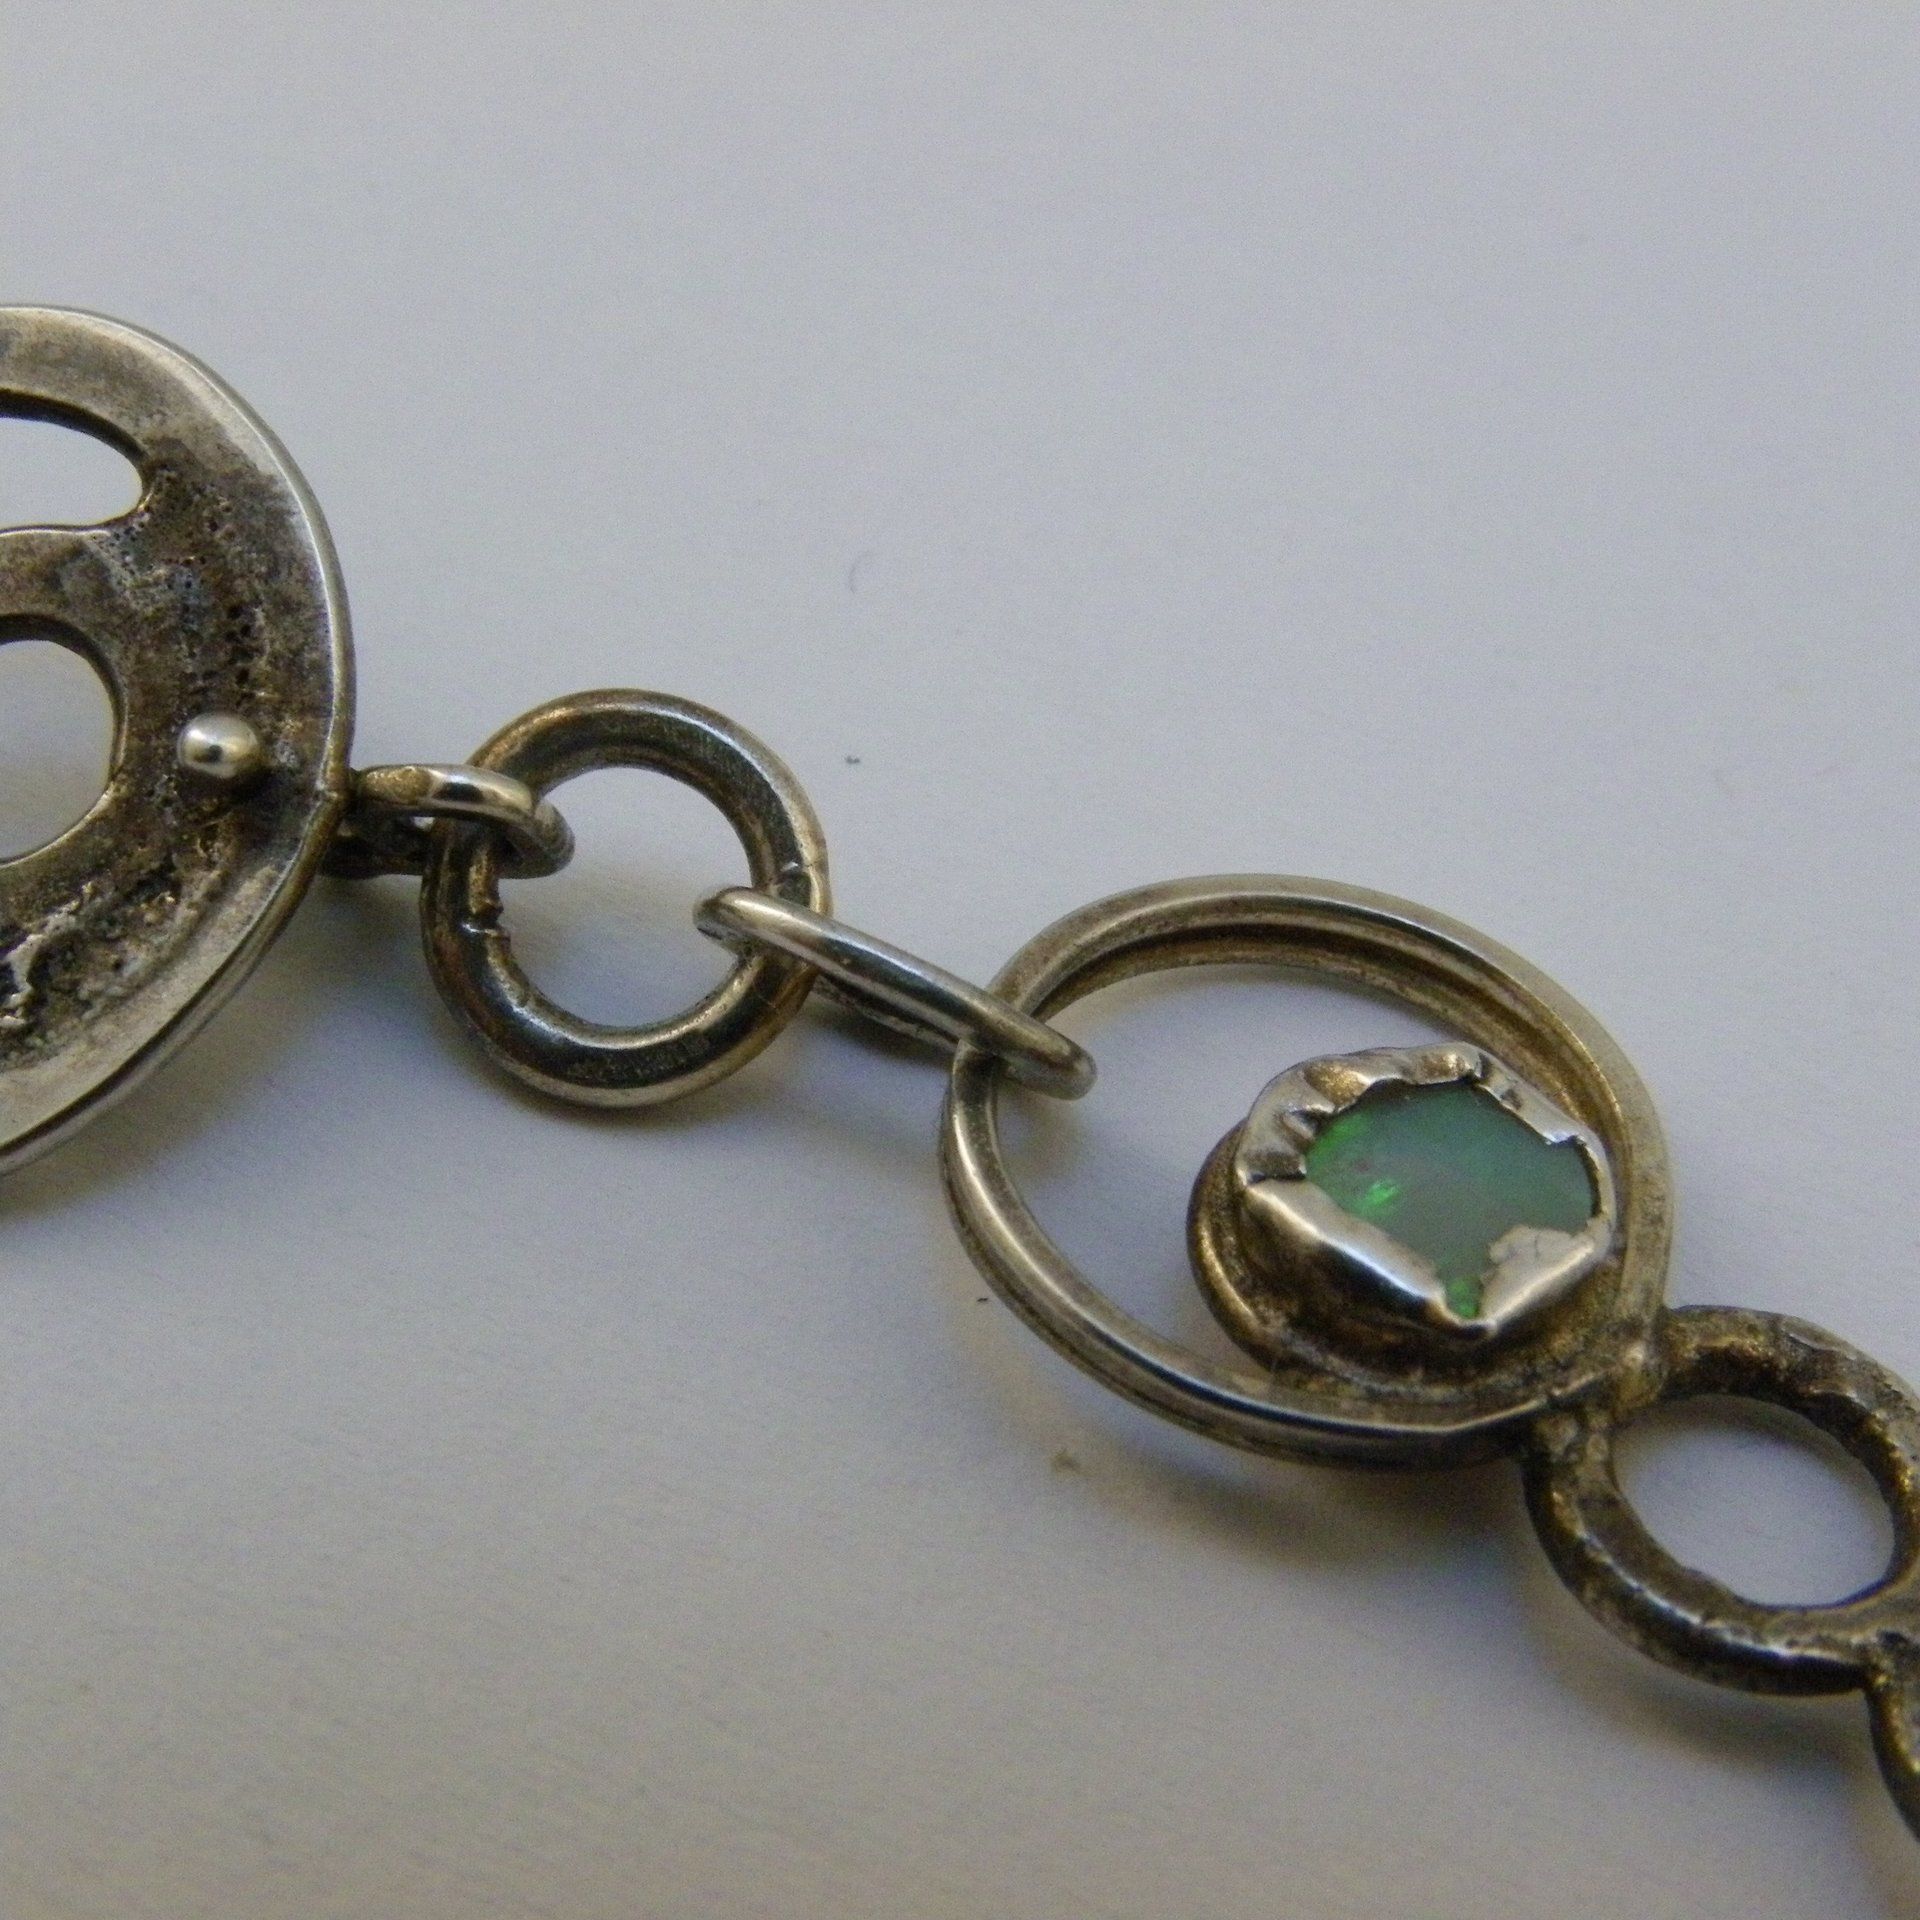
Before setting myself this task I had been busy looking to find an interesting way to show off the beauty of some good value variously sized white and water opals. I was looking for a way to set them quickly, whatever their size with the aim of achieving the same effect as if I were using uniformly sized (more expensive) opals. The outcome is that they look great from the front, but disappointingly untidy from the side and back. I’ve not given up, I have other ideas that I would like to try for setting stones in this way. The idea is that the setting does all the work from the front and the stone just needs to be held in place reasonably elegantly from behind. For now, my solution is not elegant enough.
Opals are soft and heat sensitive. The pendant used as a link here was unsatisfactory as a finished piece, it is not straight. Also, it shows a good face to the world, but the illusion is shattered as soon as the back is revealed. Its use as a link serves a purpose here though. I am interested in testing what the limits are for unarticulated links wherever they are worn. This ‘link’ is large at over 25mm long and it would be awkward on the side of a small wrist if worn in a bracelet.
Even just looking at this now I have some interesting ideas on how to cold capture stones that I cannot wait to try.
1. I like: The setting from the front. The light coming through from the back. The idea of dropping in a range of different sized stones and having them neatly held in place.
2. I dislike. The setting from the back and side. The inelegant way that the stone is held in place. The inelegant view through a see-through water opal to the uneven setting.
3. Consider:
I. A clasp mechanism that elegantly captures opals of varying sizes that can be soldered far enough away to not damage them.
II. A simpler bar with a sprue to do the same.


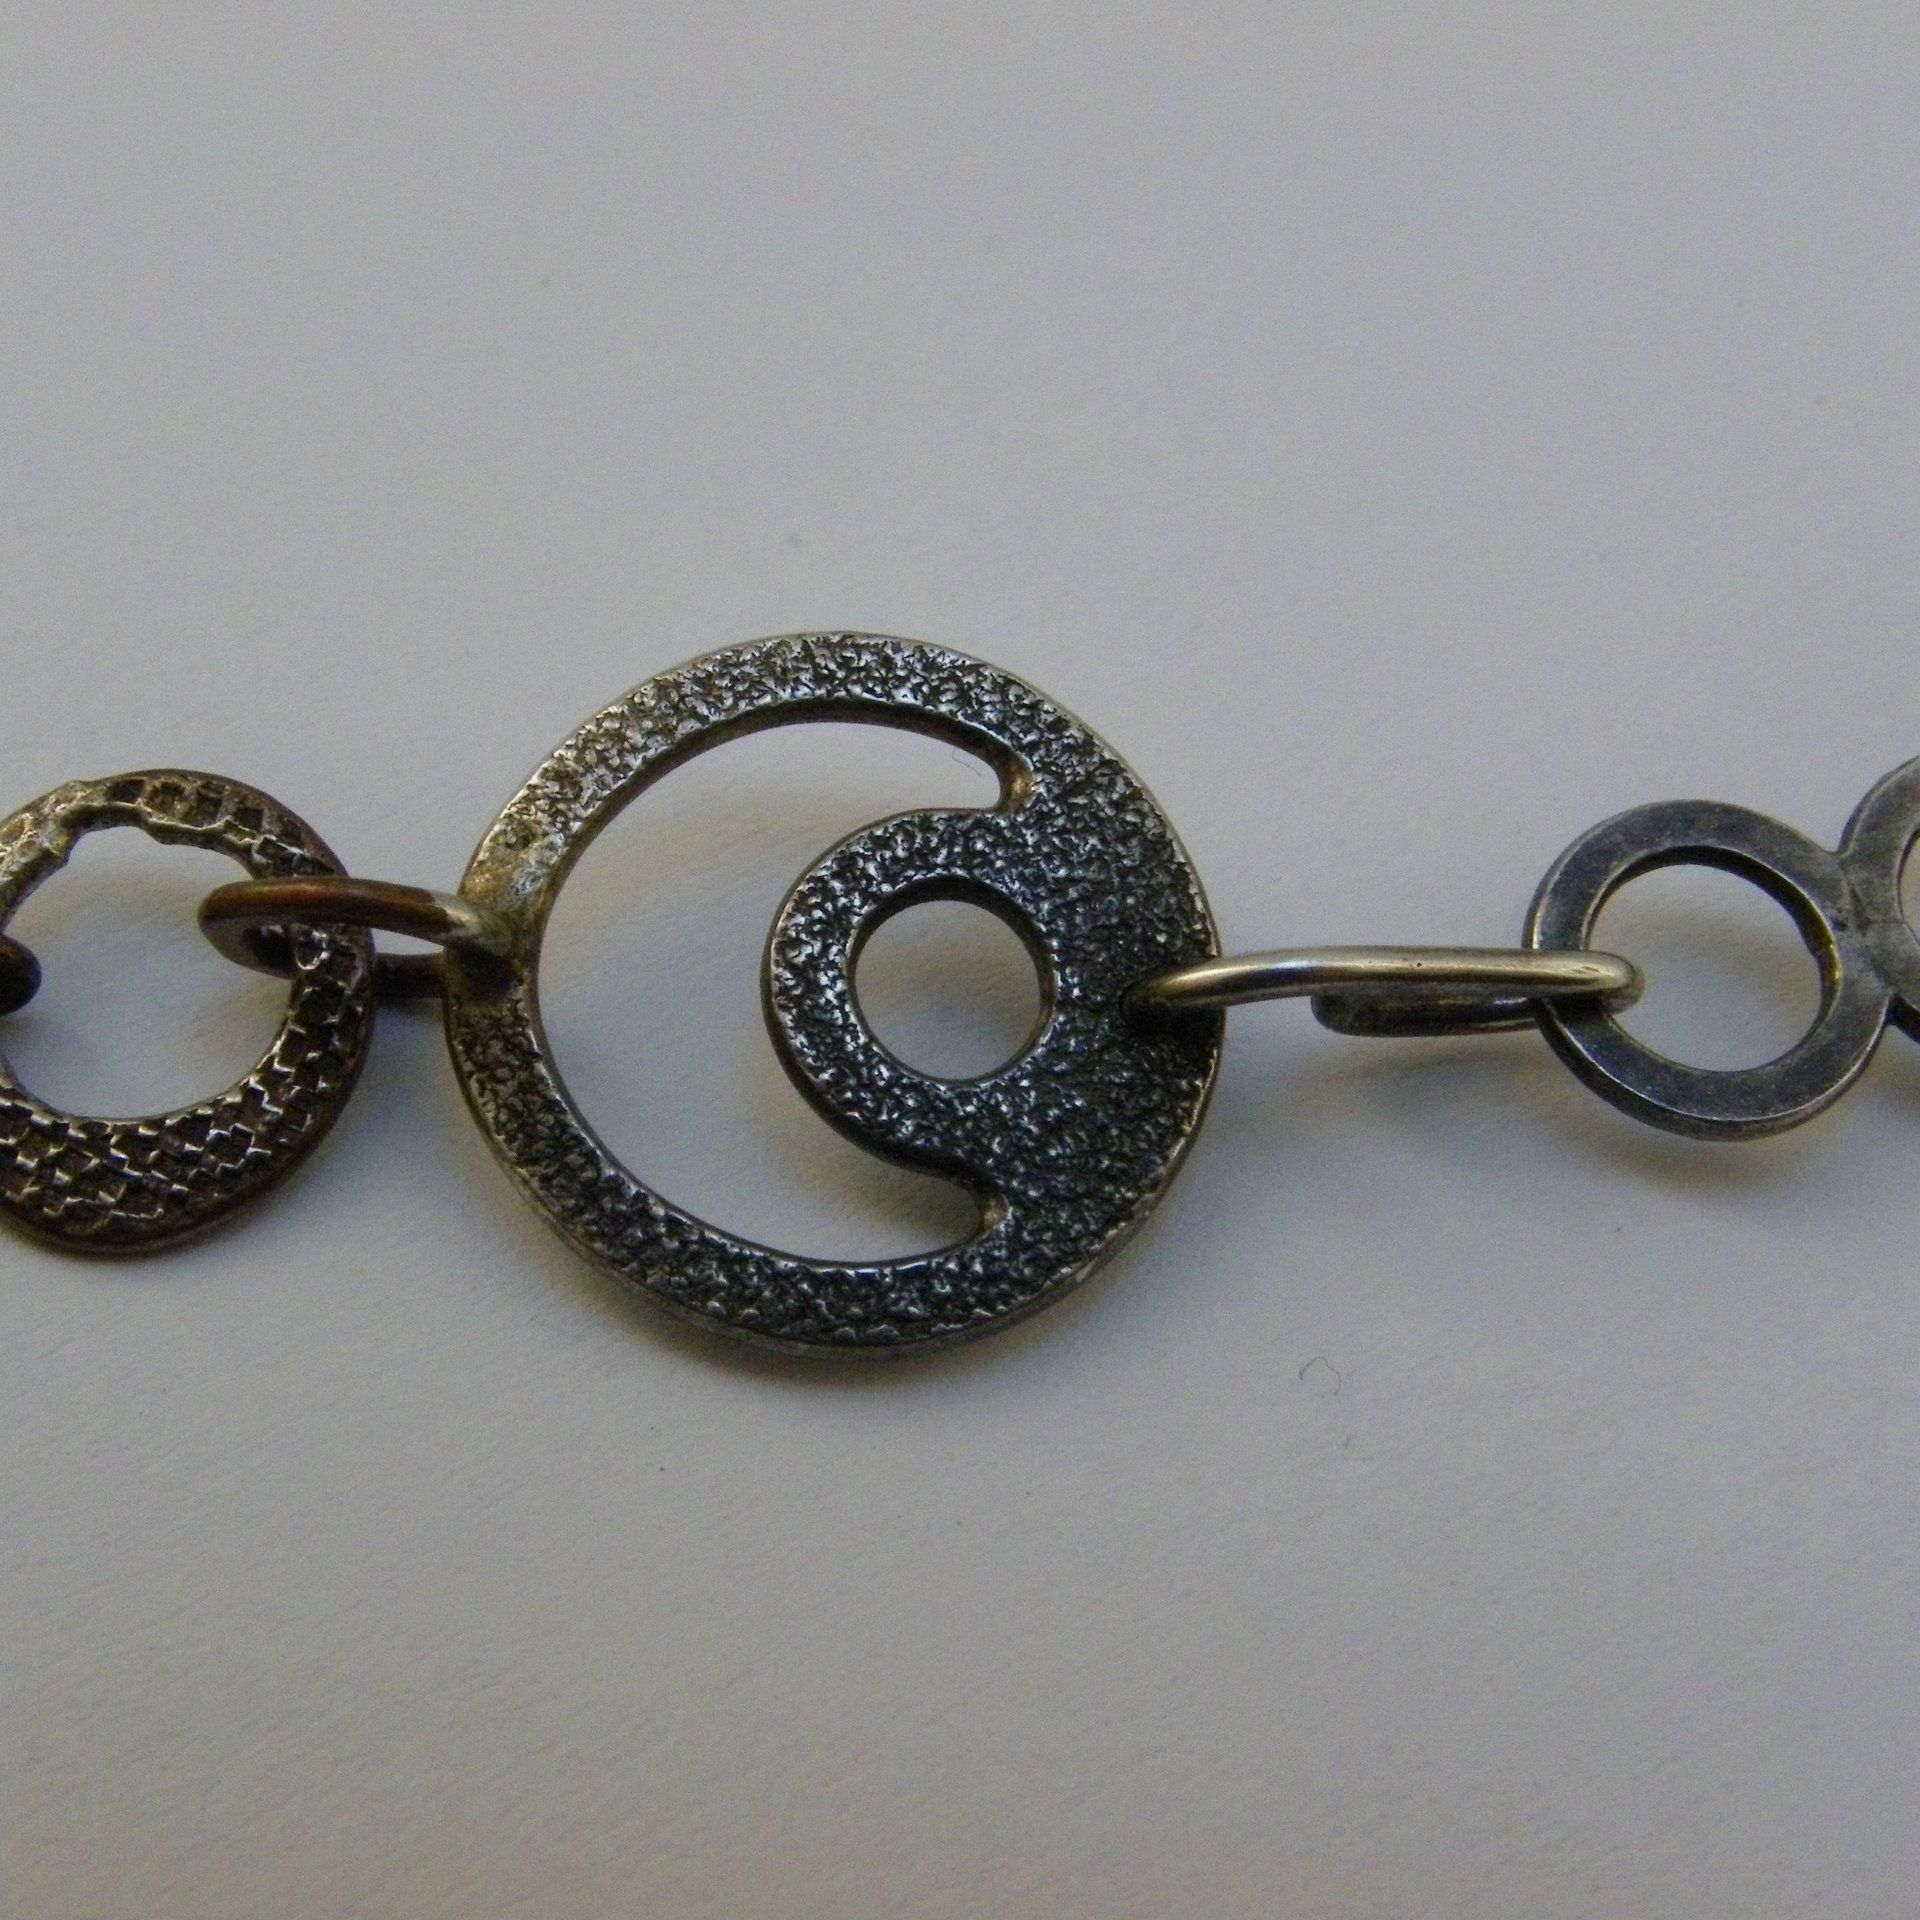
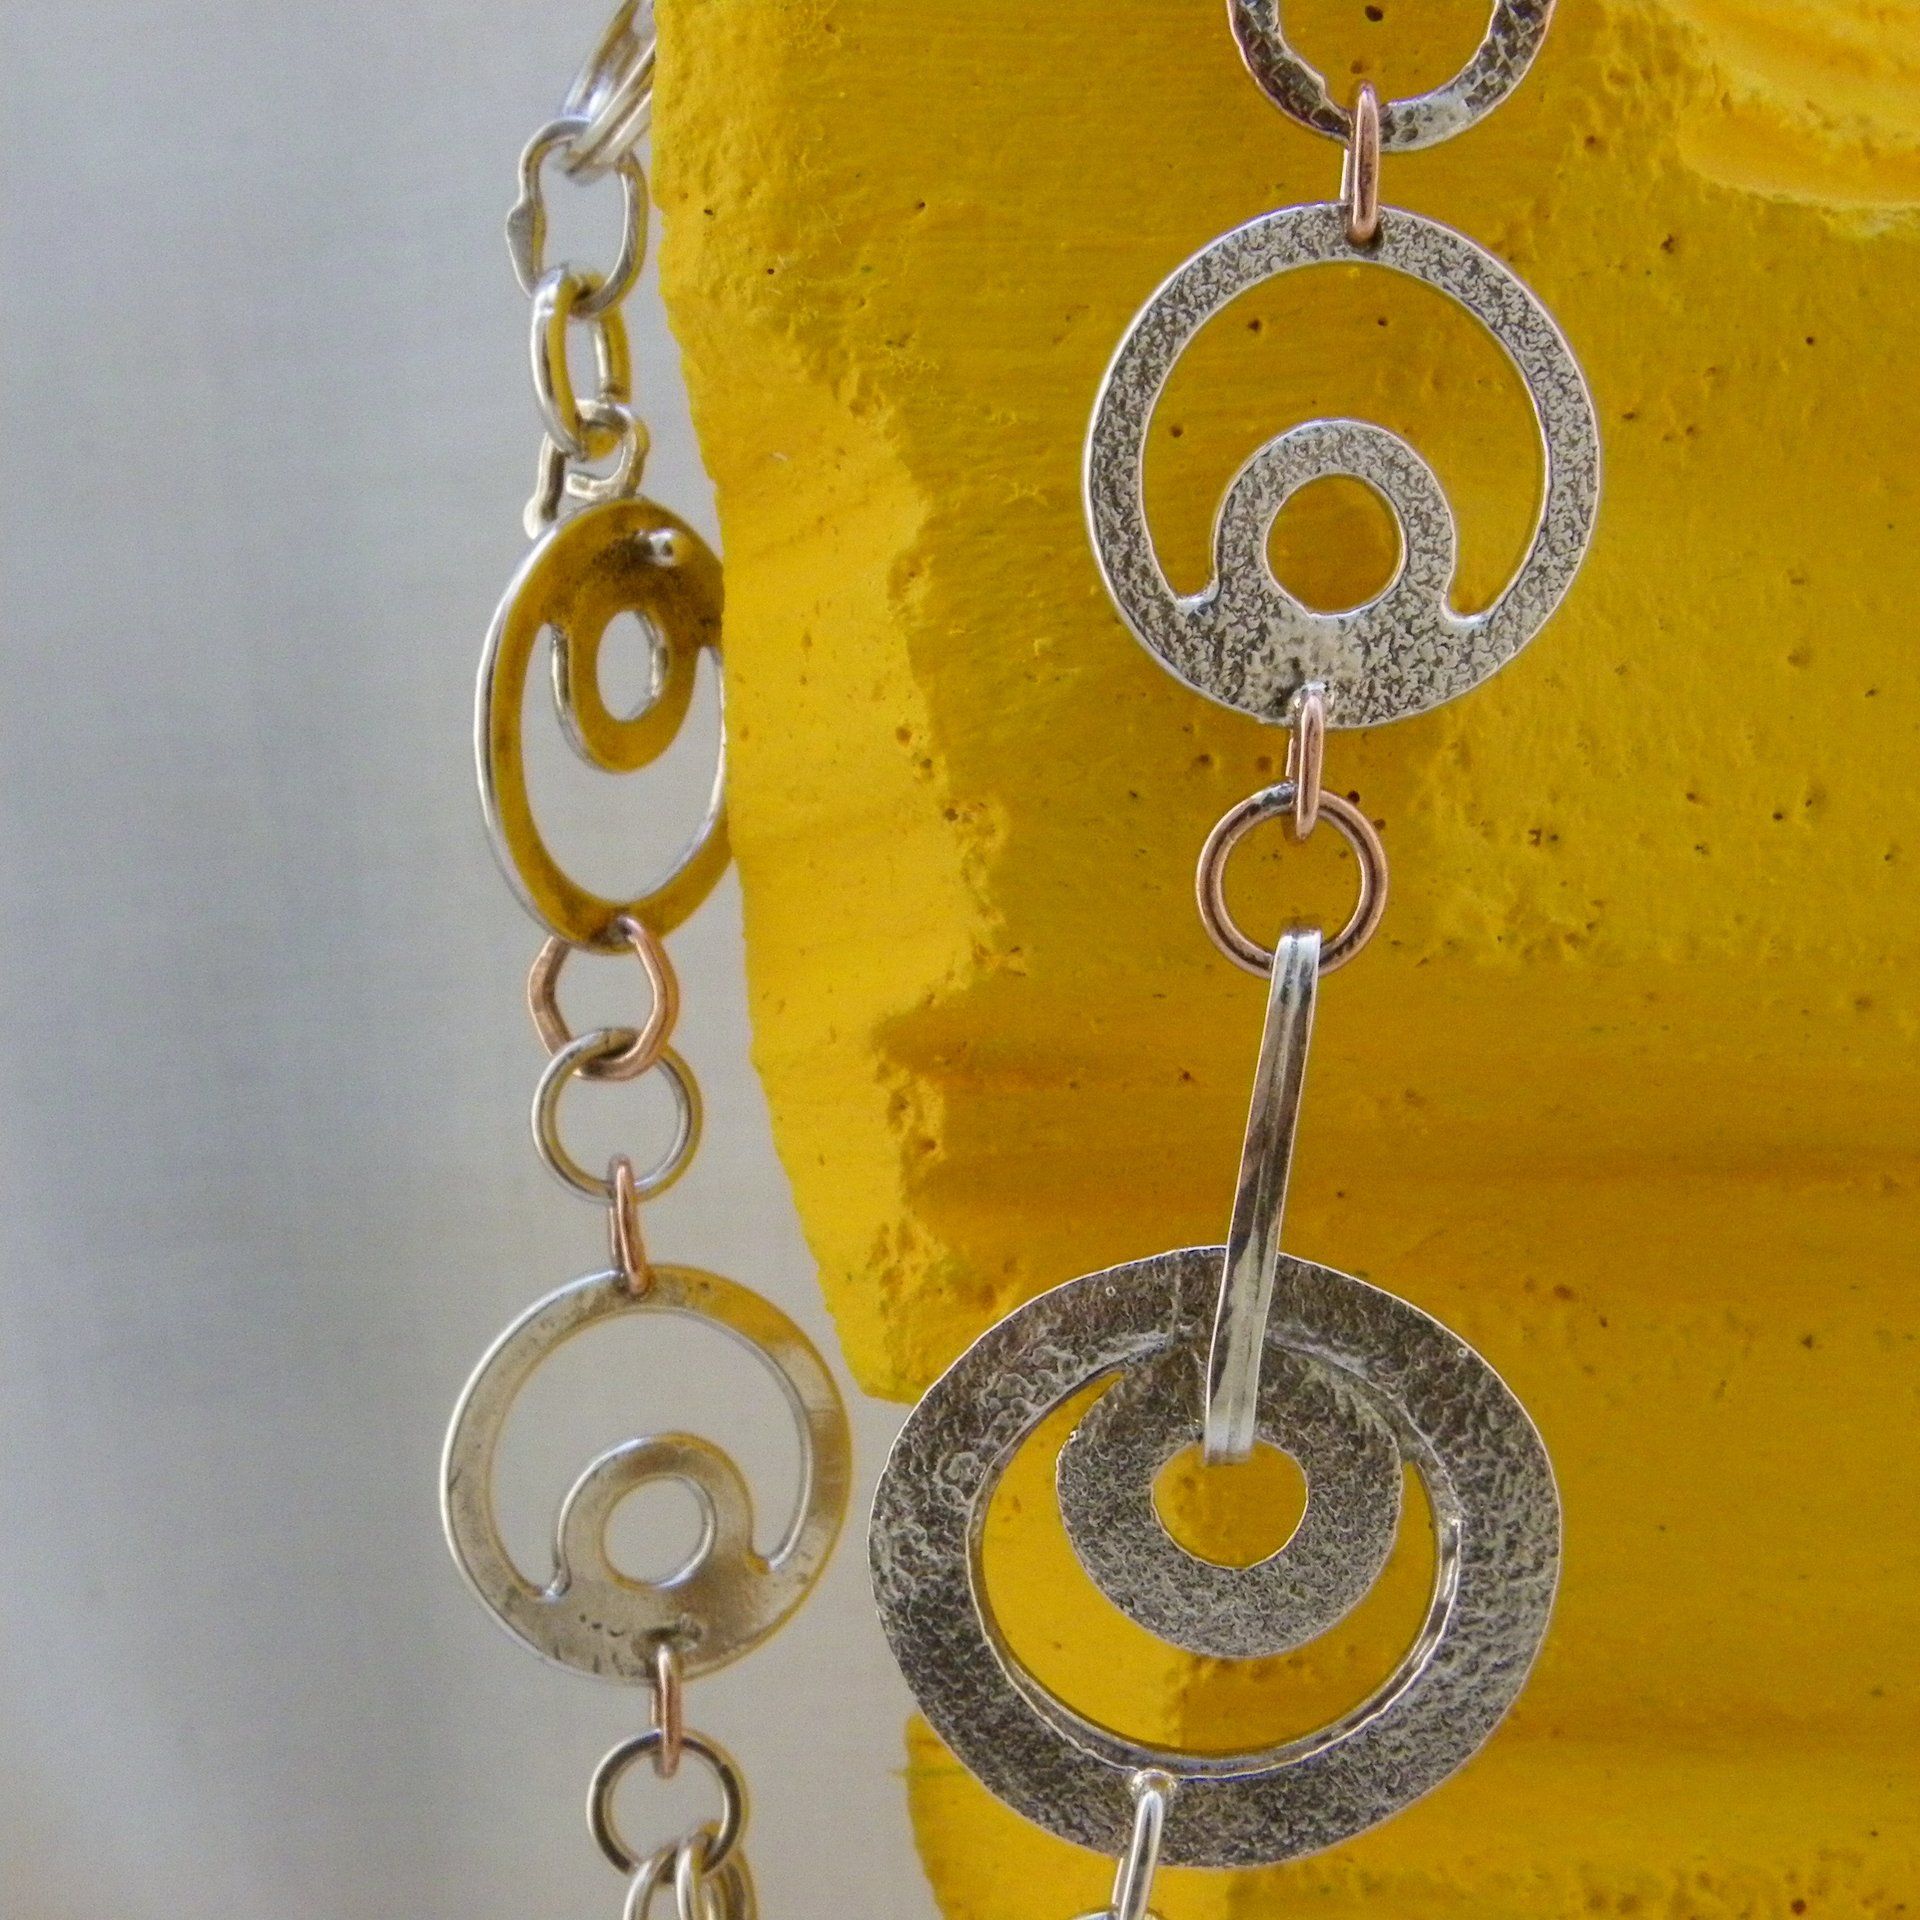
The Quarter Moon Swivel:
This link has two interesting additions to it that enable it to attach to an interlink. There is a hexagonal copper jump ring and a silver arm that swivels.
Hexagonal jump rings are awkward to make and the way one is used here is as an obvious bolt on, that is, it does nothing at all for the design. The swivel arm doesn’t add to the design either but I think it has great potential. If I were to link the powerful movement of the swivel arm with a movement in the opposite direction in the link itself things could get interesting. By which I mean that you could end up with something that is not only good to look at when worn but is also fun to play with when it’s off. Like my slither chain (see links and hangers).
1. I like: The swivel arm and the wide movement it allows and the hexagonal jump ring simply because it is remarkable compared to a normal round one.
2. I dislike: How the swivel arm and the hexagonal jump ring offer nothing to the design other than their mechanical purpose. The spill of silver solder onto the copper of the hex jump ring.
3. Consider:
I. Integrating the swivel arm so it feels part of the link.
II. Adding an equally dramatic opposite movement within the link or at the opposite end of the link.
III. Finding a place for these new hexagonal jump-rings in a design where they enhance the overall effect.
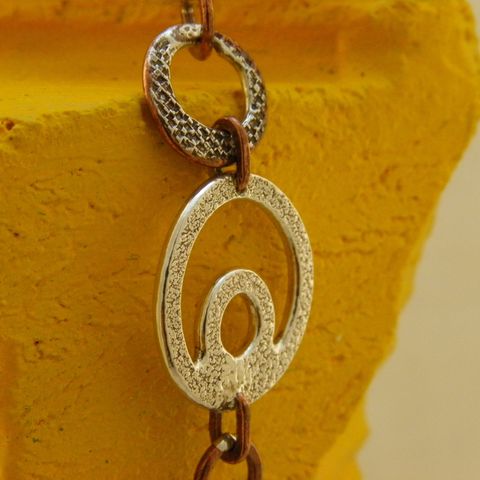
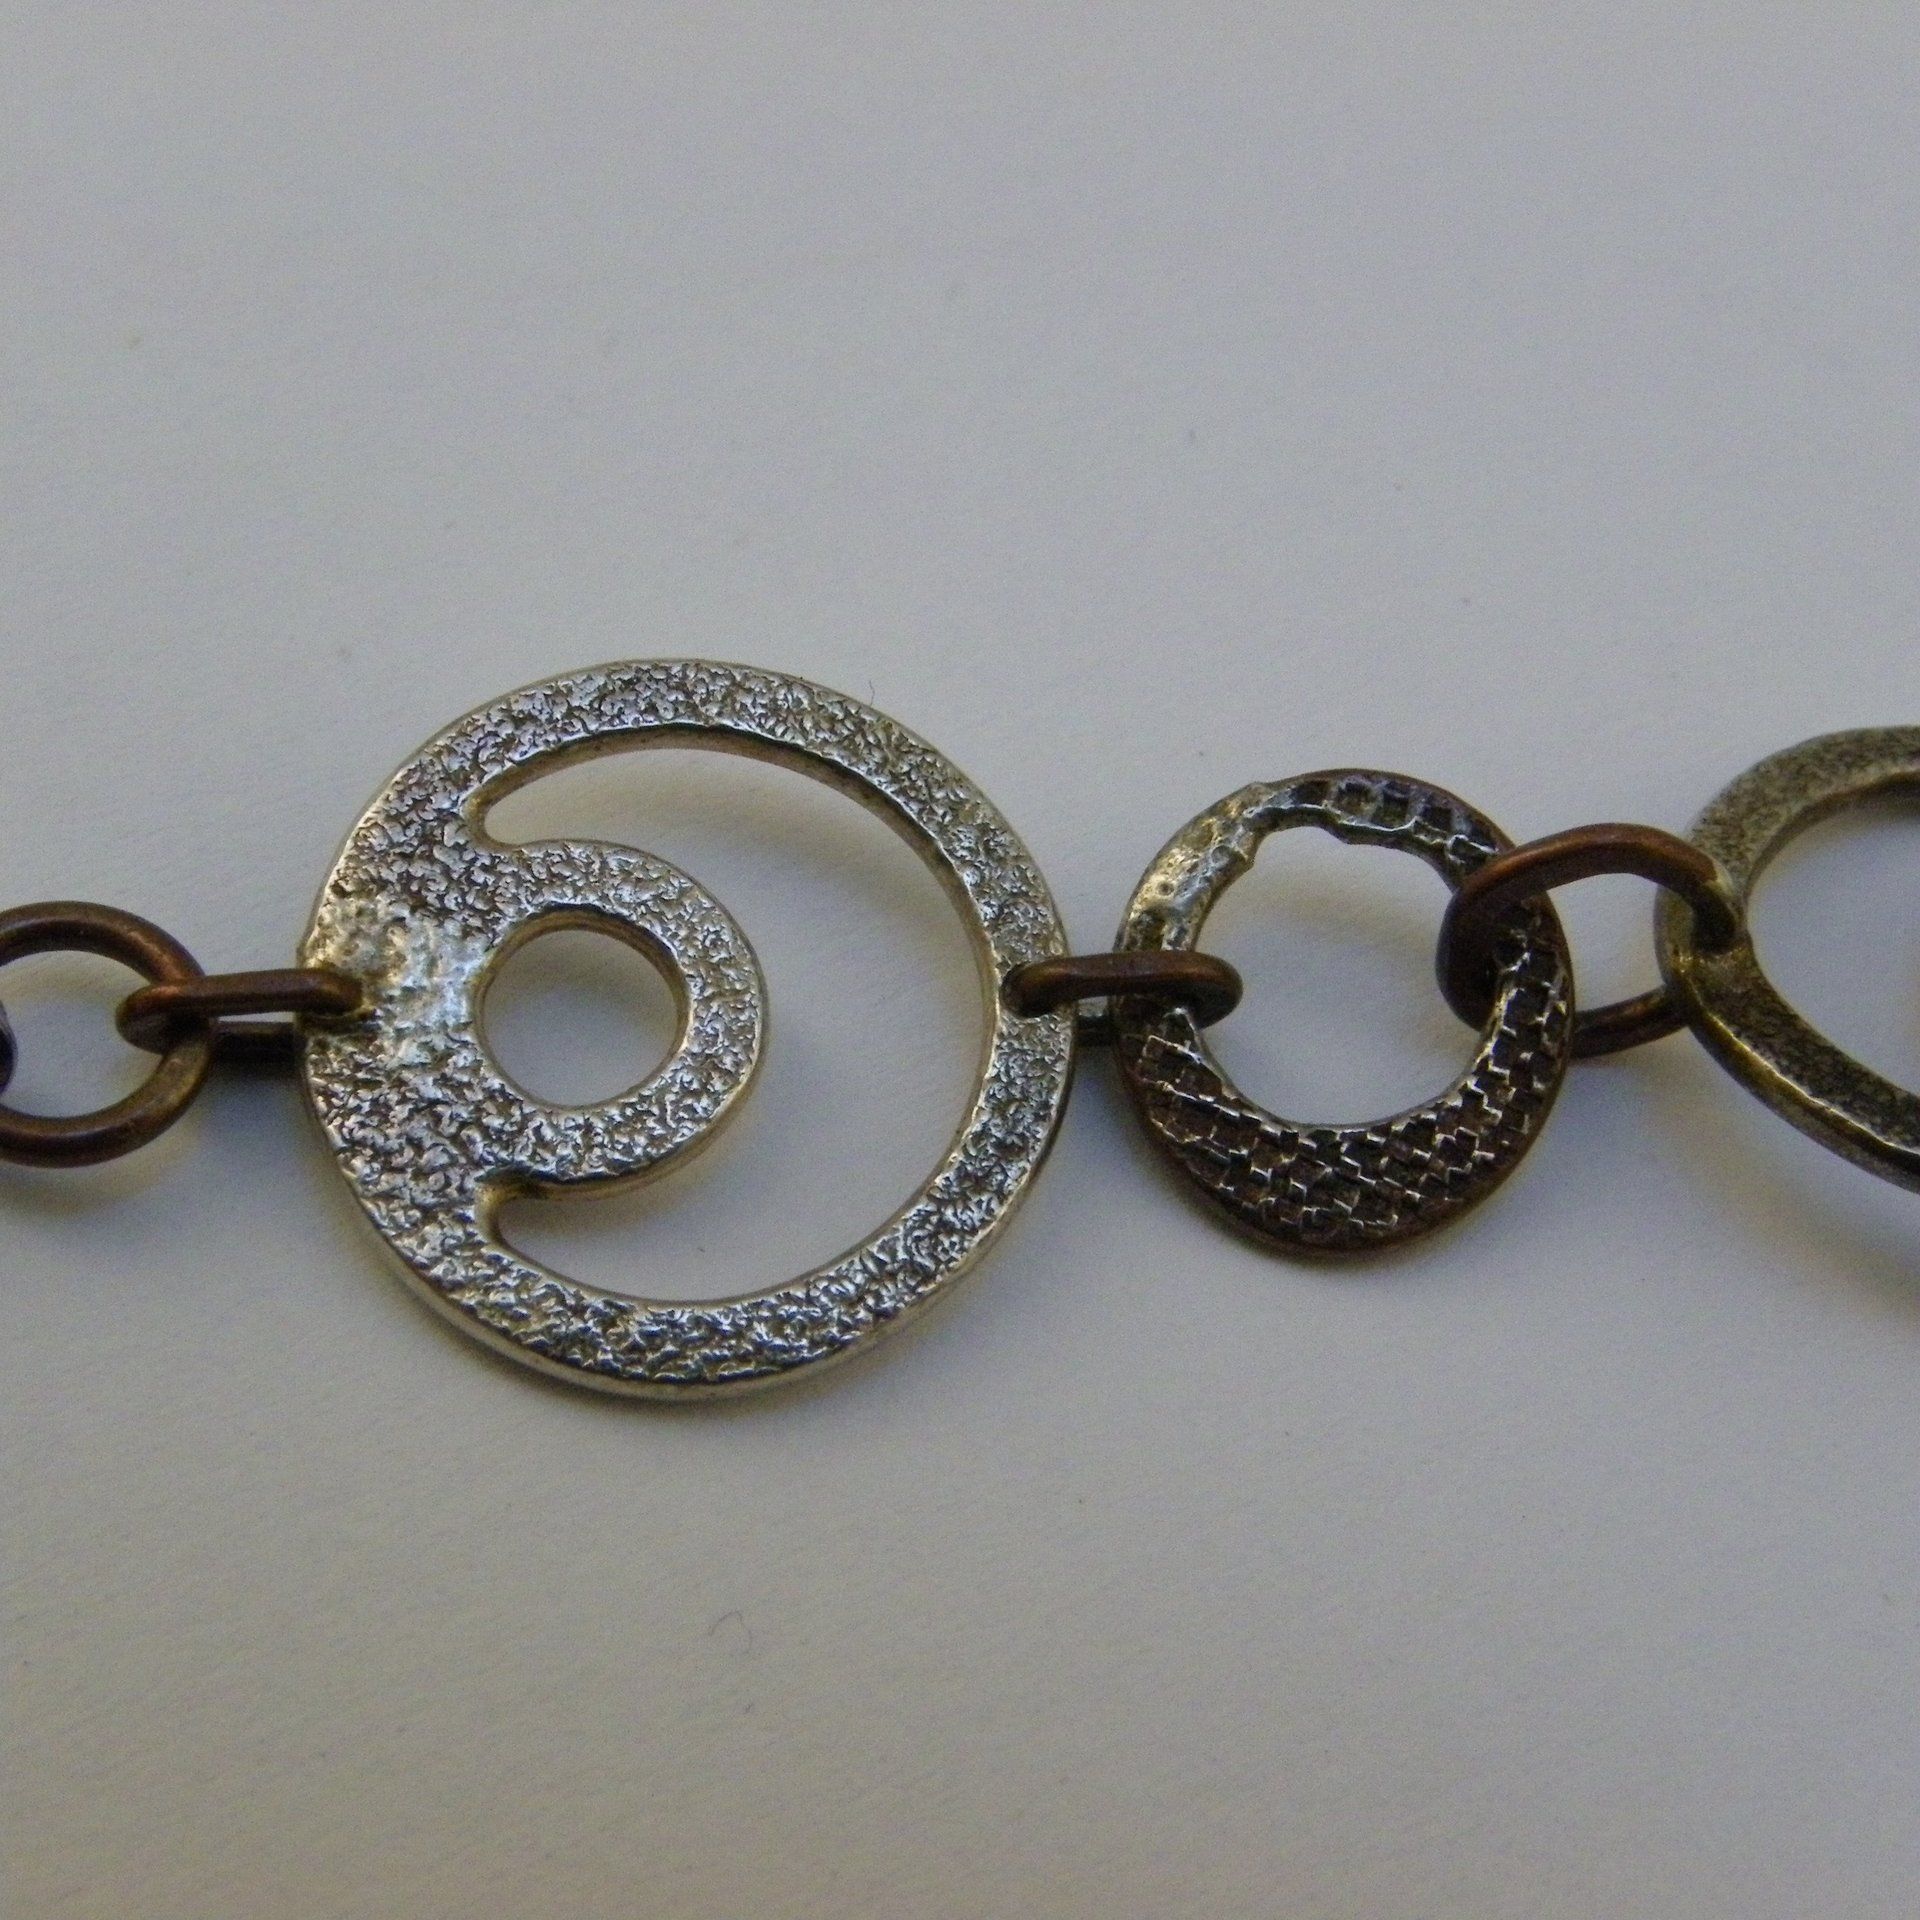
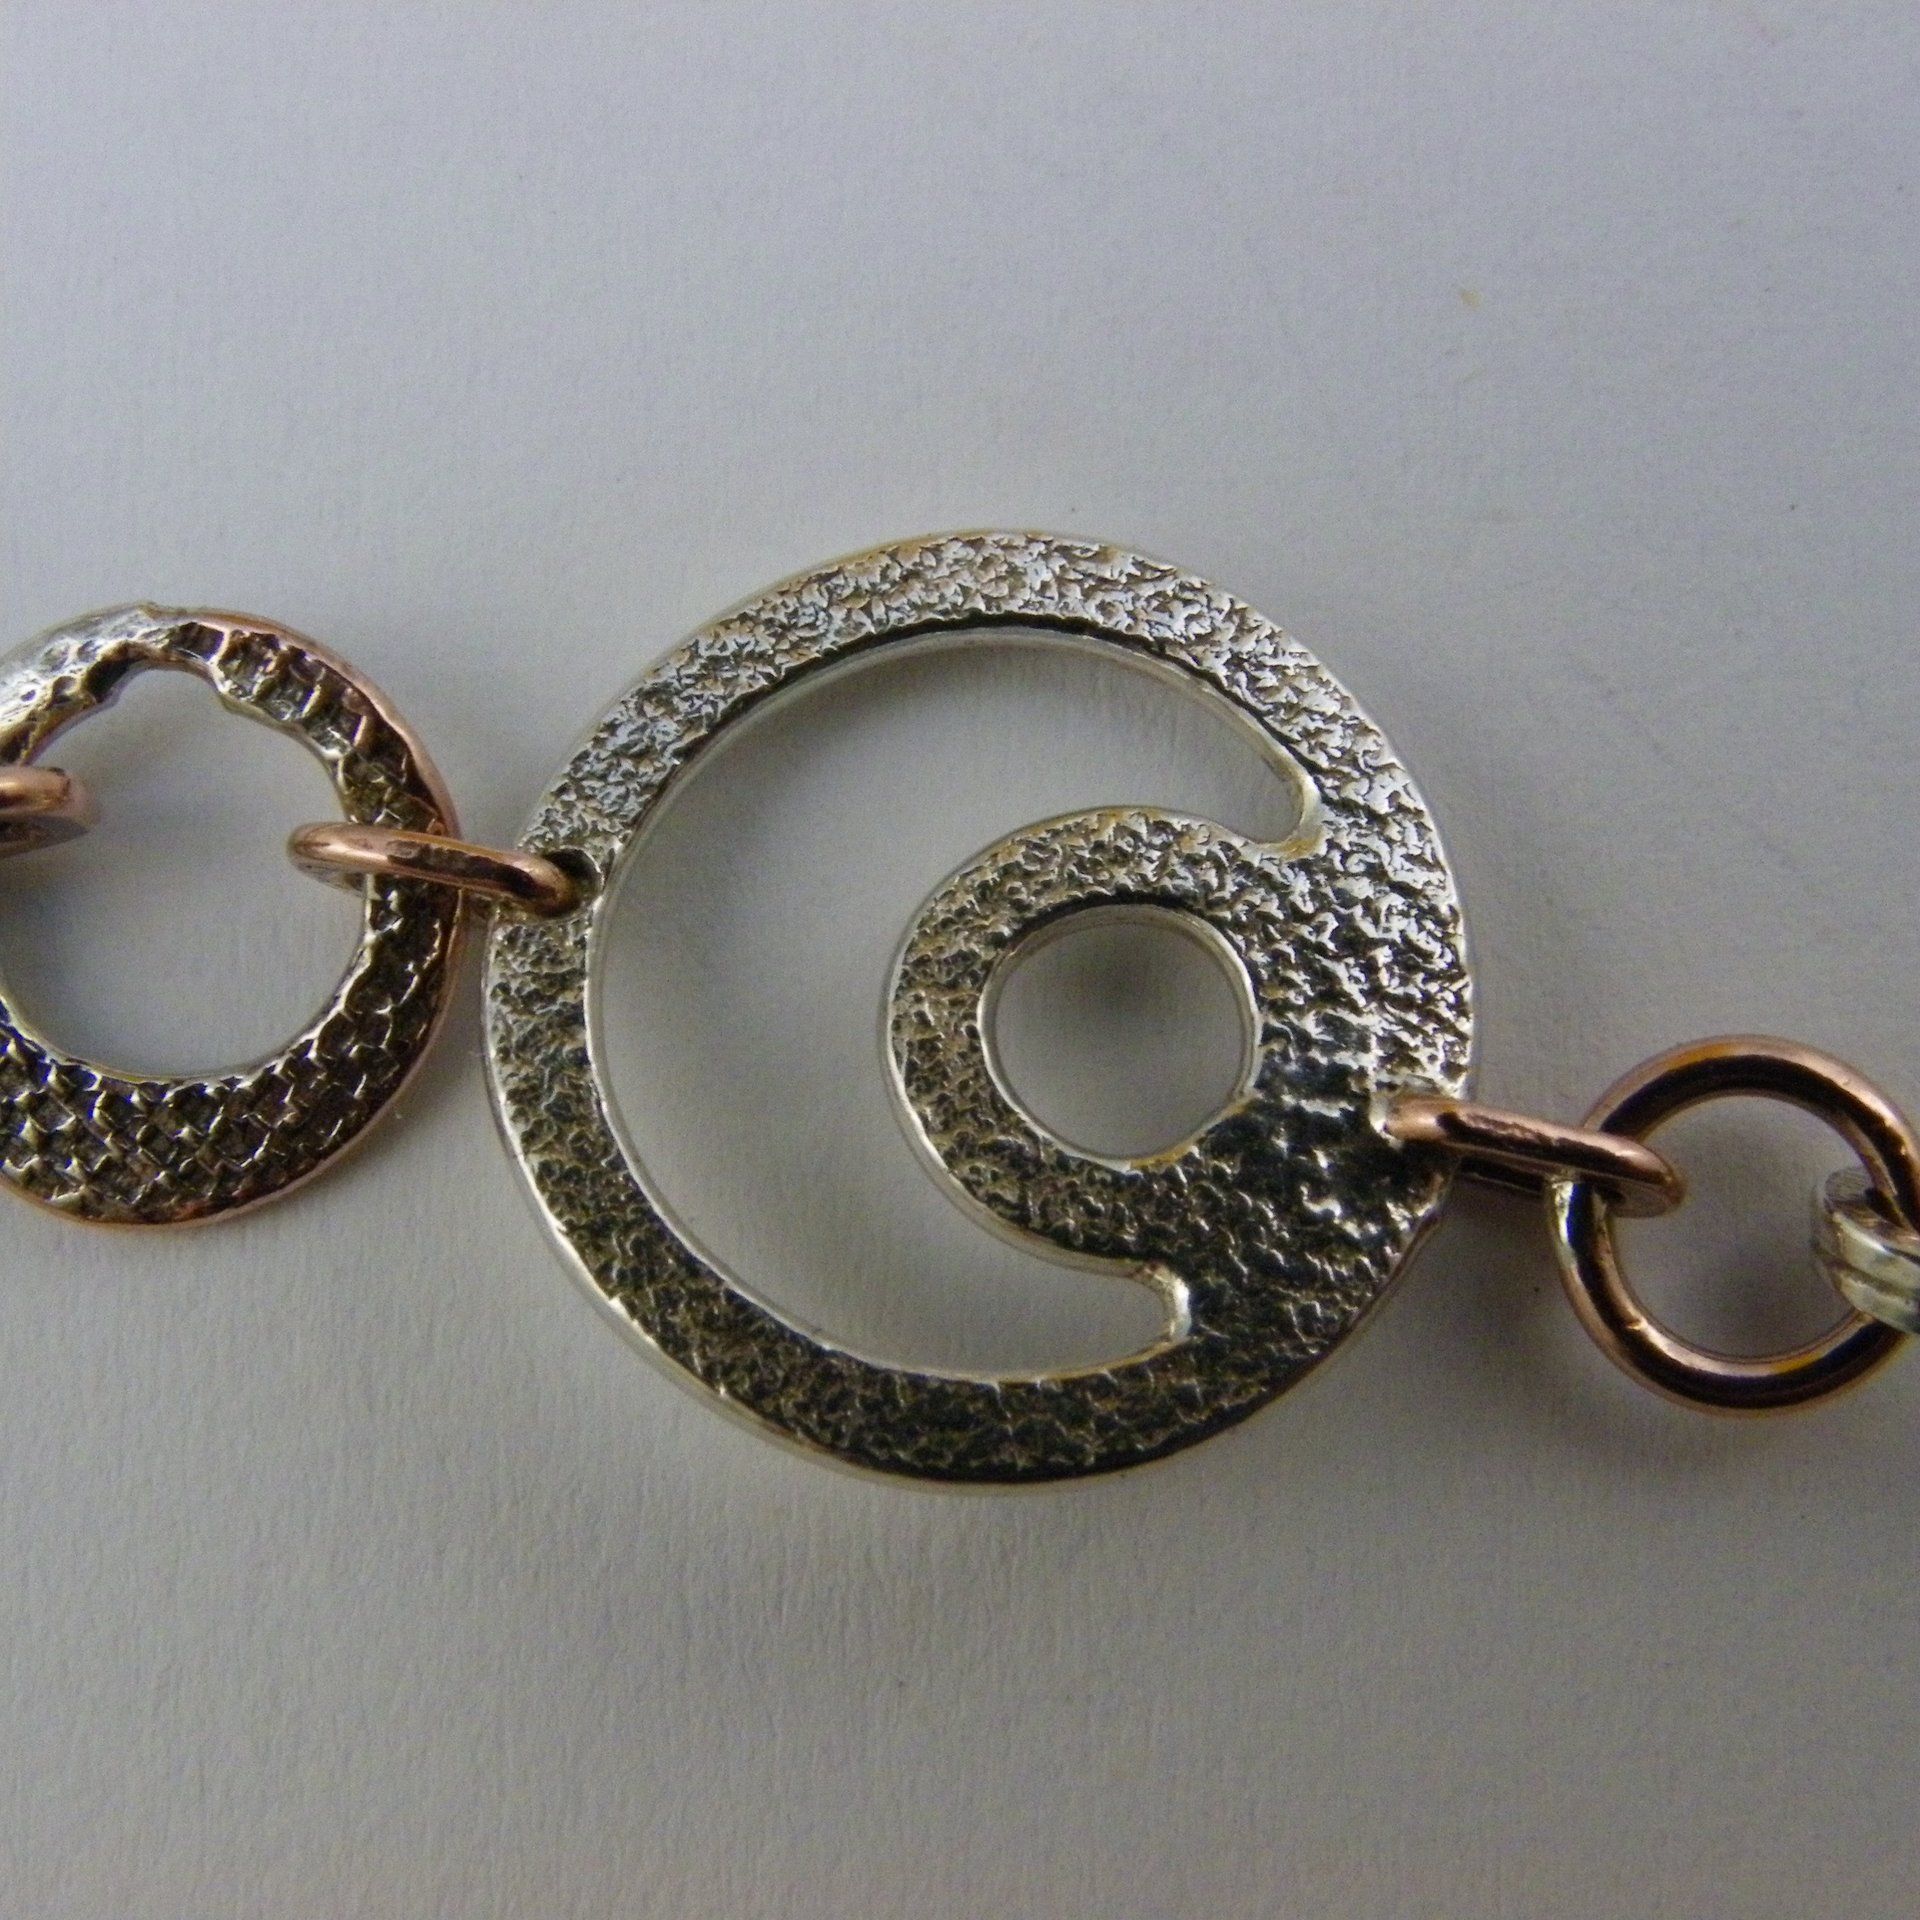
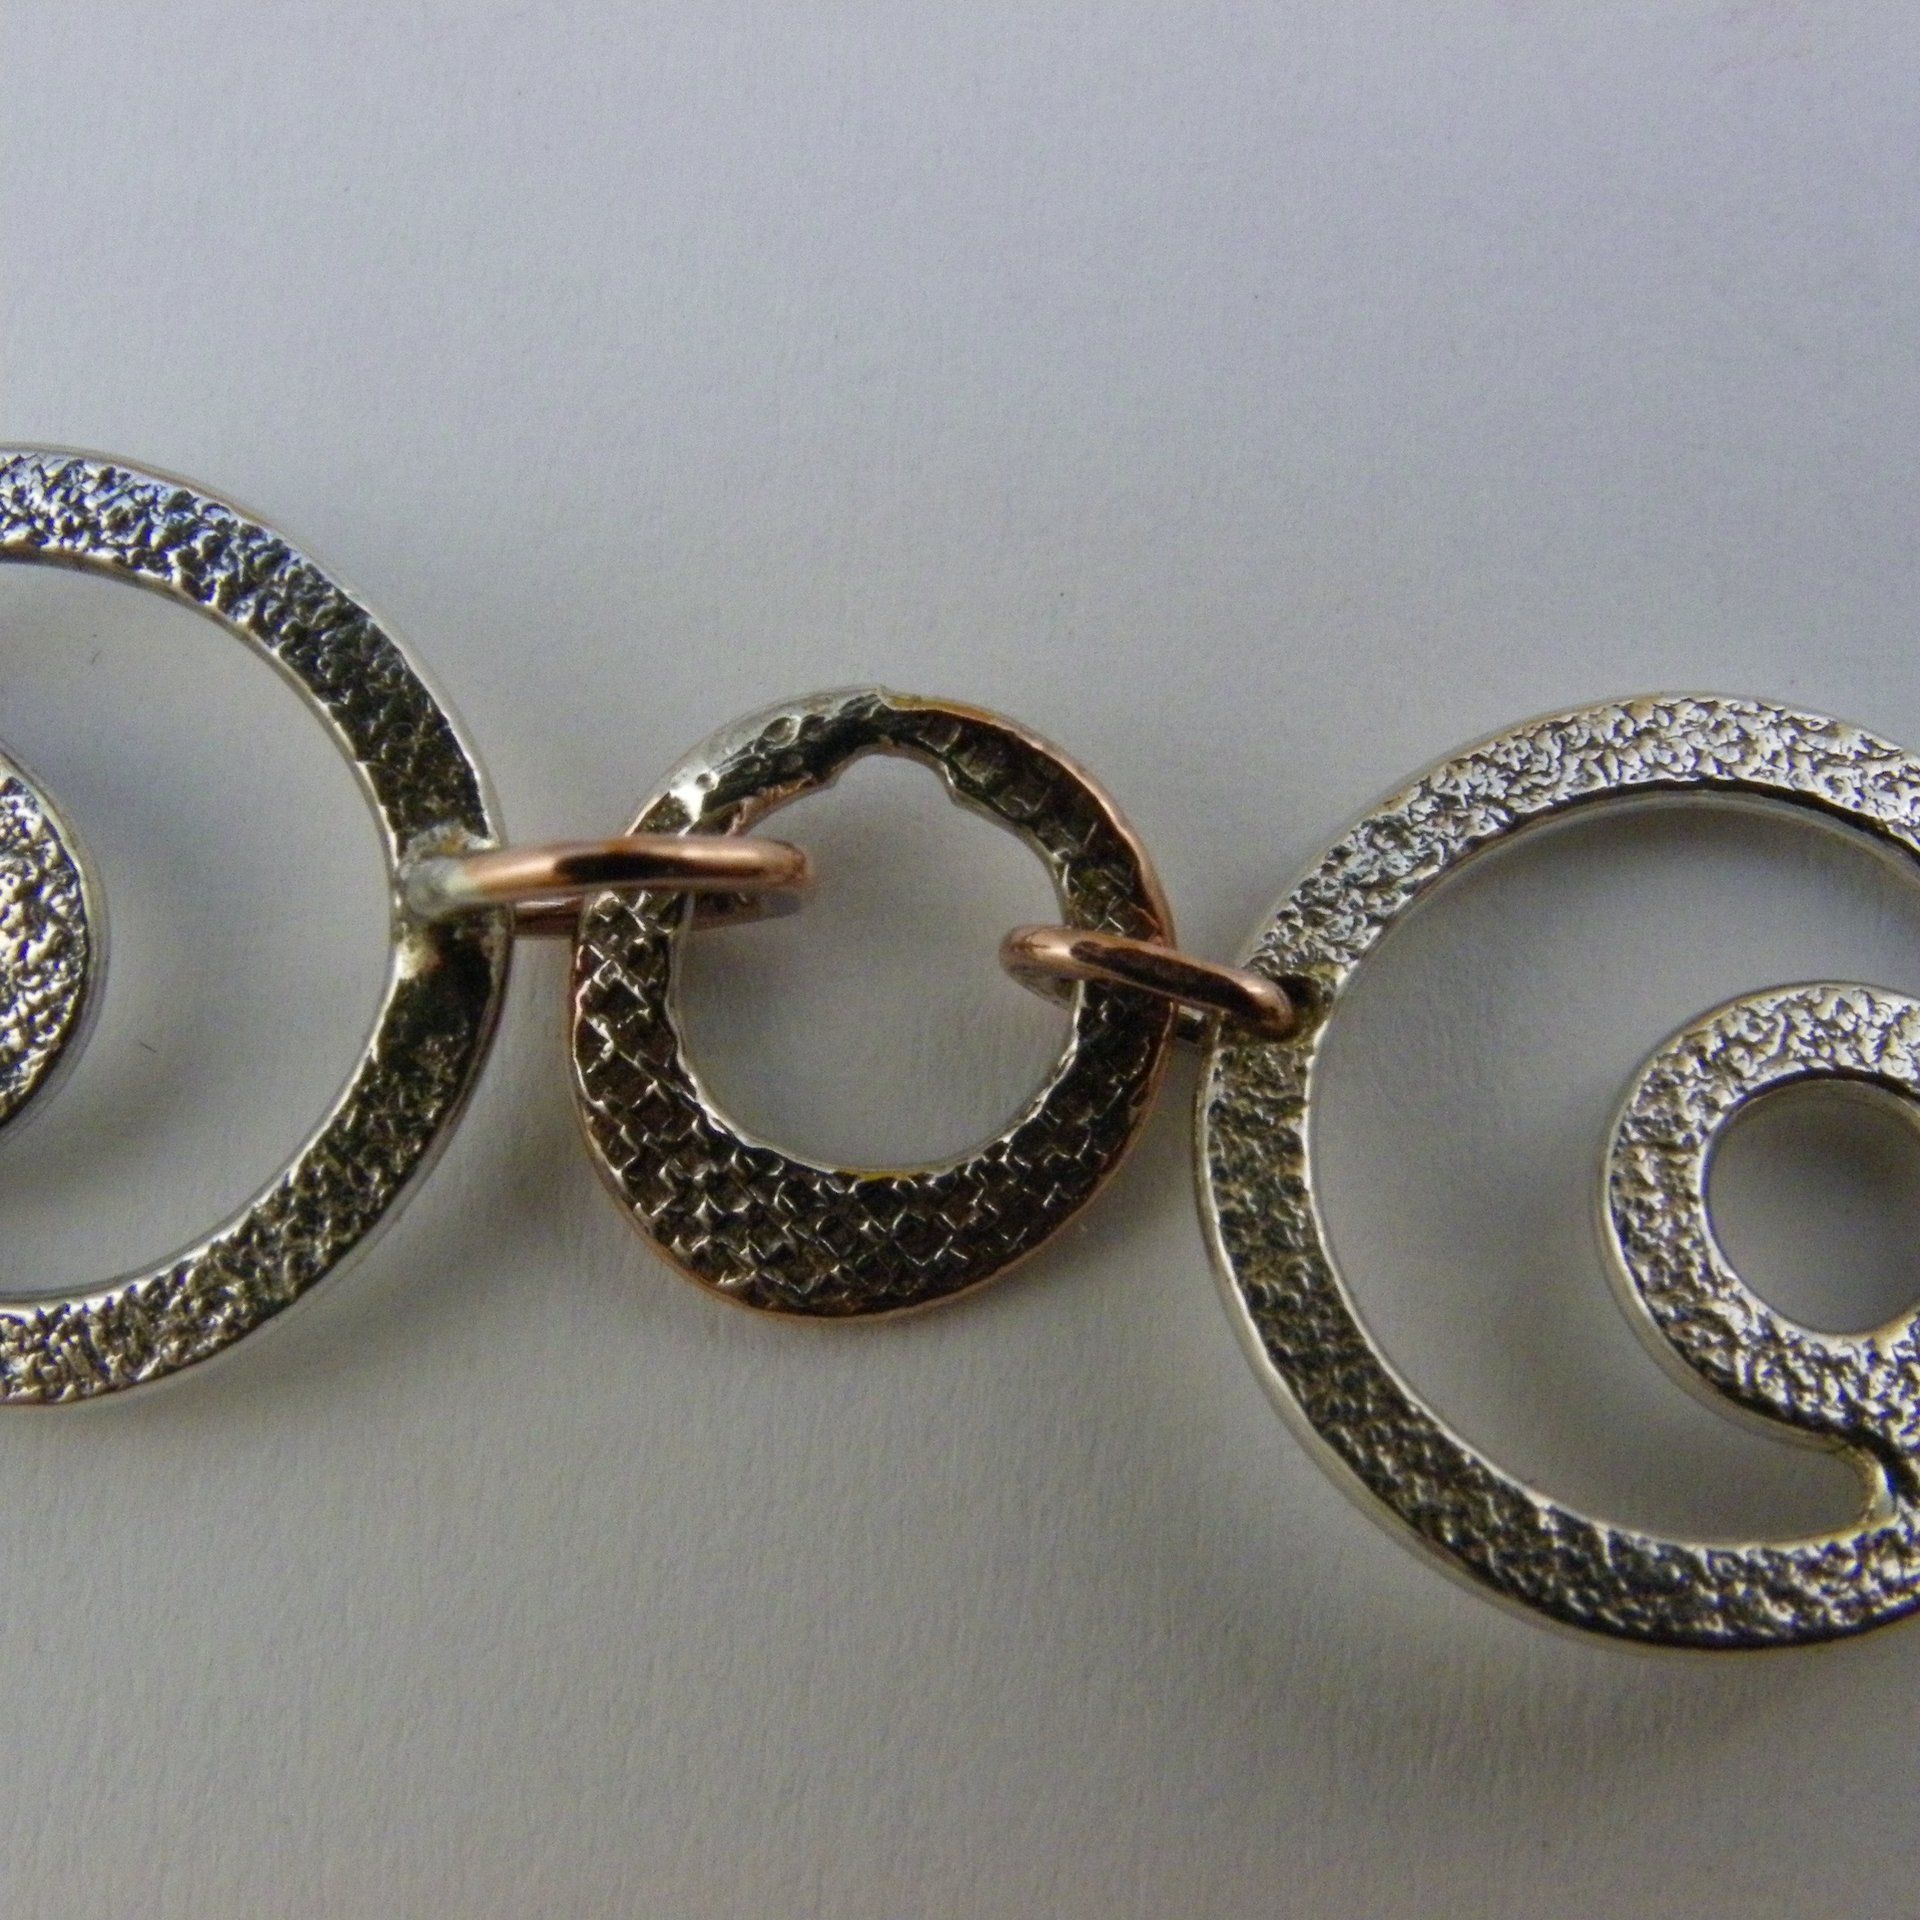
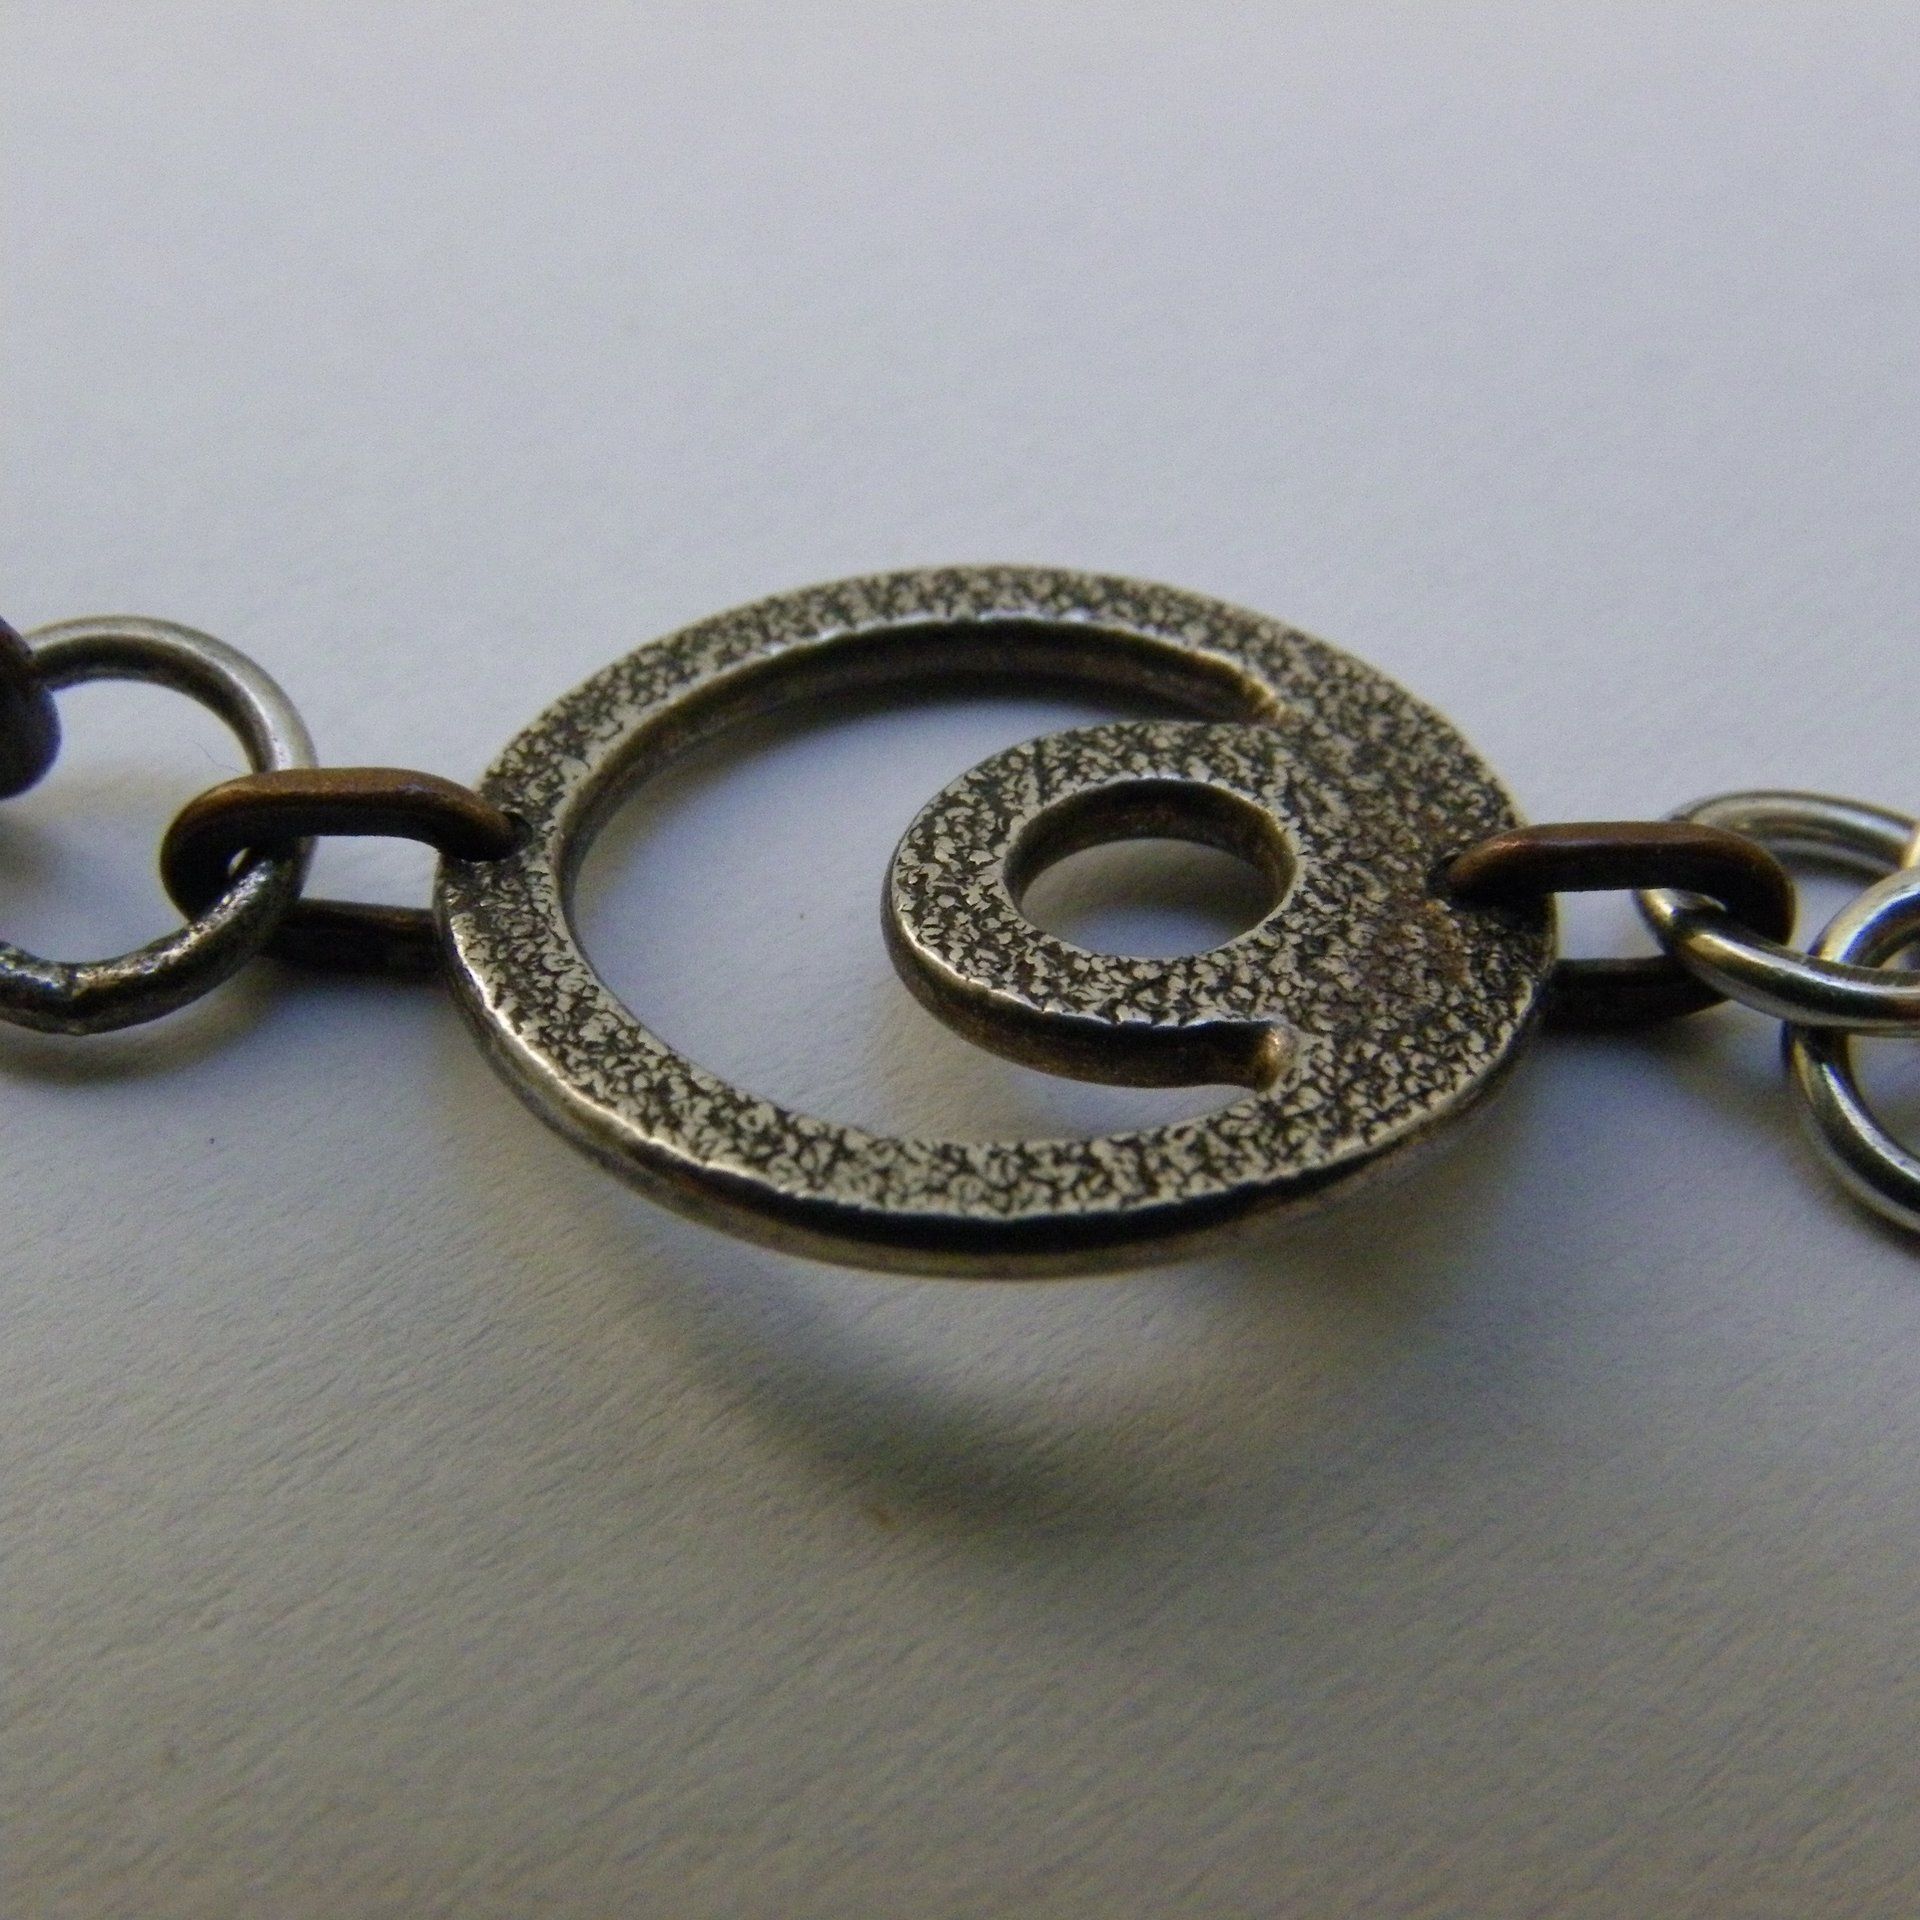
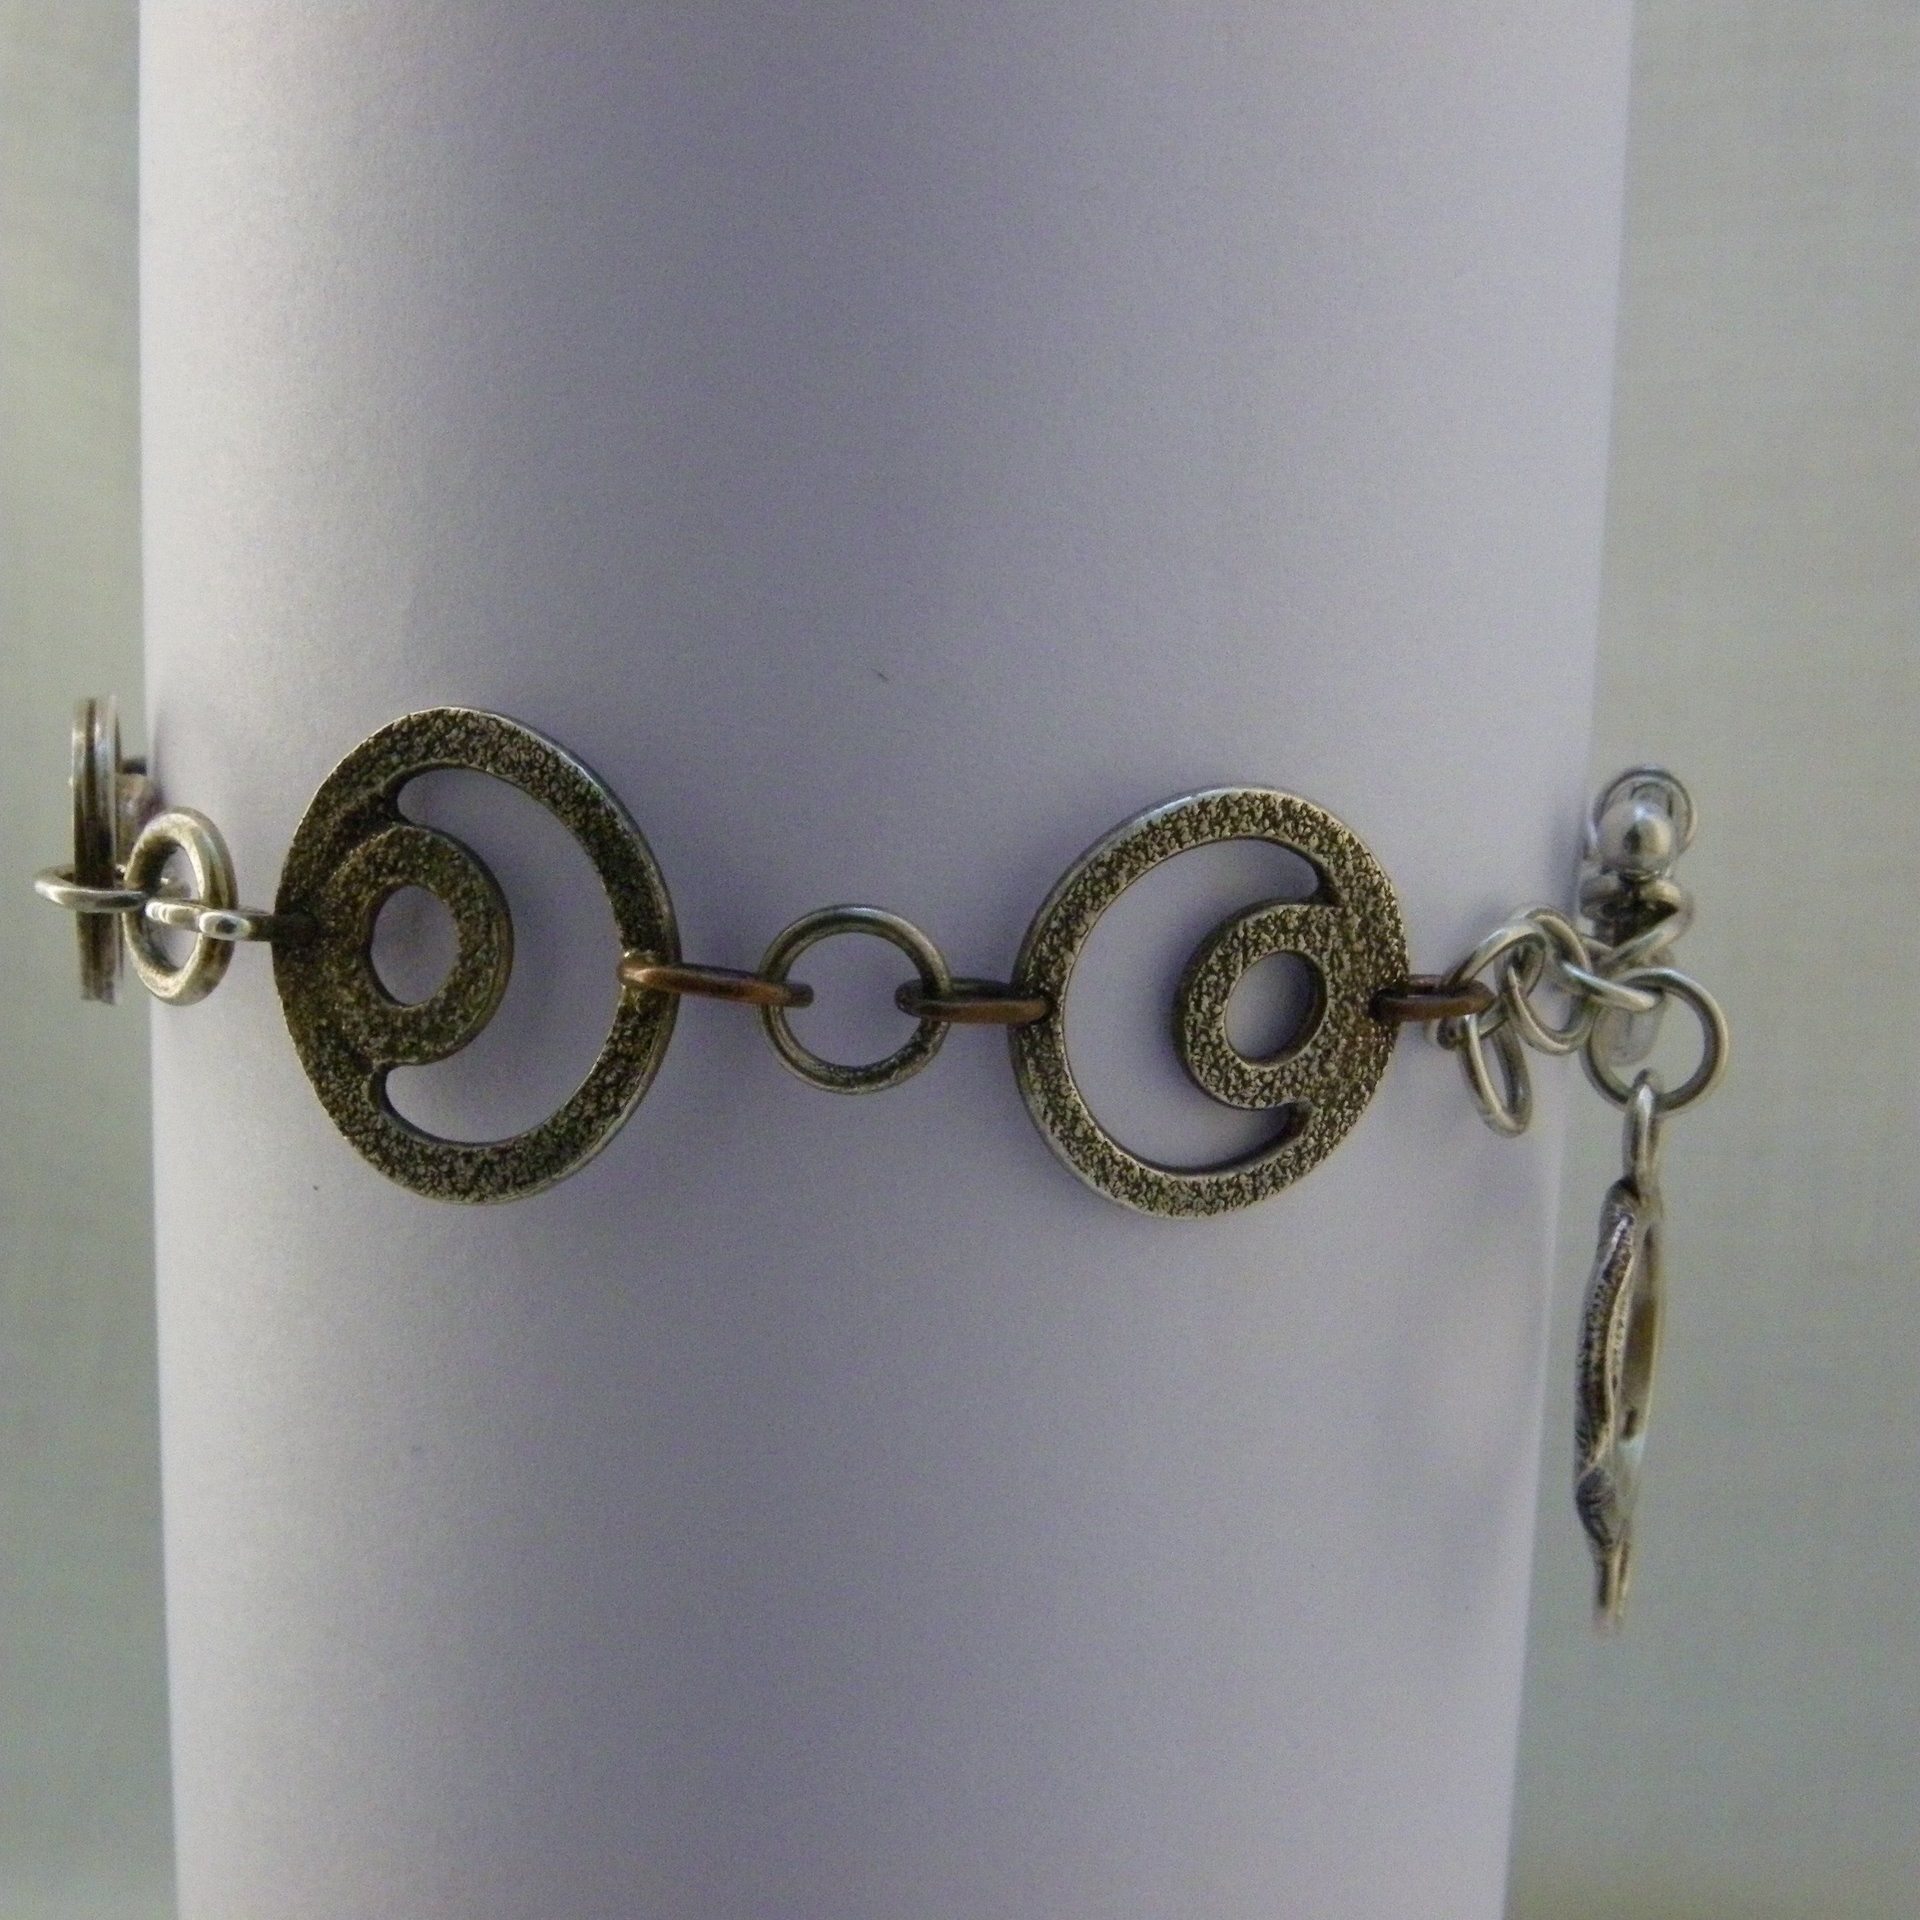
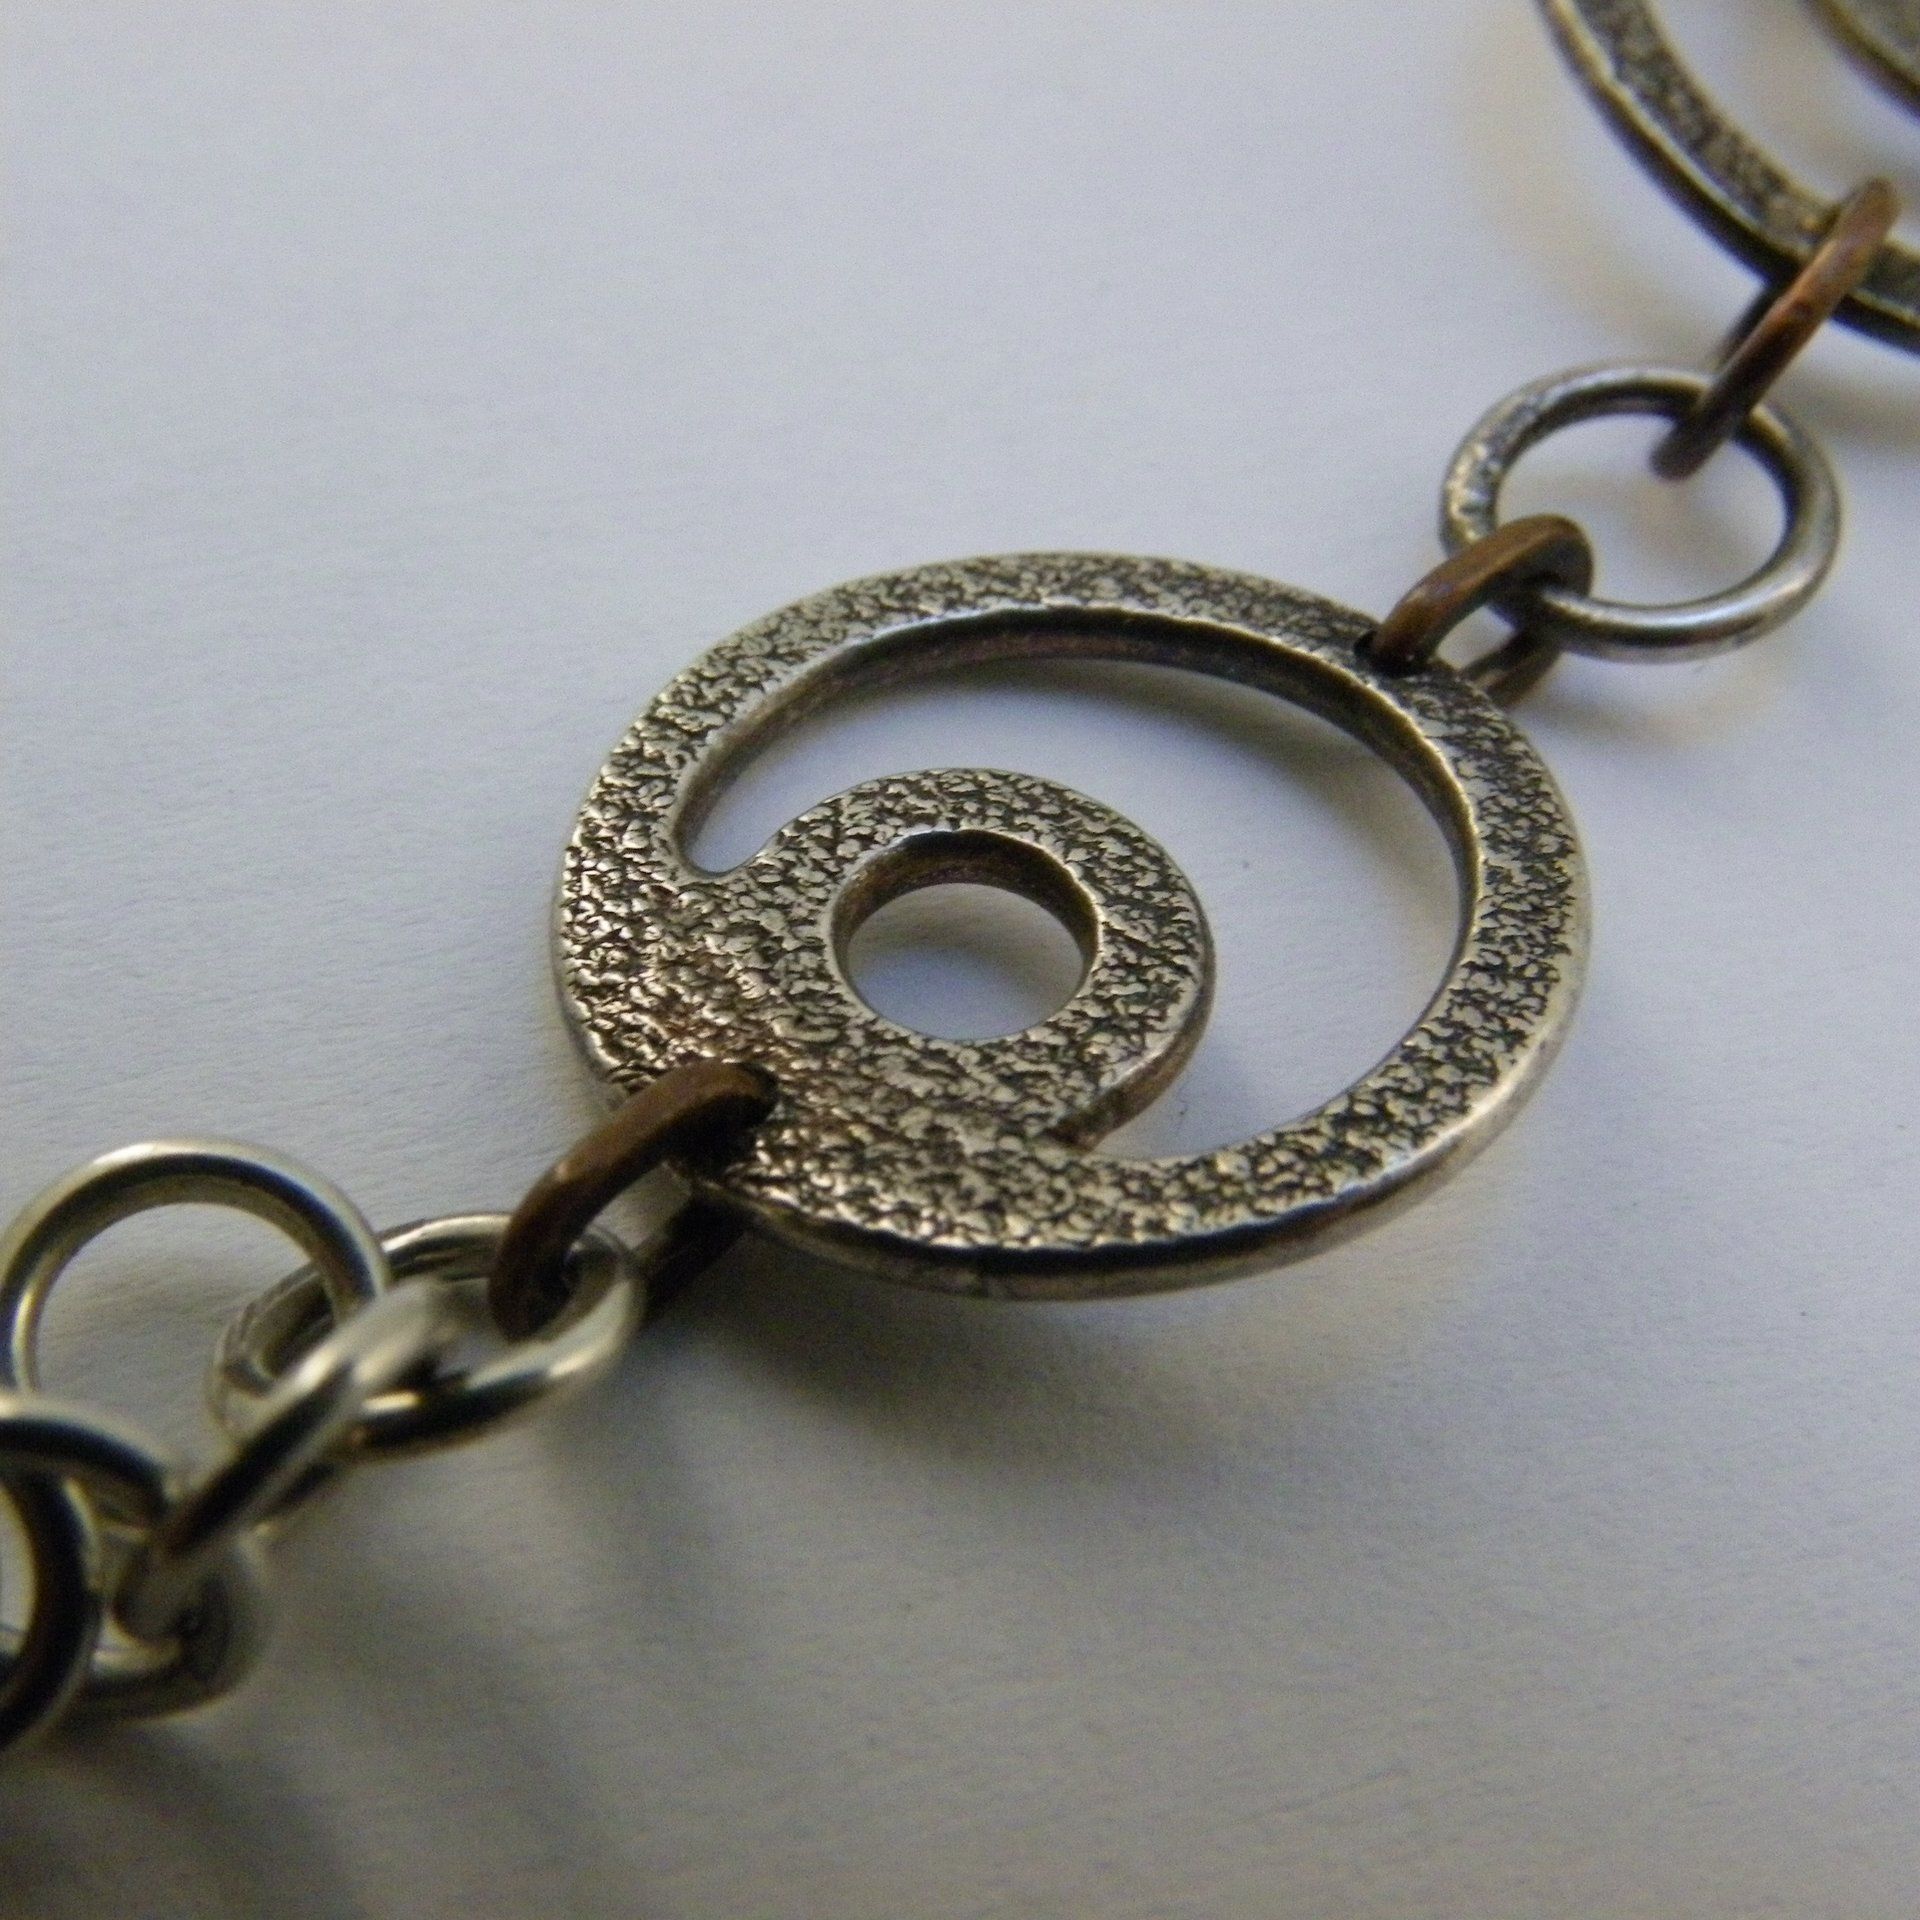
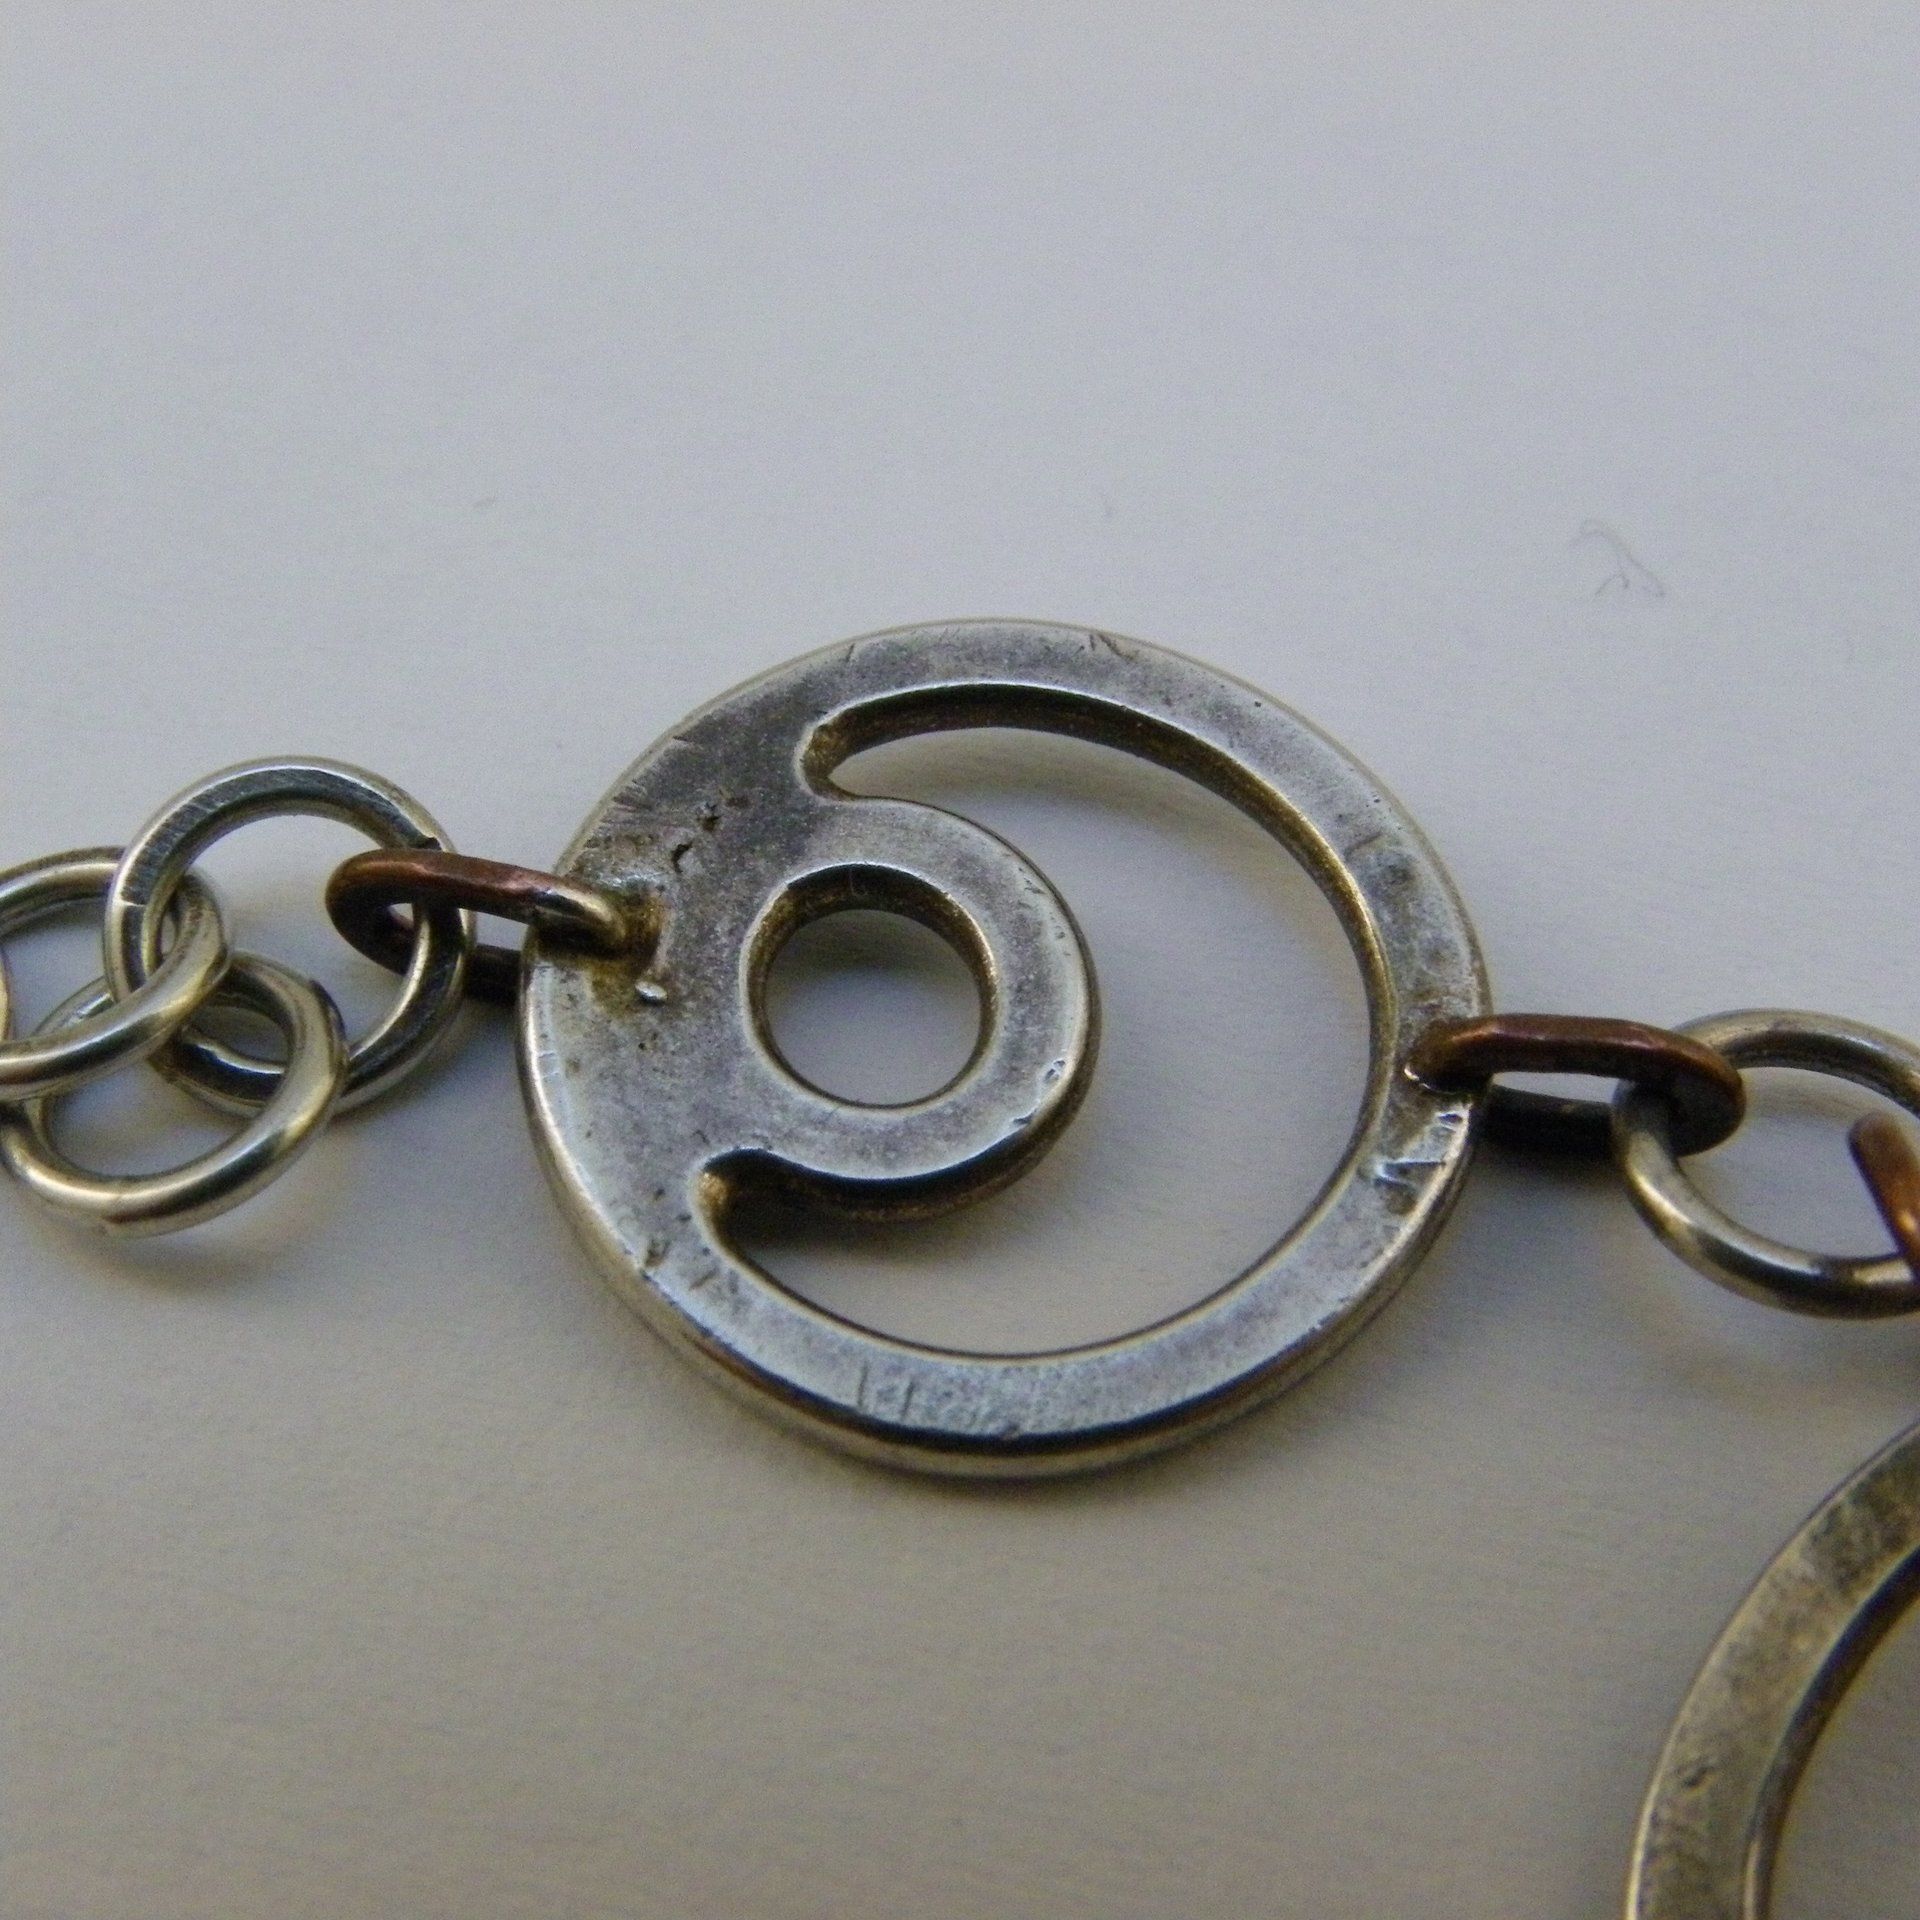
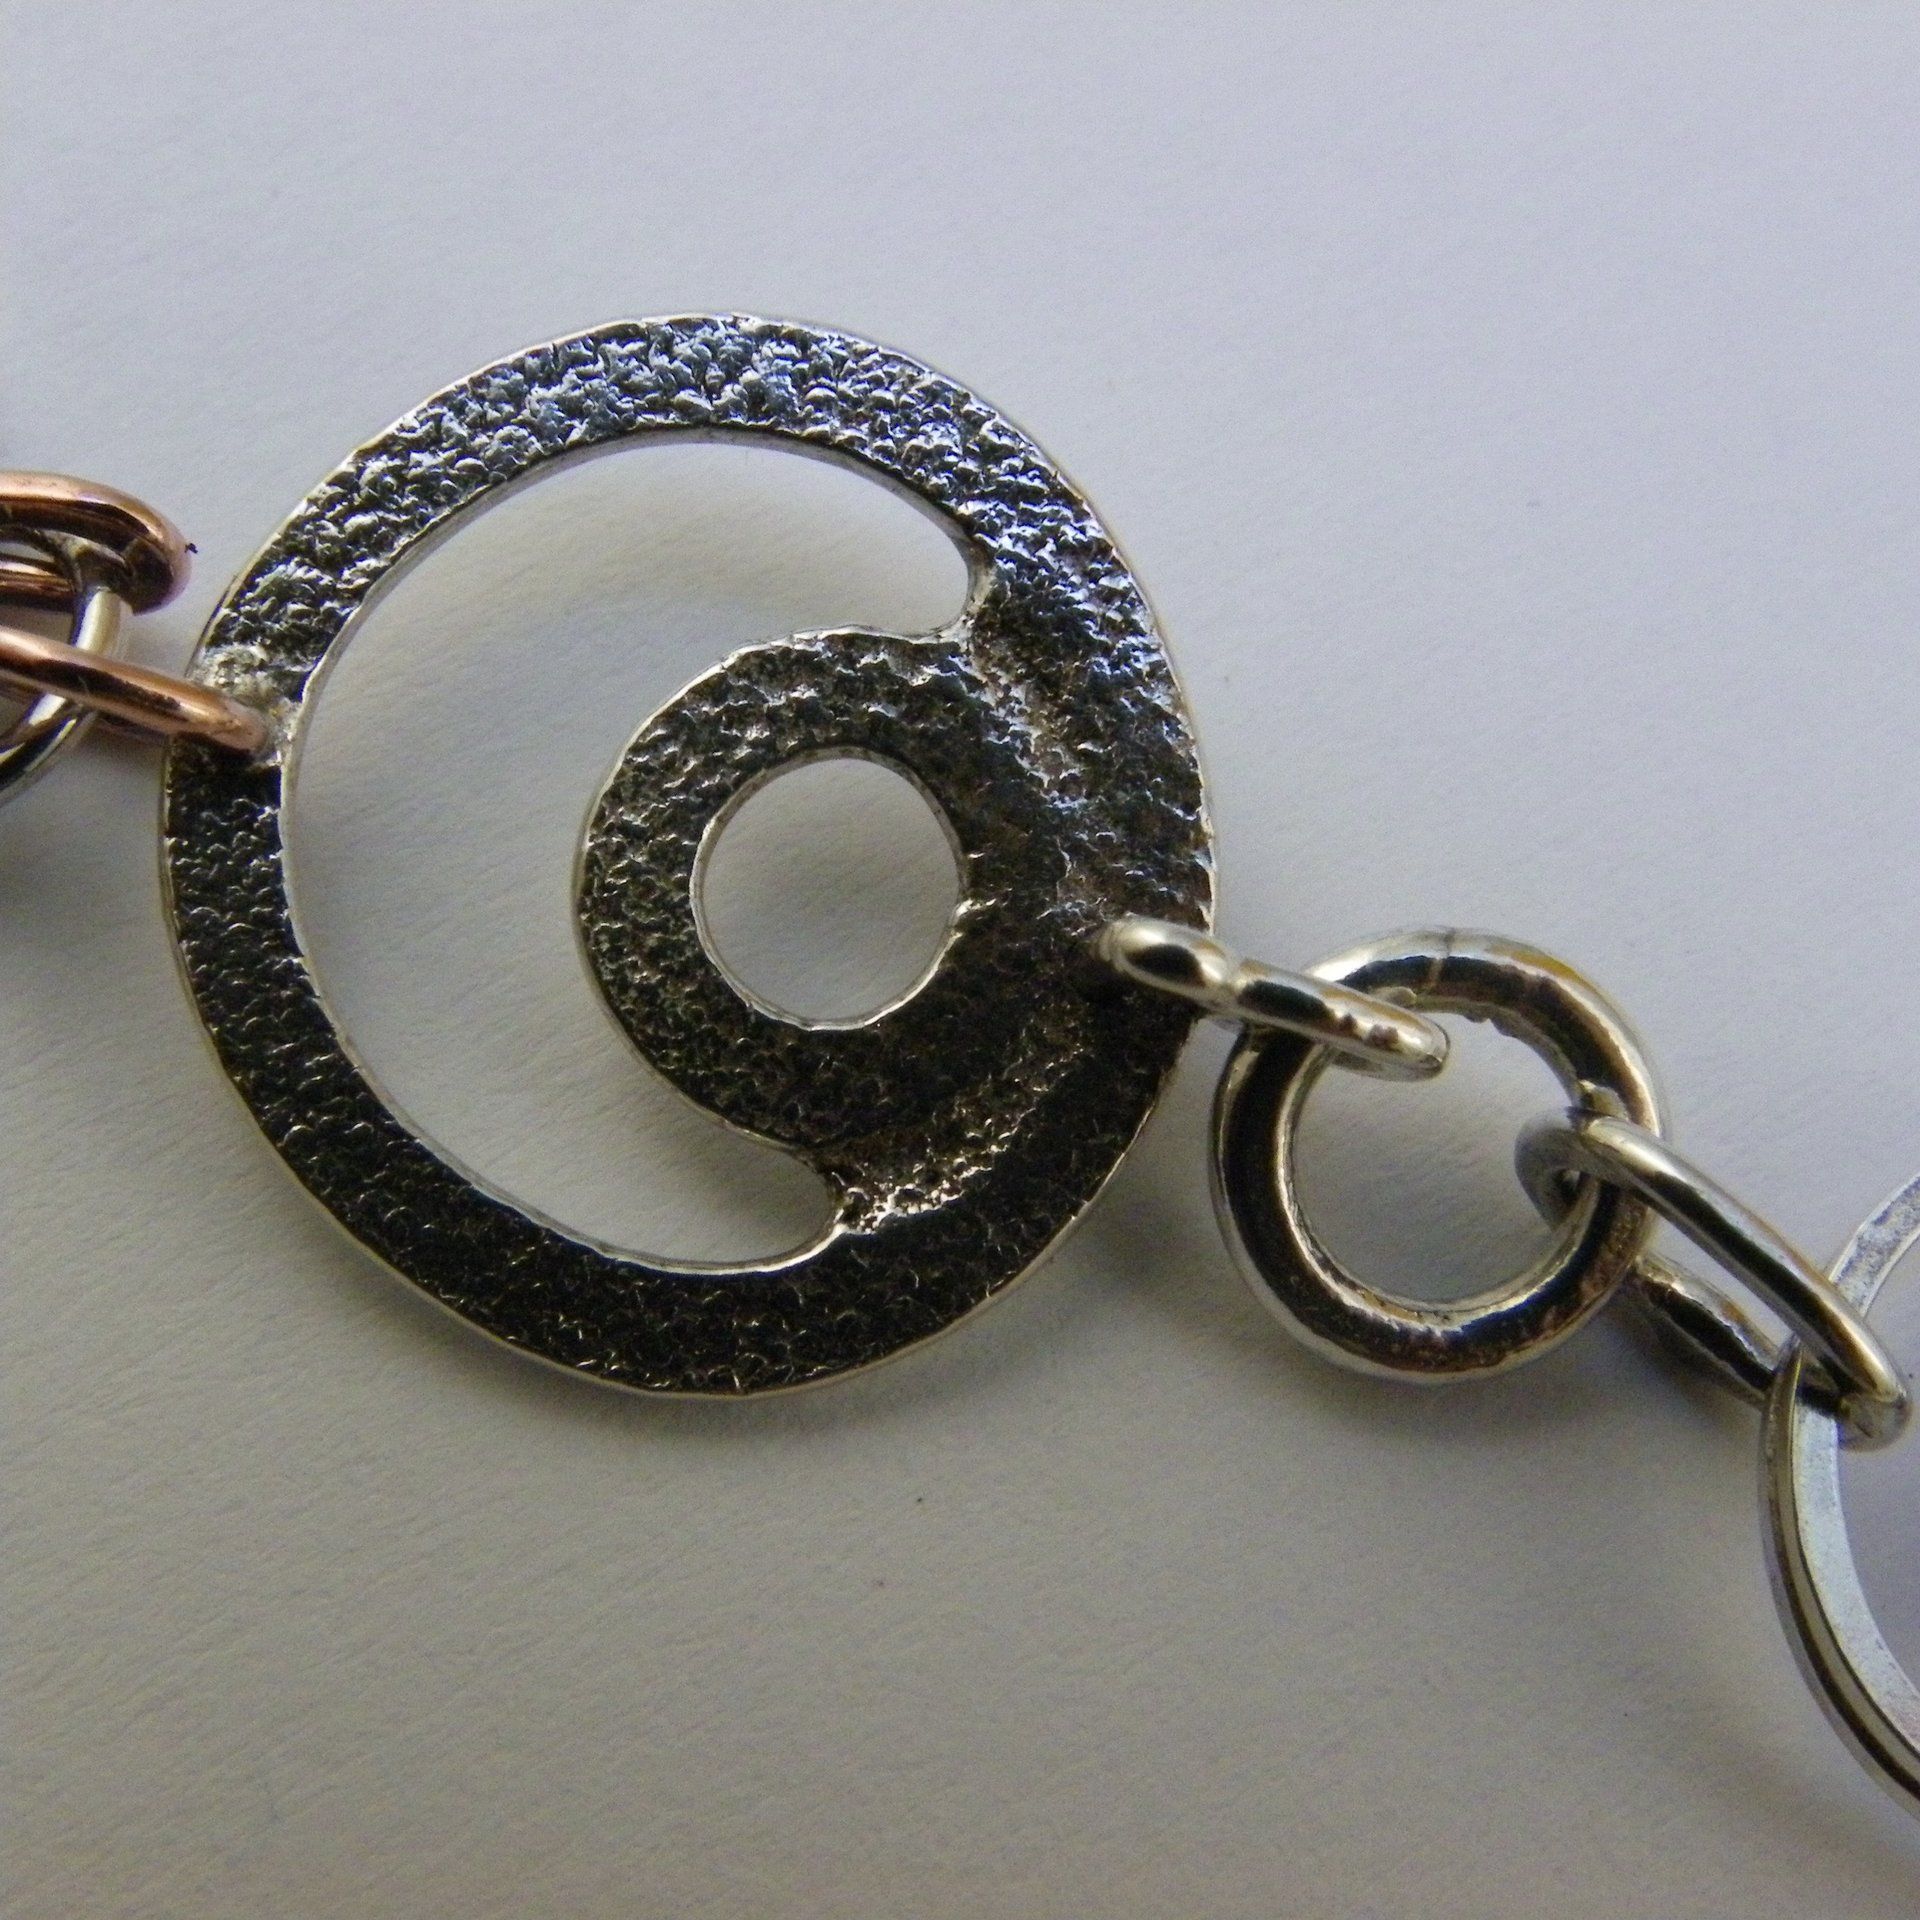
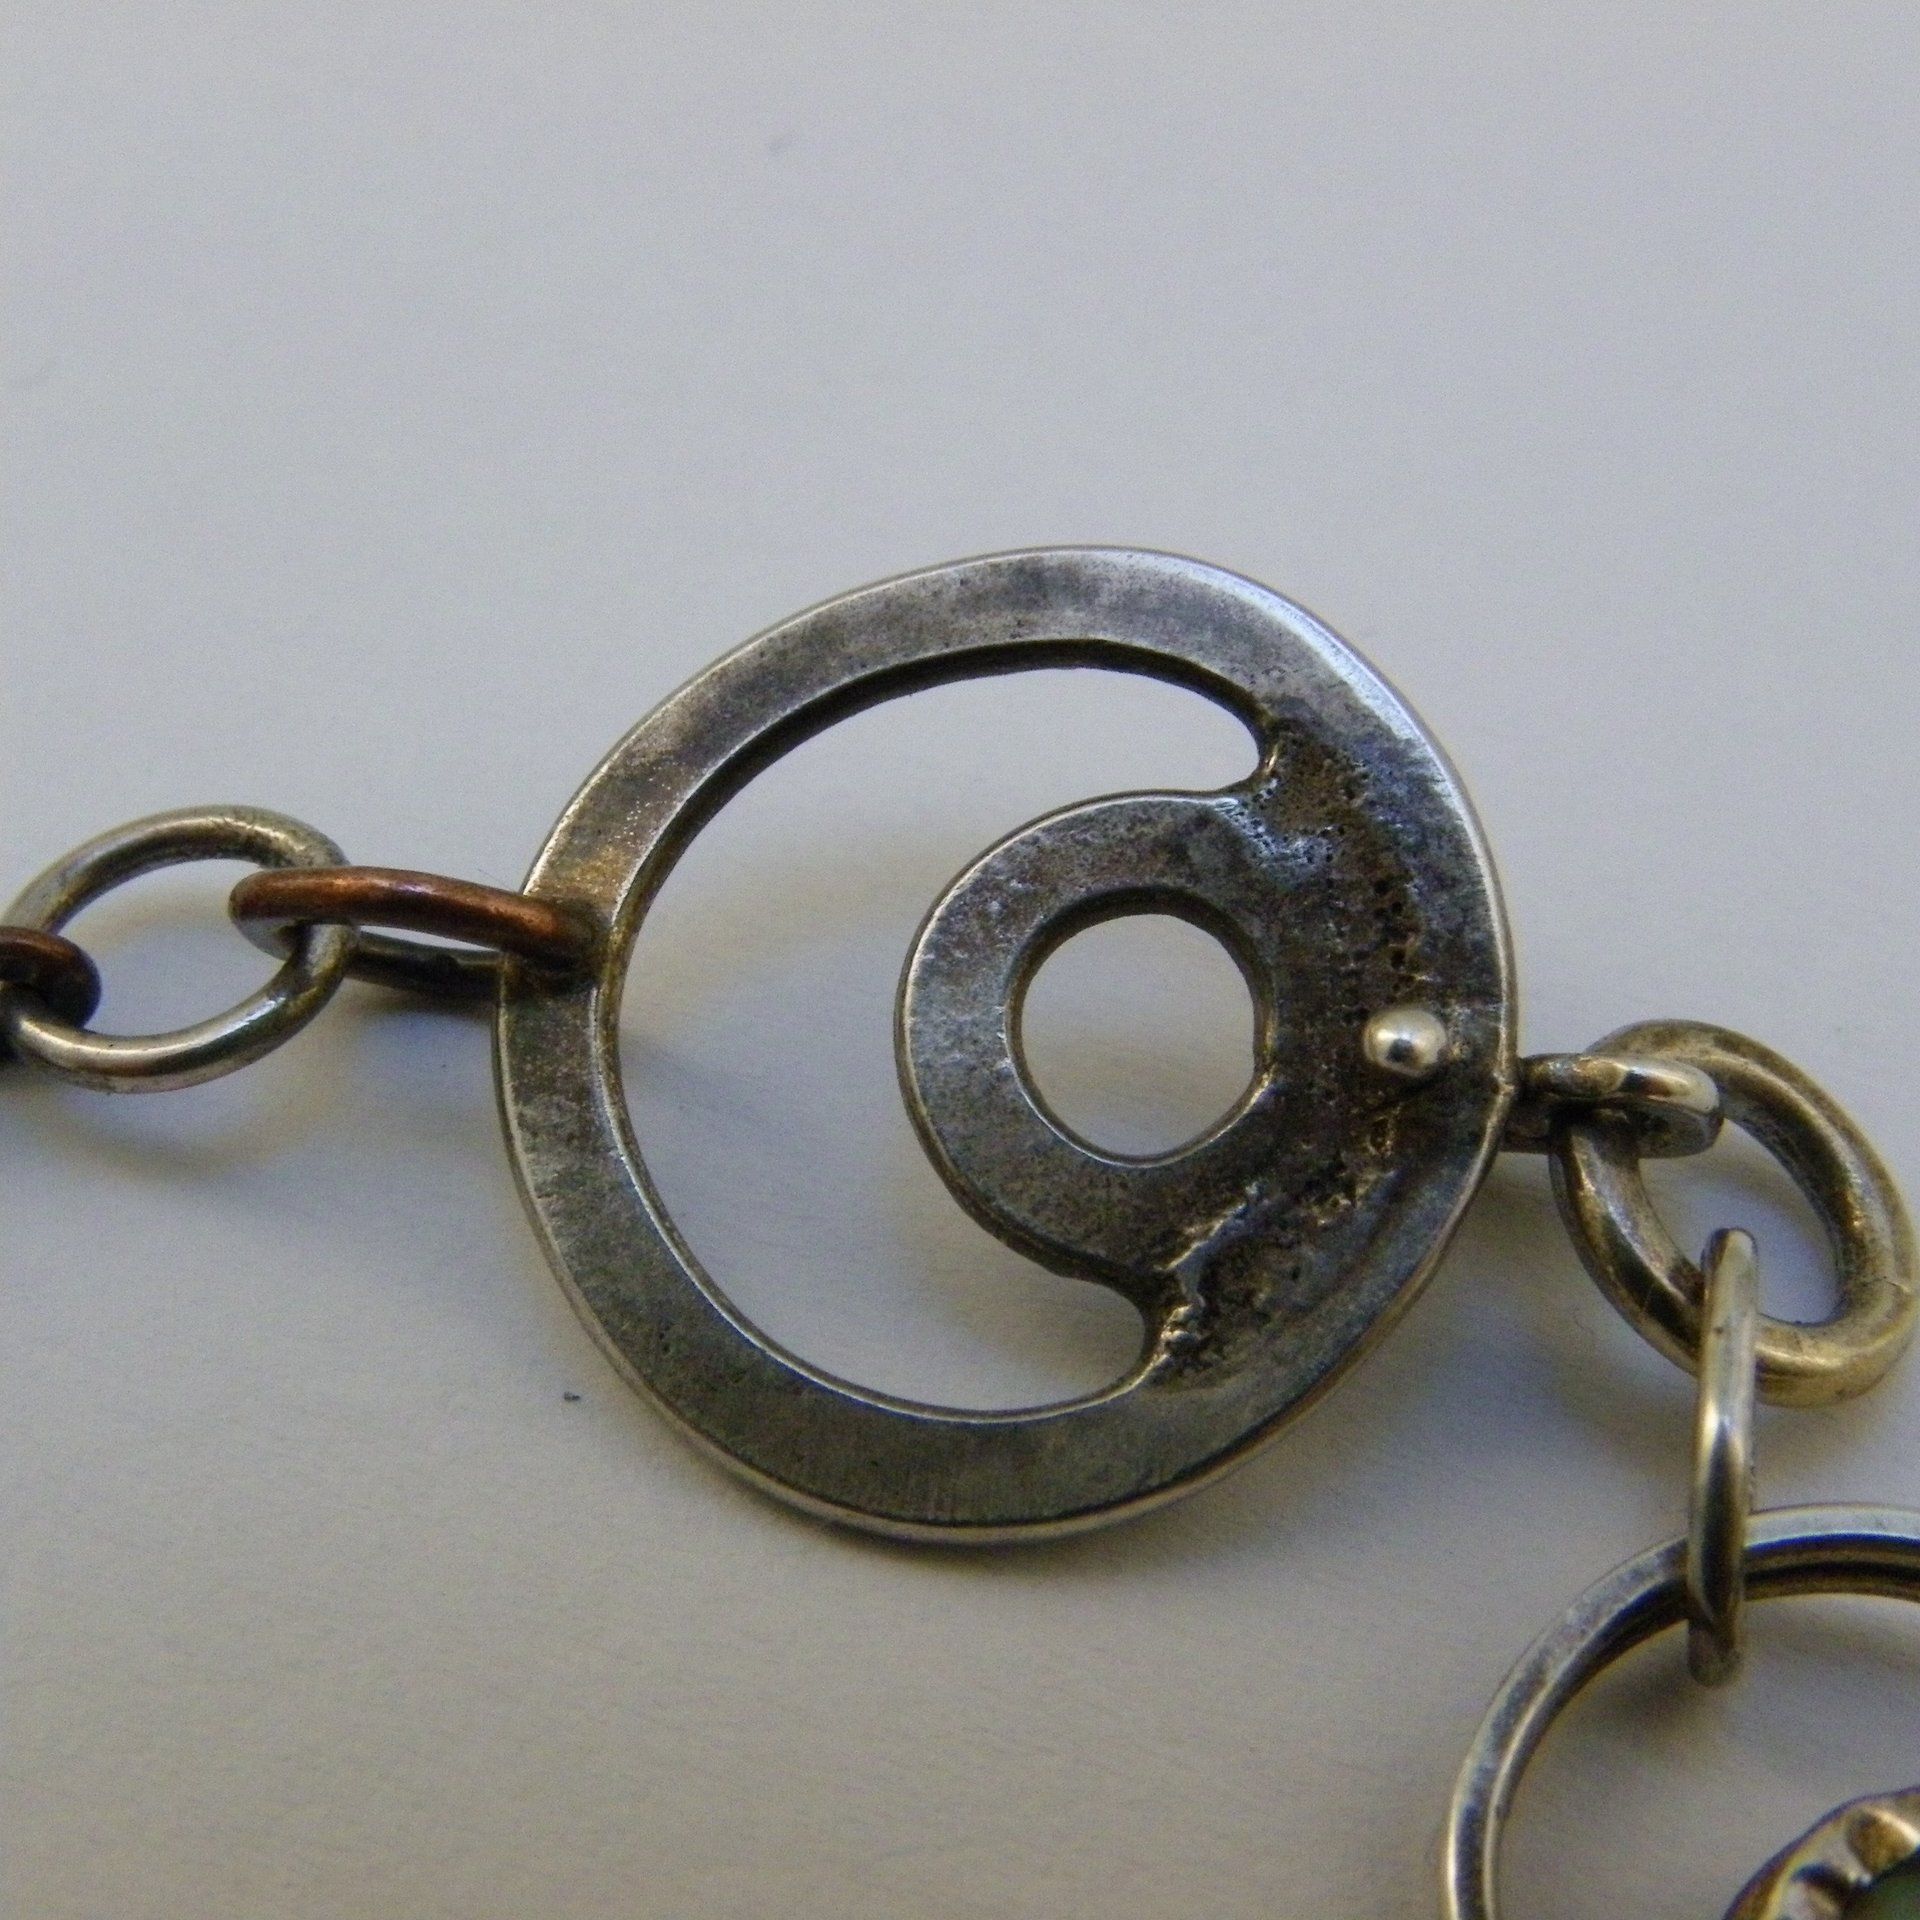
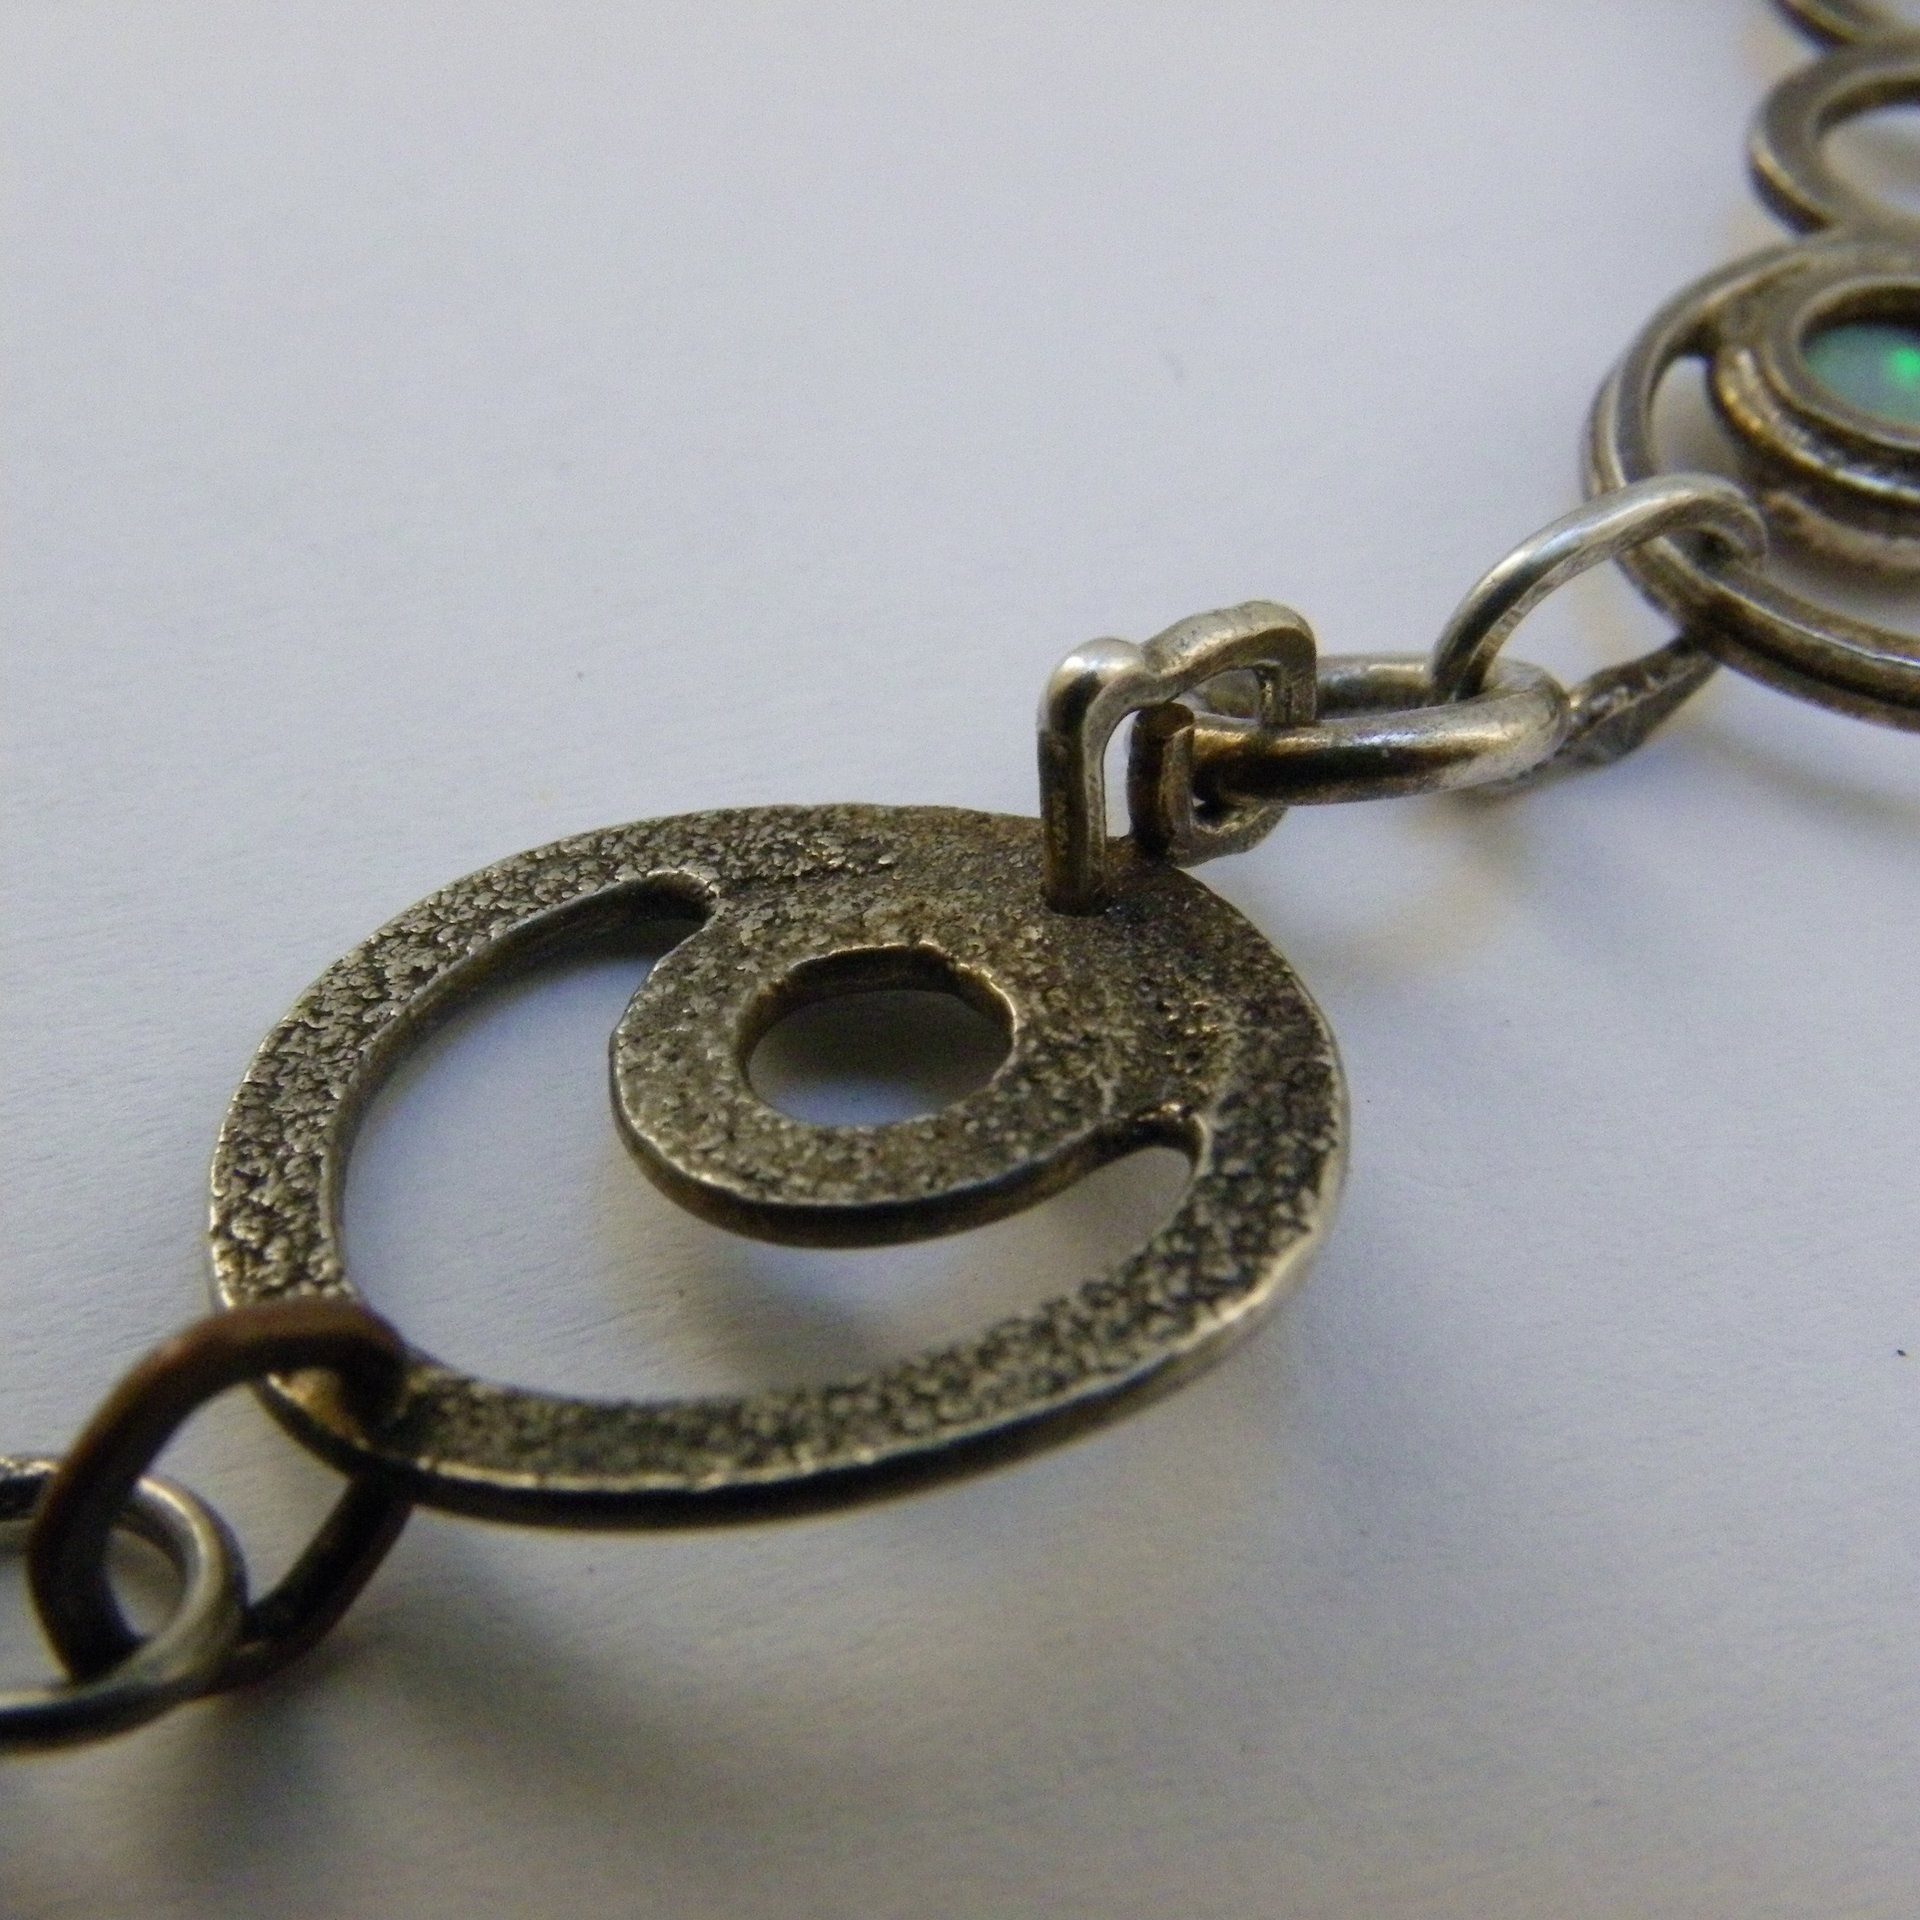
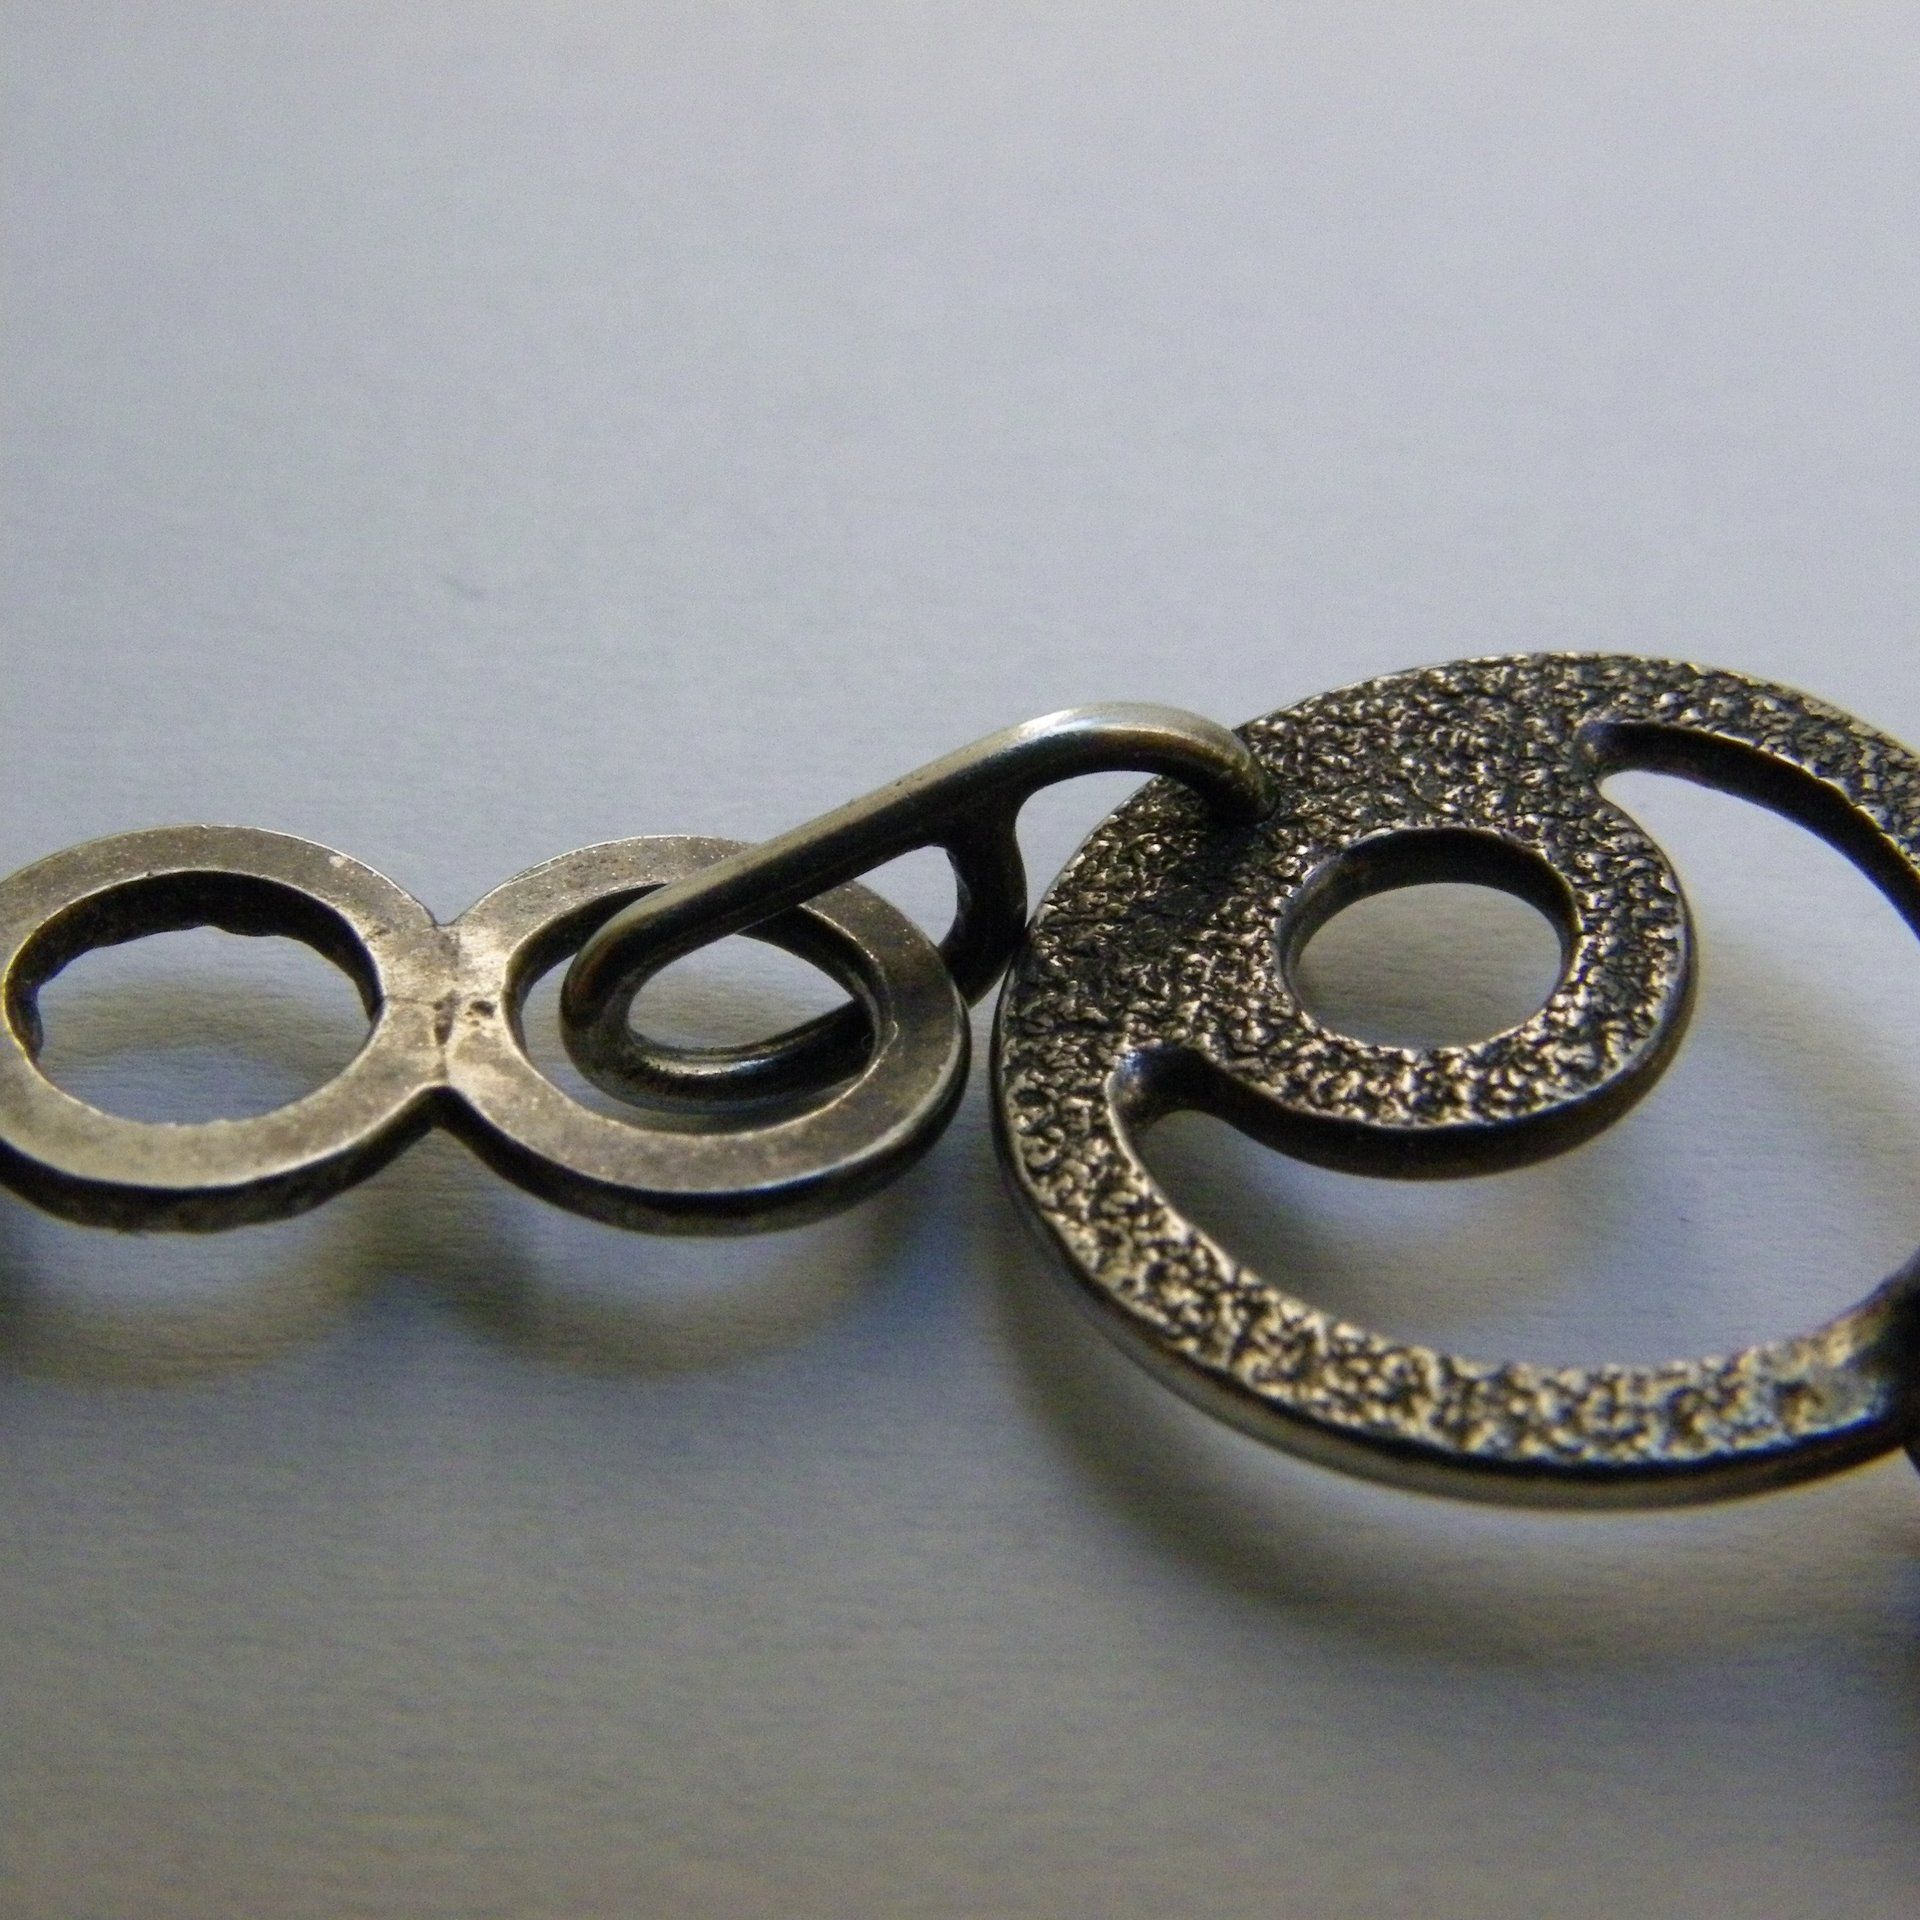
The Original Quarter Moon:
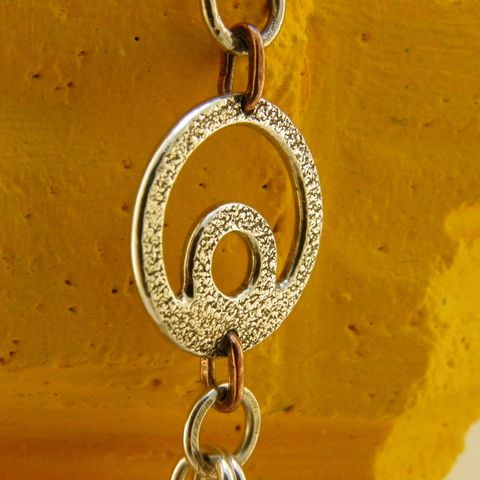
This is a spare link left over from a bracelet that I made. 1.2mm wire is made into jump rings that are soldered together and rolled out. Then two 1mm holes are drilled where copper jump rings are soldered and shaped. This extra drilling takes time.
By way of illustrating why I like to get my designs into 3D as soon as possible when the original bracelet (made from six of these links) was put together there was an incredible difference in its ‘feel’ based on the weight of the interlinks used. I was consciously attempting to make a gent’s bracelet and when the interlinks were too fine the effect was ruined. But there is a limit to the weight of interlink that you can have. If the interlink is to chunky it will not move freely.
You can draw your design as much as you like but you cannot be certain about what the limits are with the components you are using until you've made a couple of examples and put them together. Often, it is a question of balancing all the parameters to achieve the result closest to what you are looking to achieve.
You can see there is an awful clash between the texture on the link versus the texture on the interlink next to it. As painful as a colour clash? Well, it makes my teeth curl.
1. I like: The links thickness and general weight of the link, the contrast between the copper and the silver and, the way that the copper additions to the main link are flattened.
2. I dislike: The clash of textures between this link and its interlink, the need for drilling.
3. Consider:
I. Making clash of textures a feature, if it was within a repeat perhaps it would be interesting, I like trying to make horrible interesting.
II. Designing a three-part earring with torso and legs added to this shape to represent the fifth position of the arms in ballet. Yes, I just looked that up.
4. I would: Draw these considerations, lots.
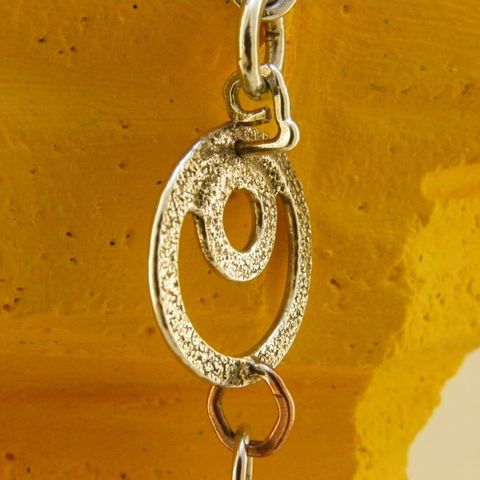
Link 07: The Long Reach
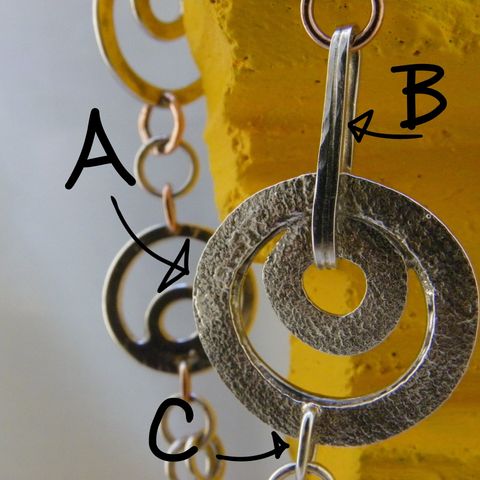
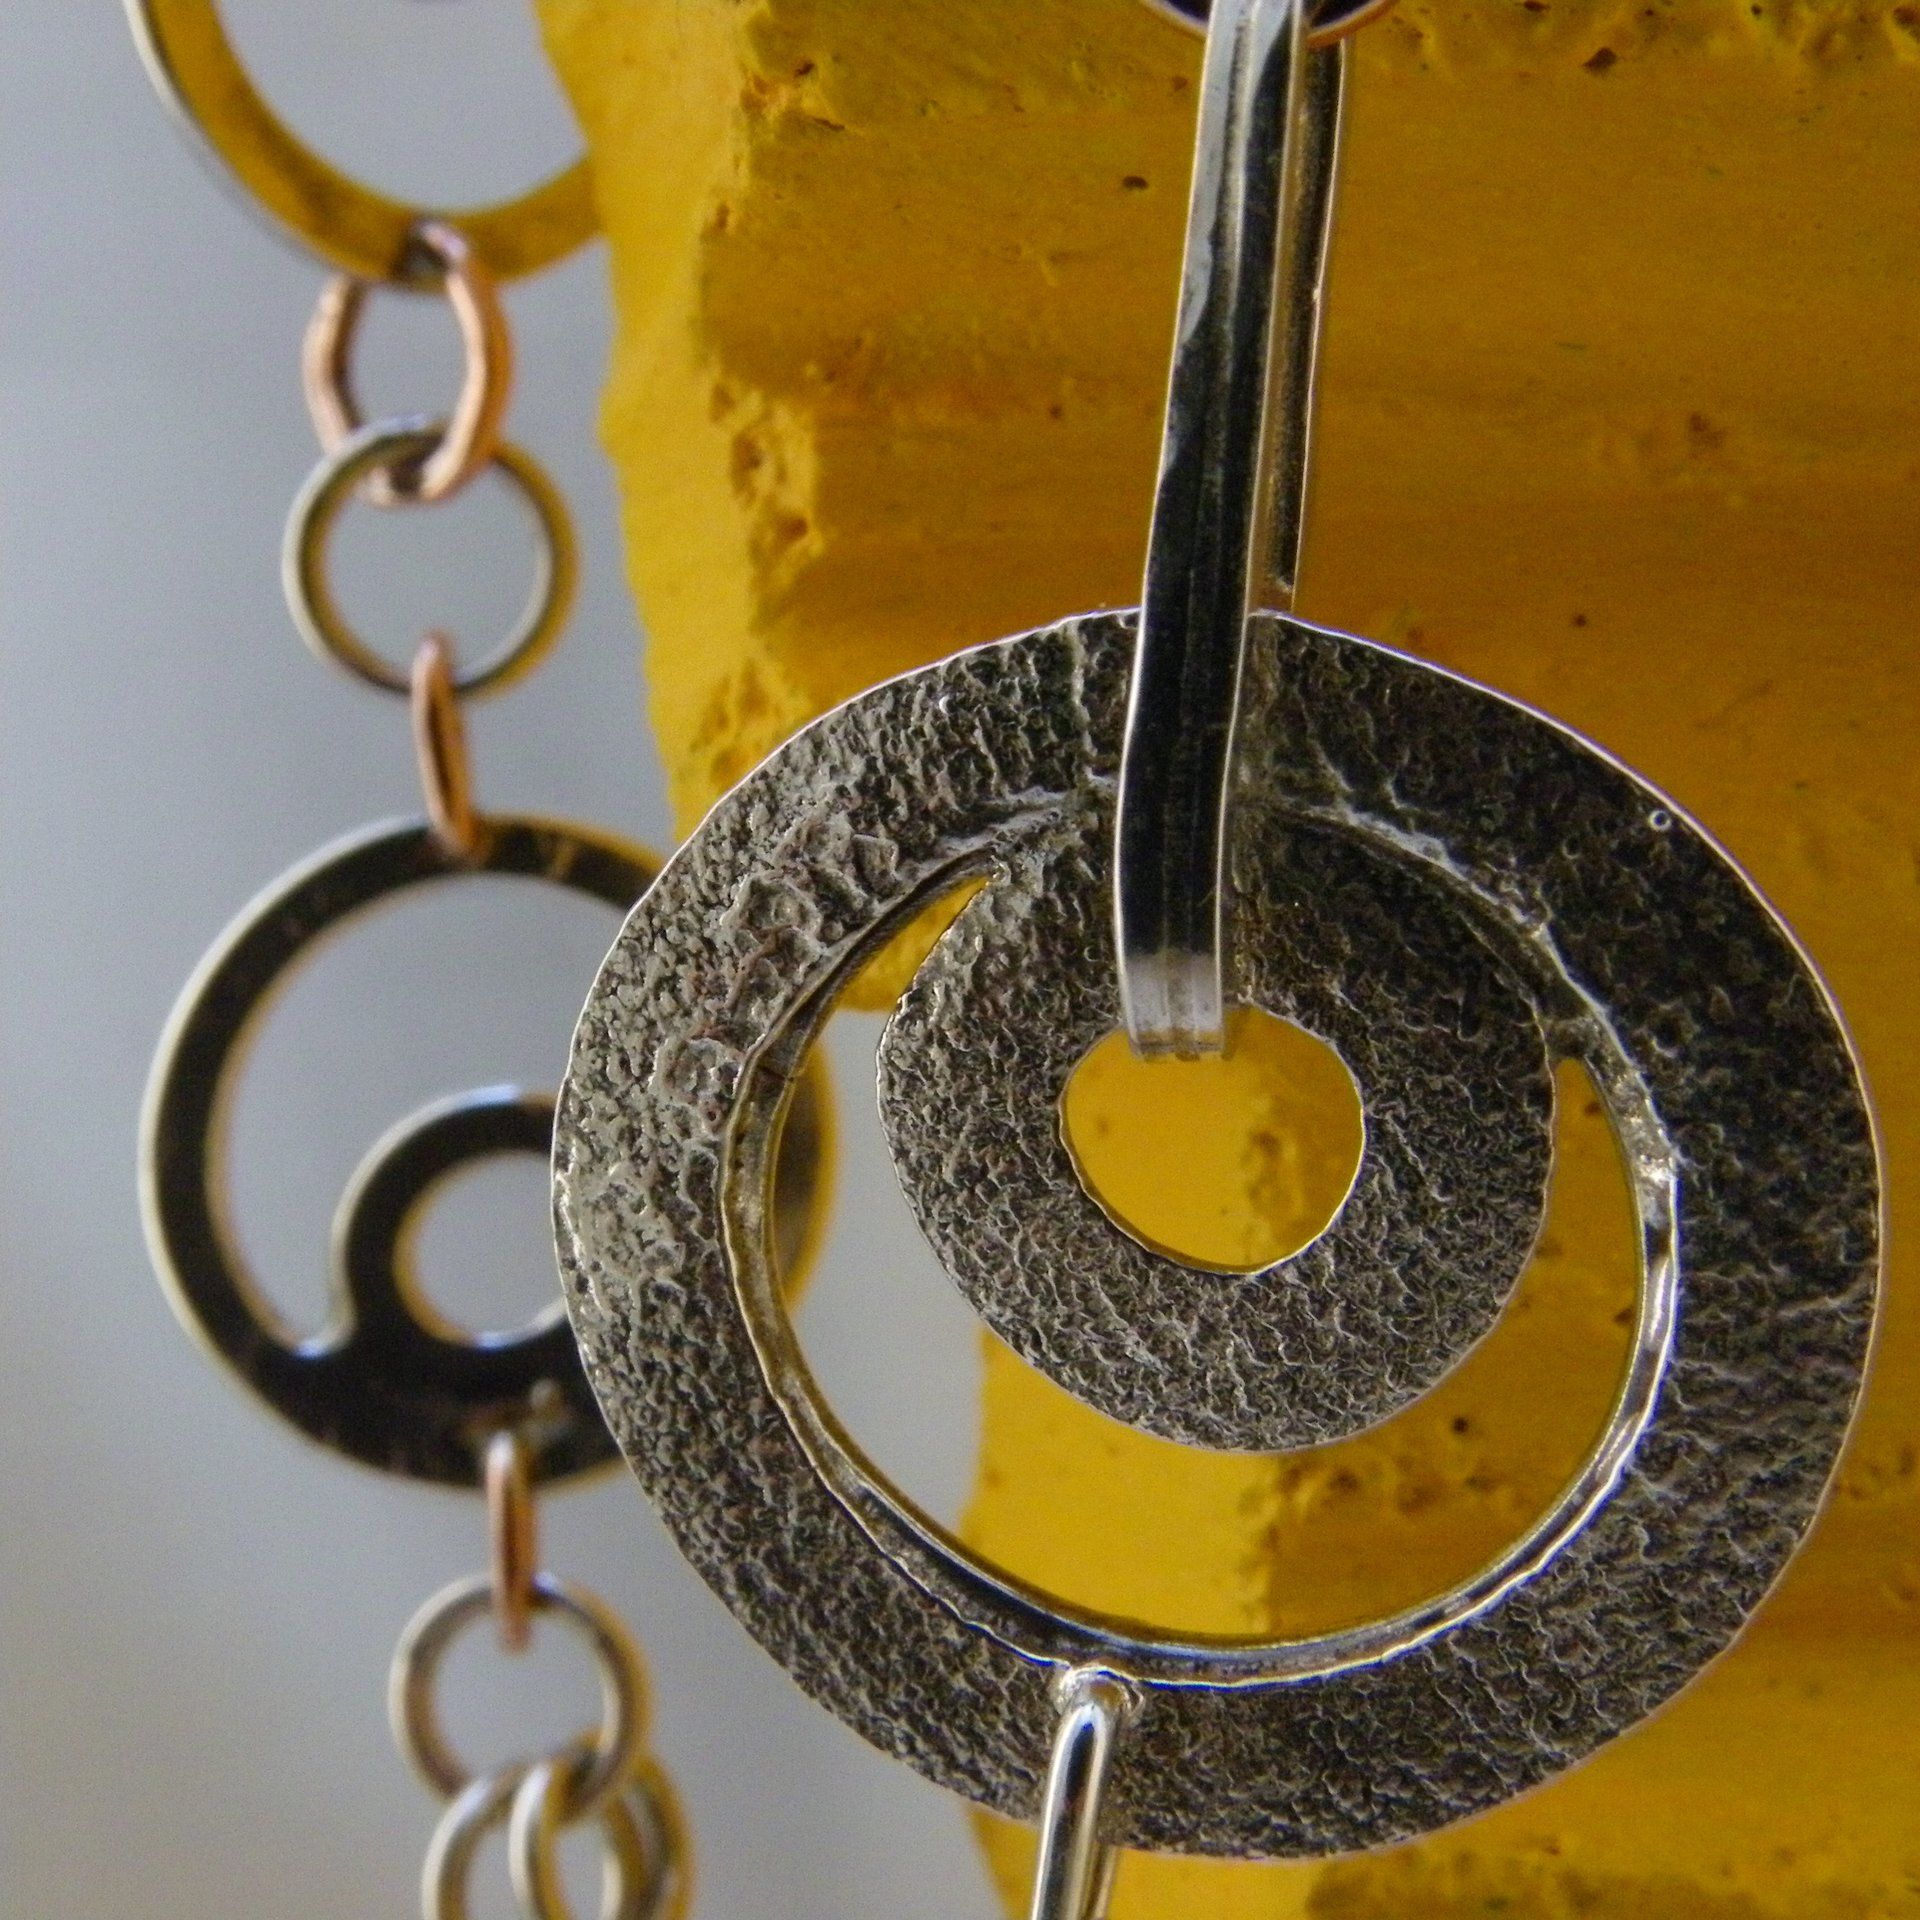

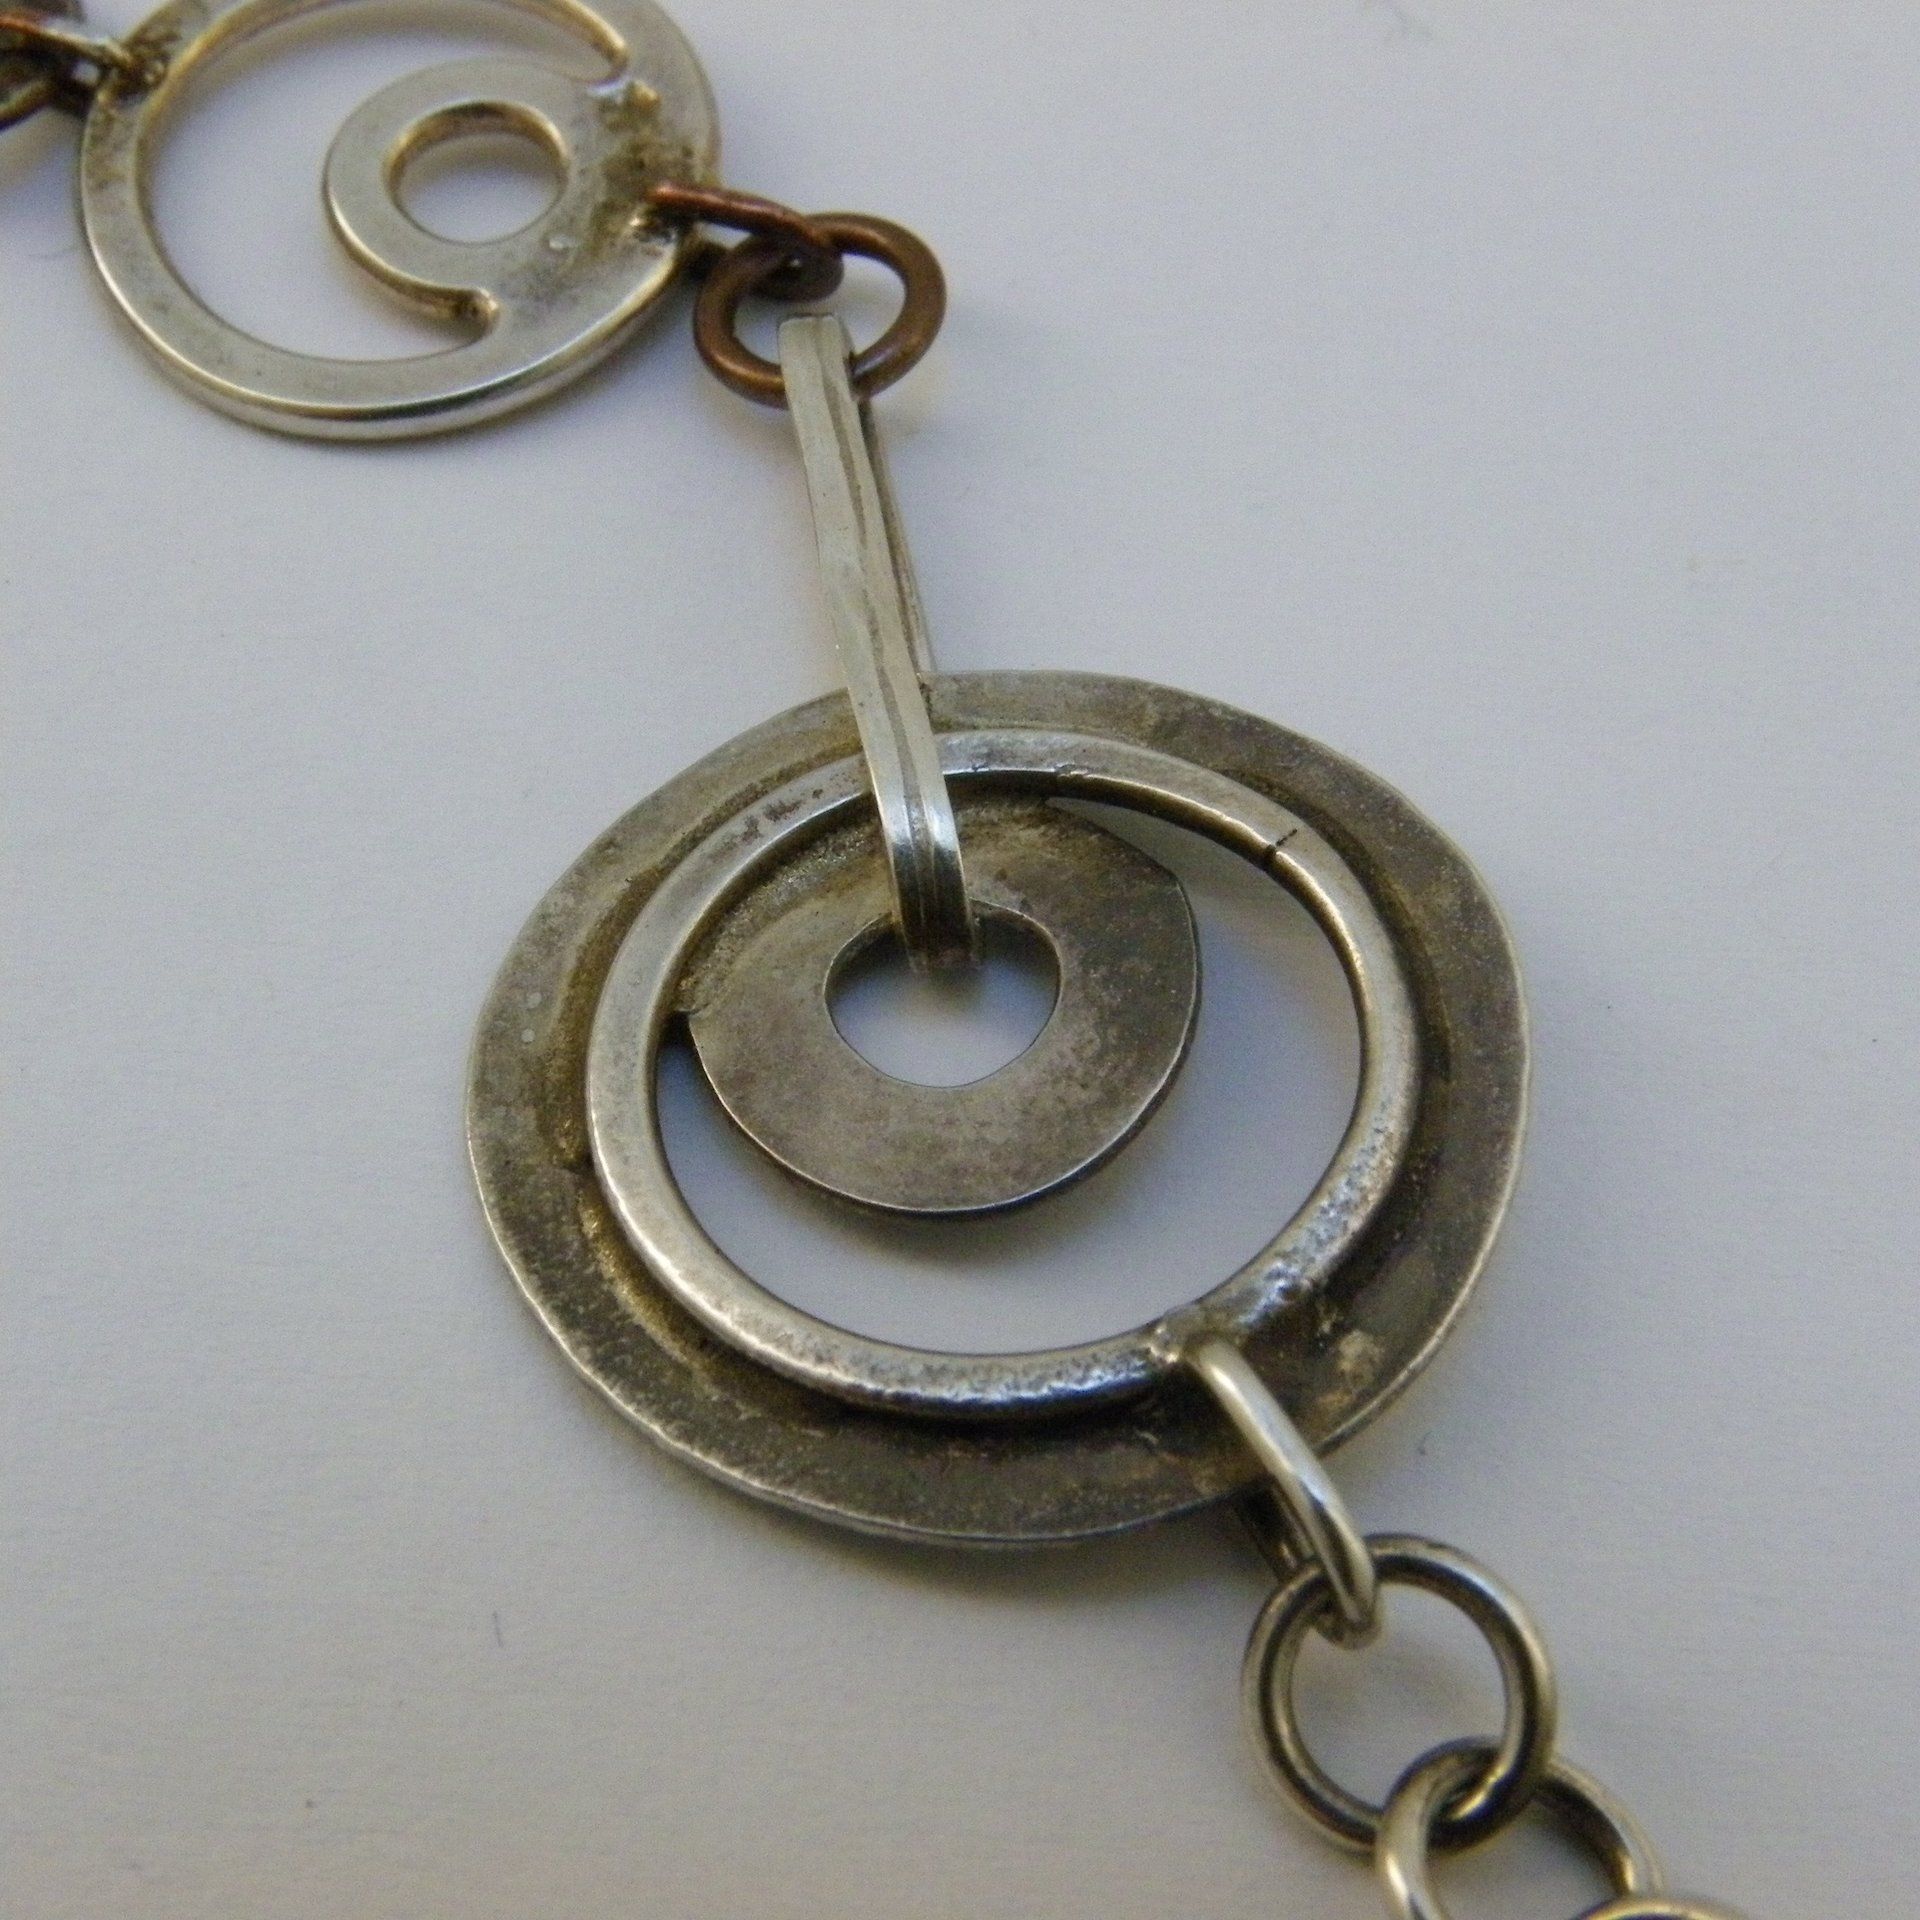
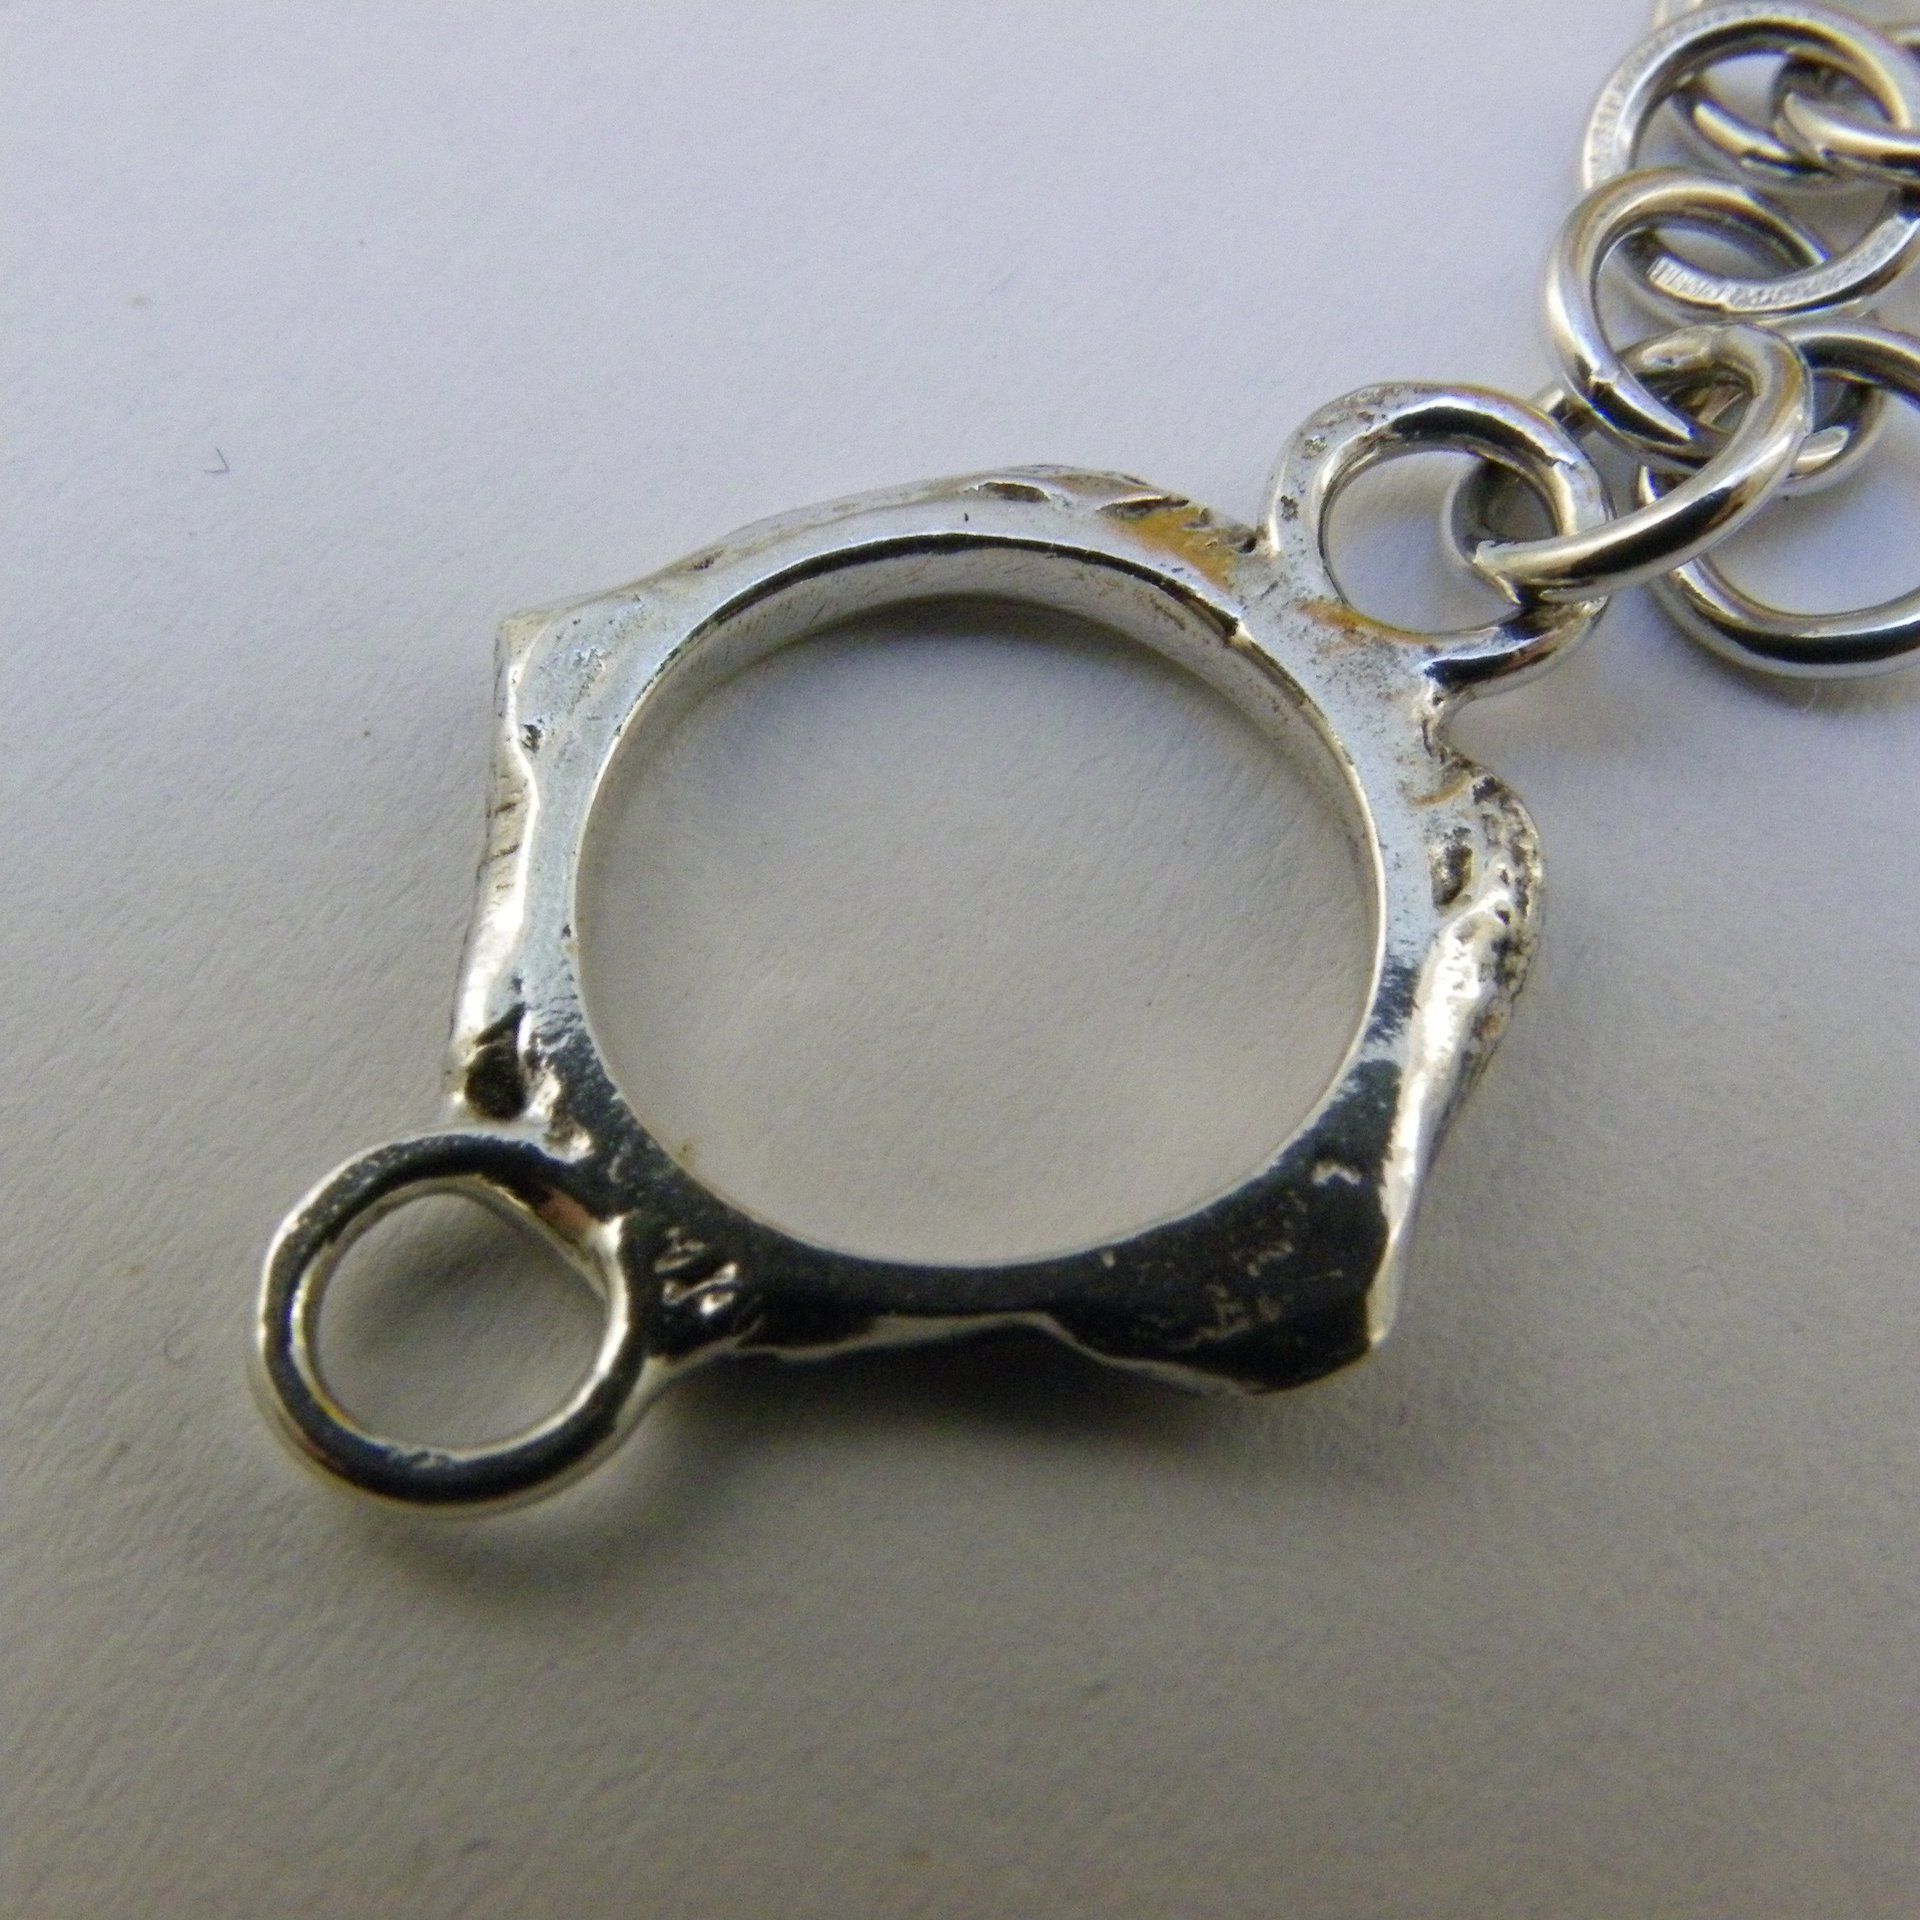
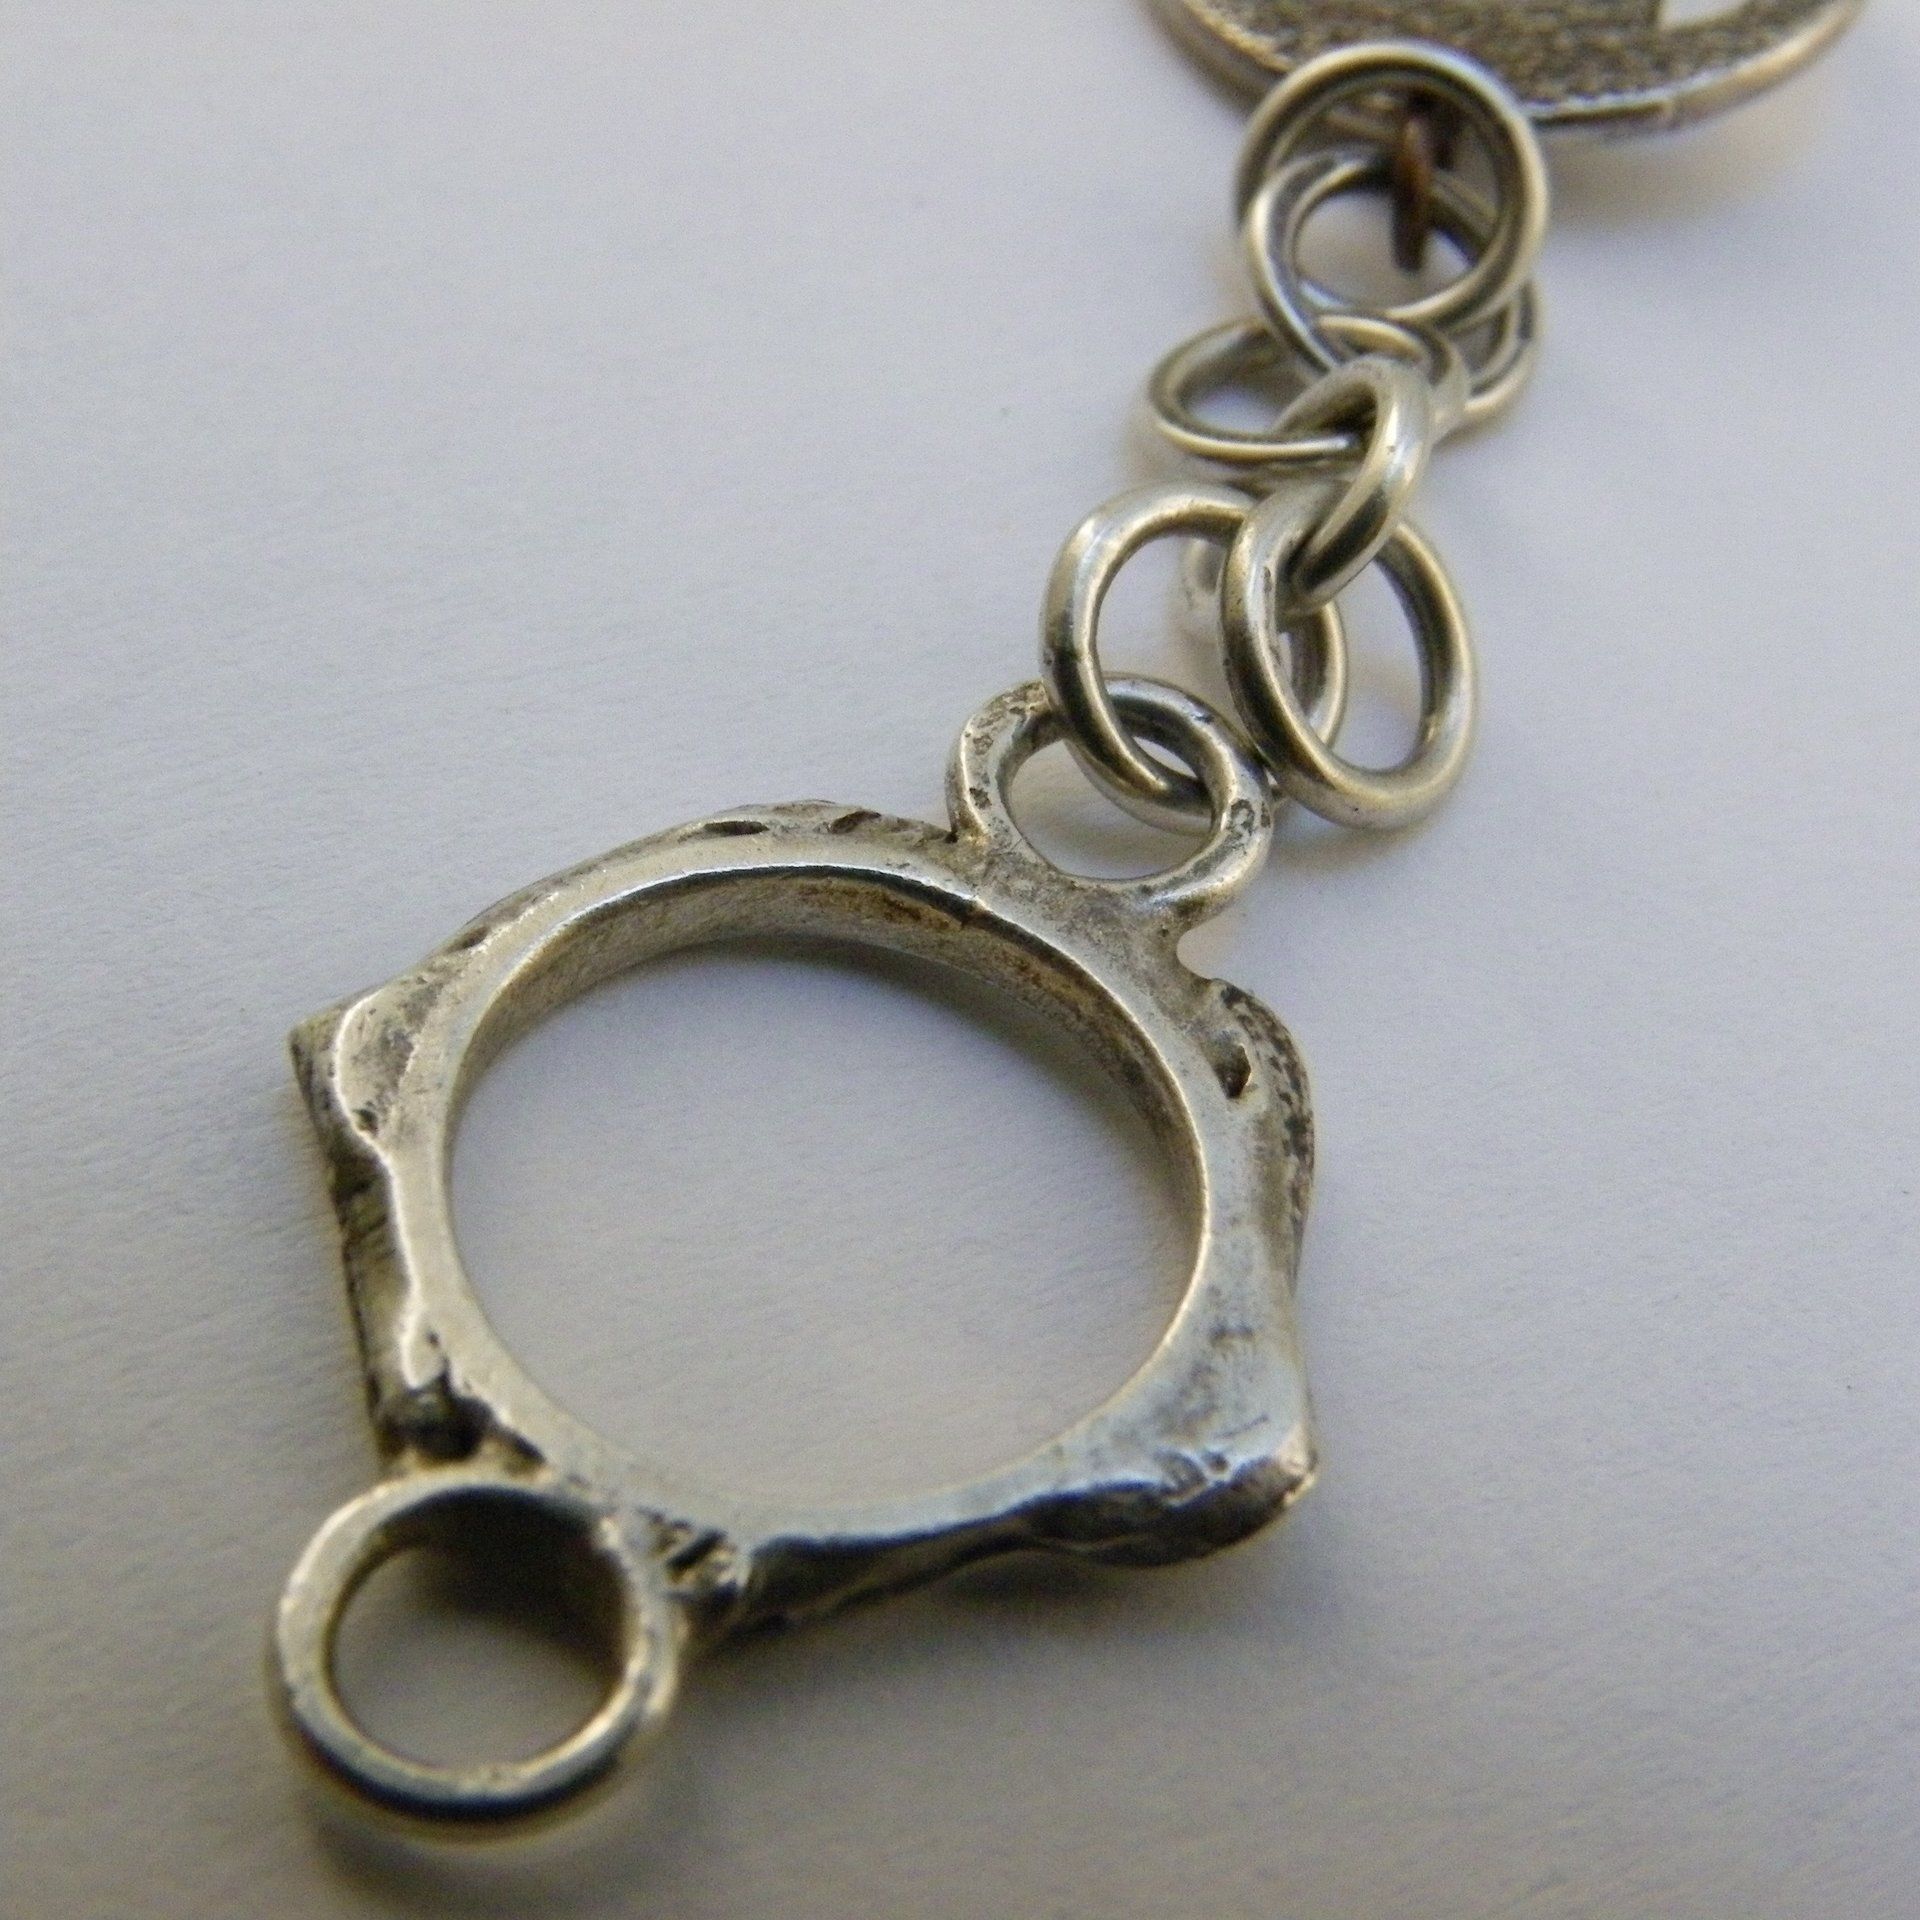
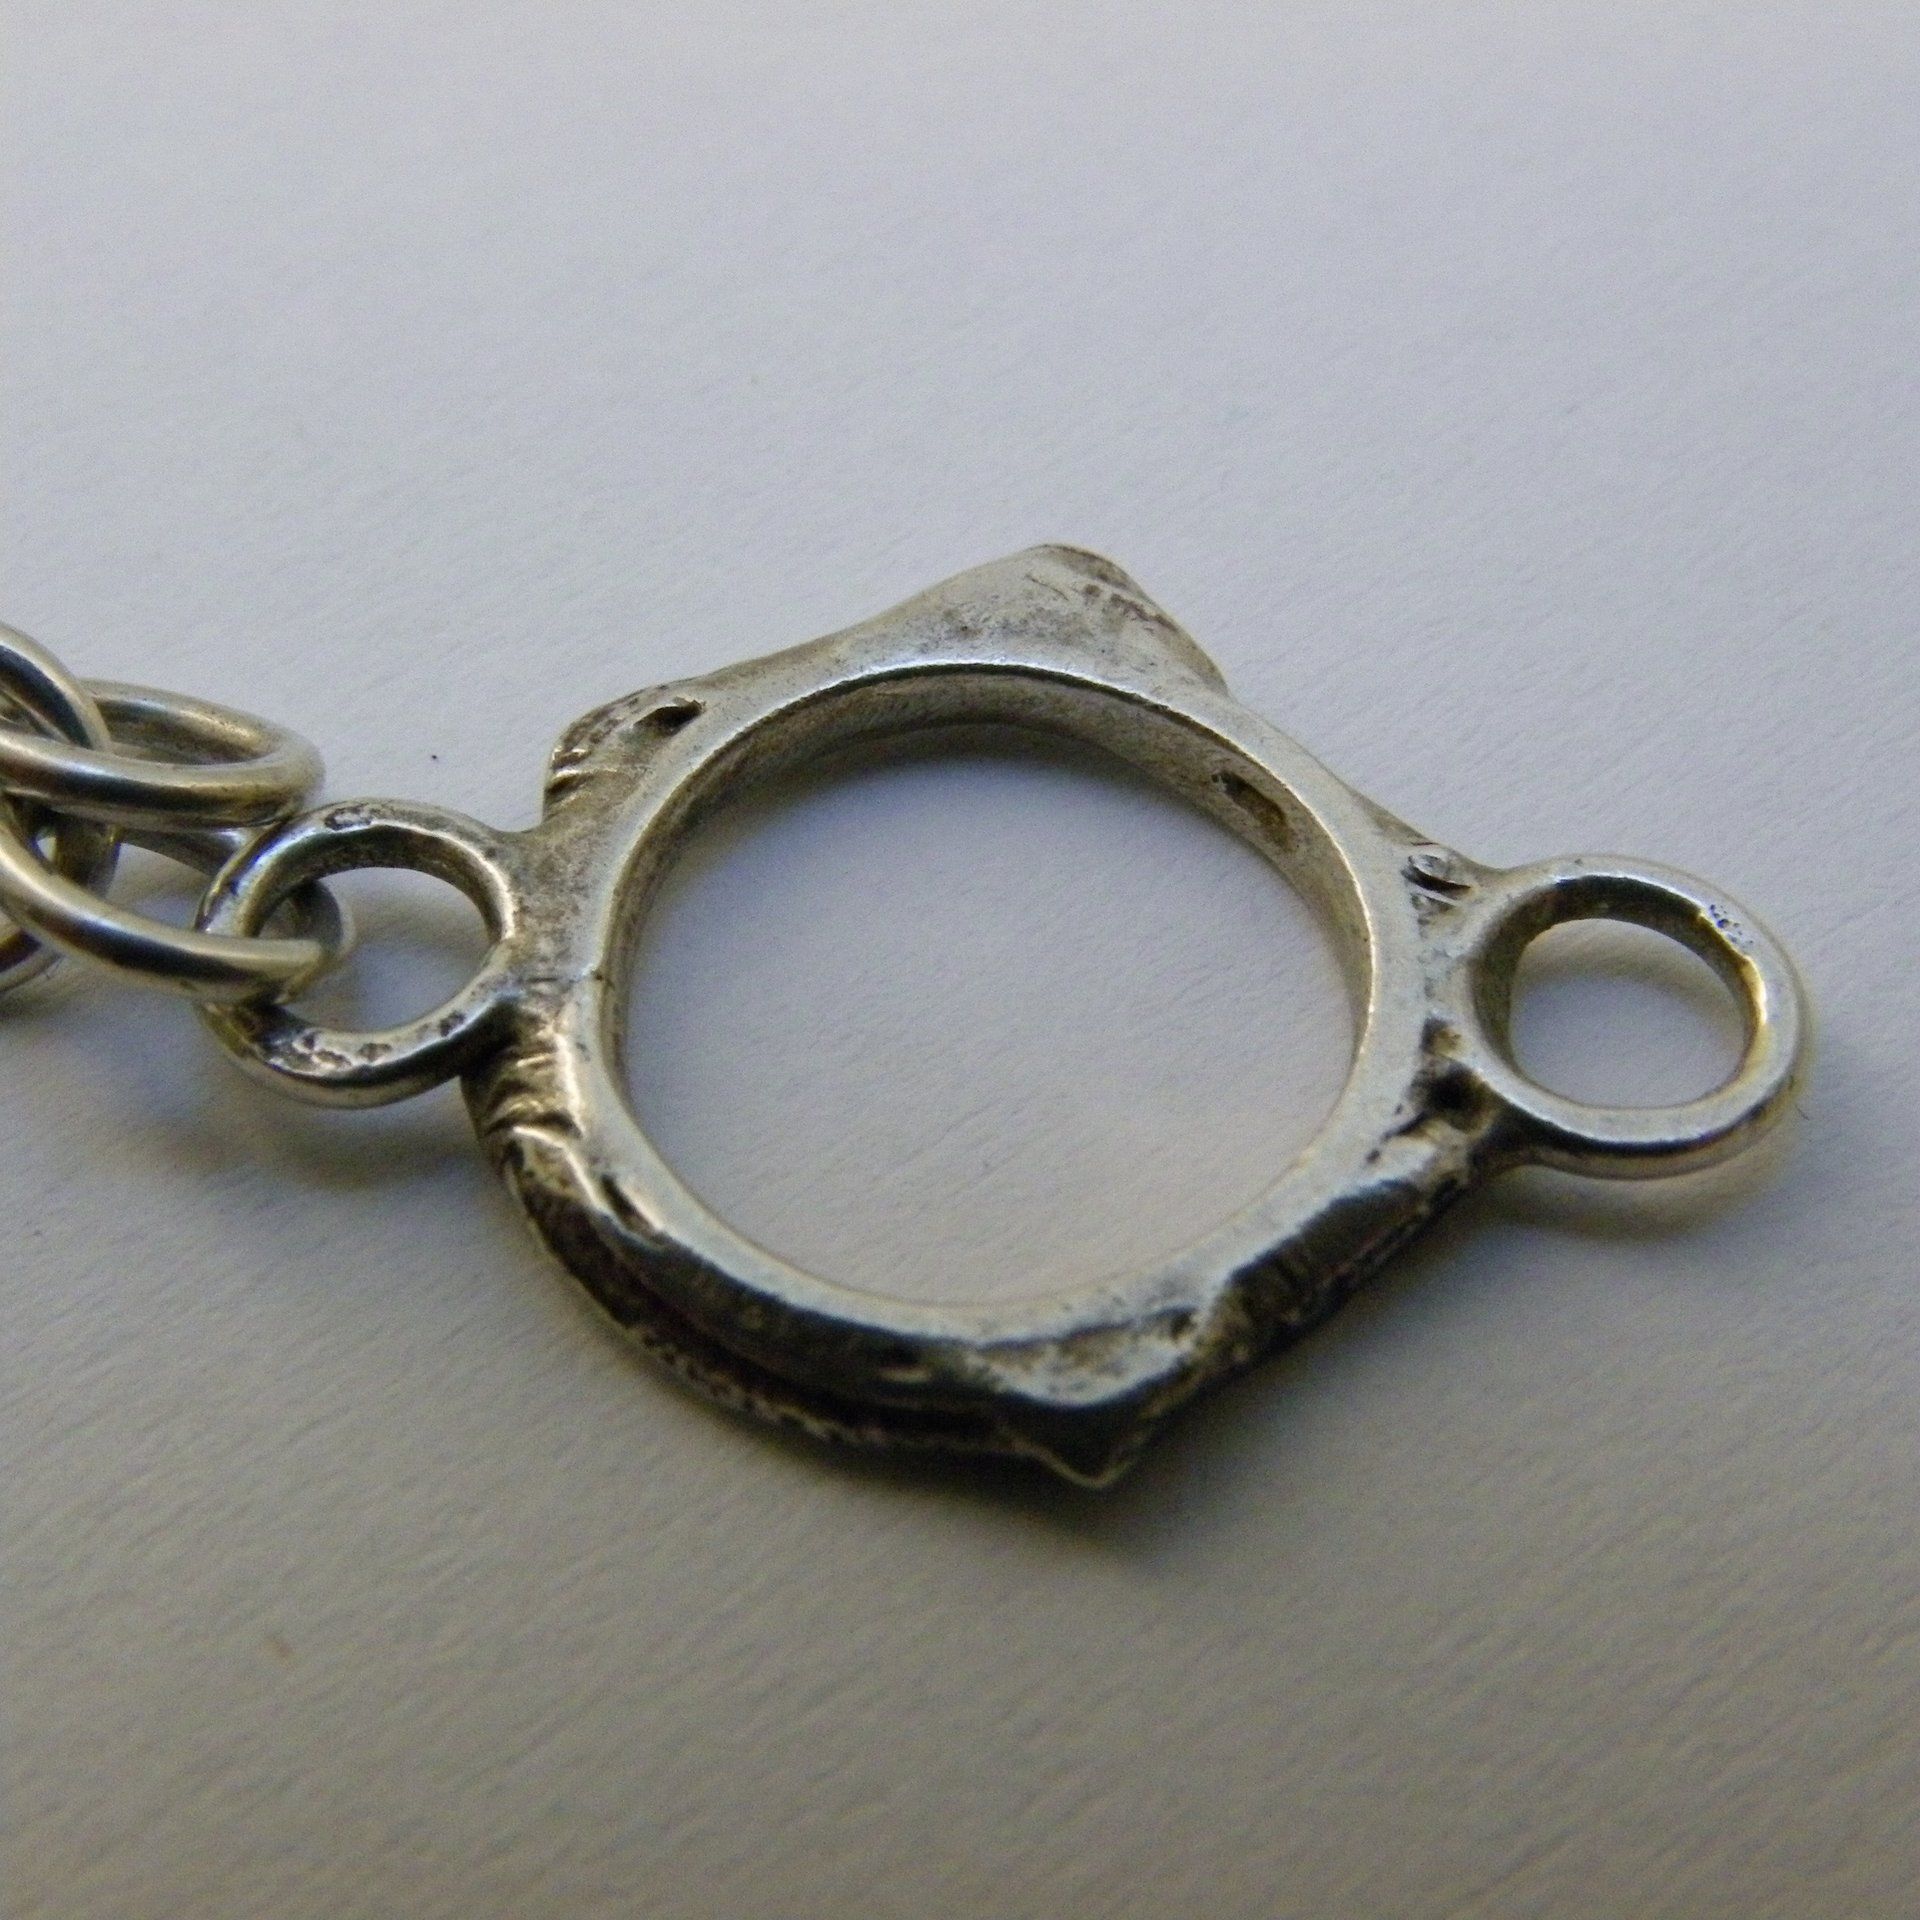
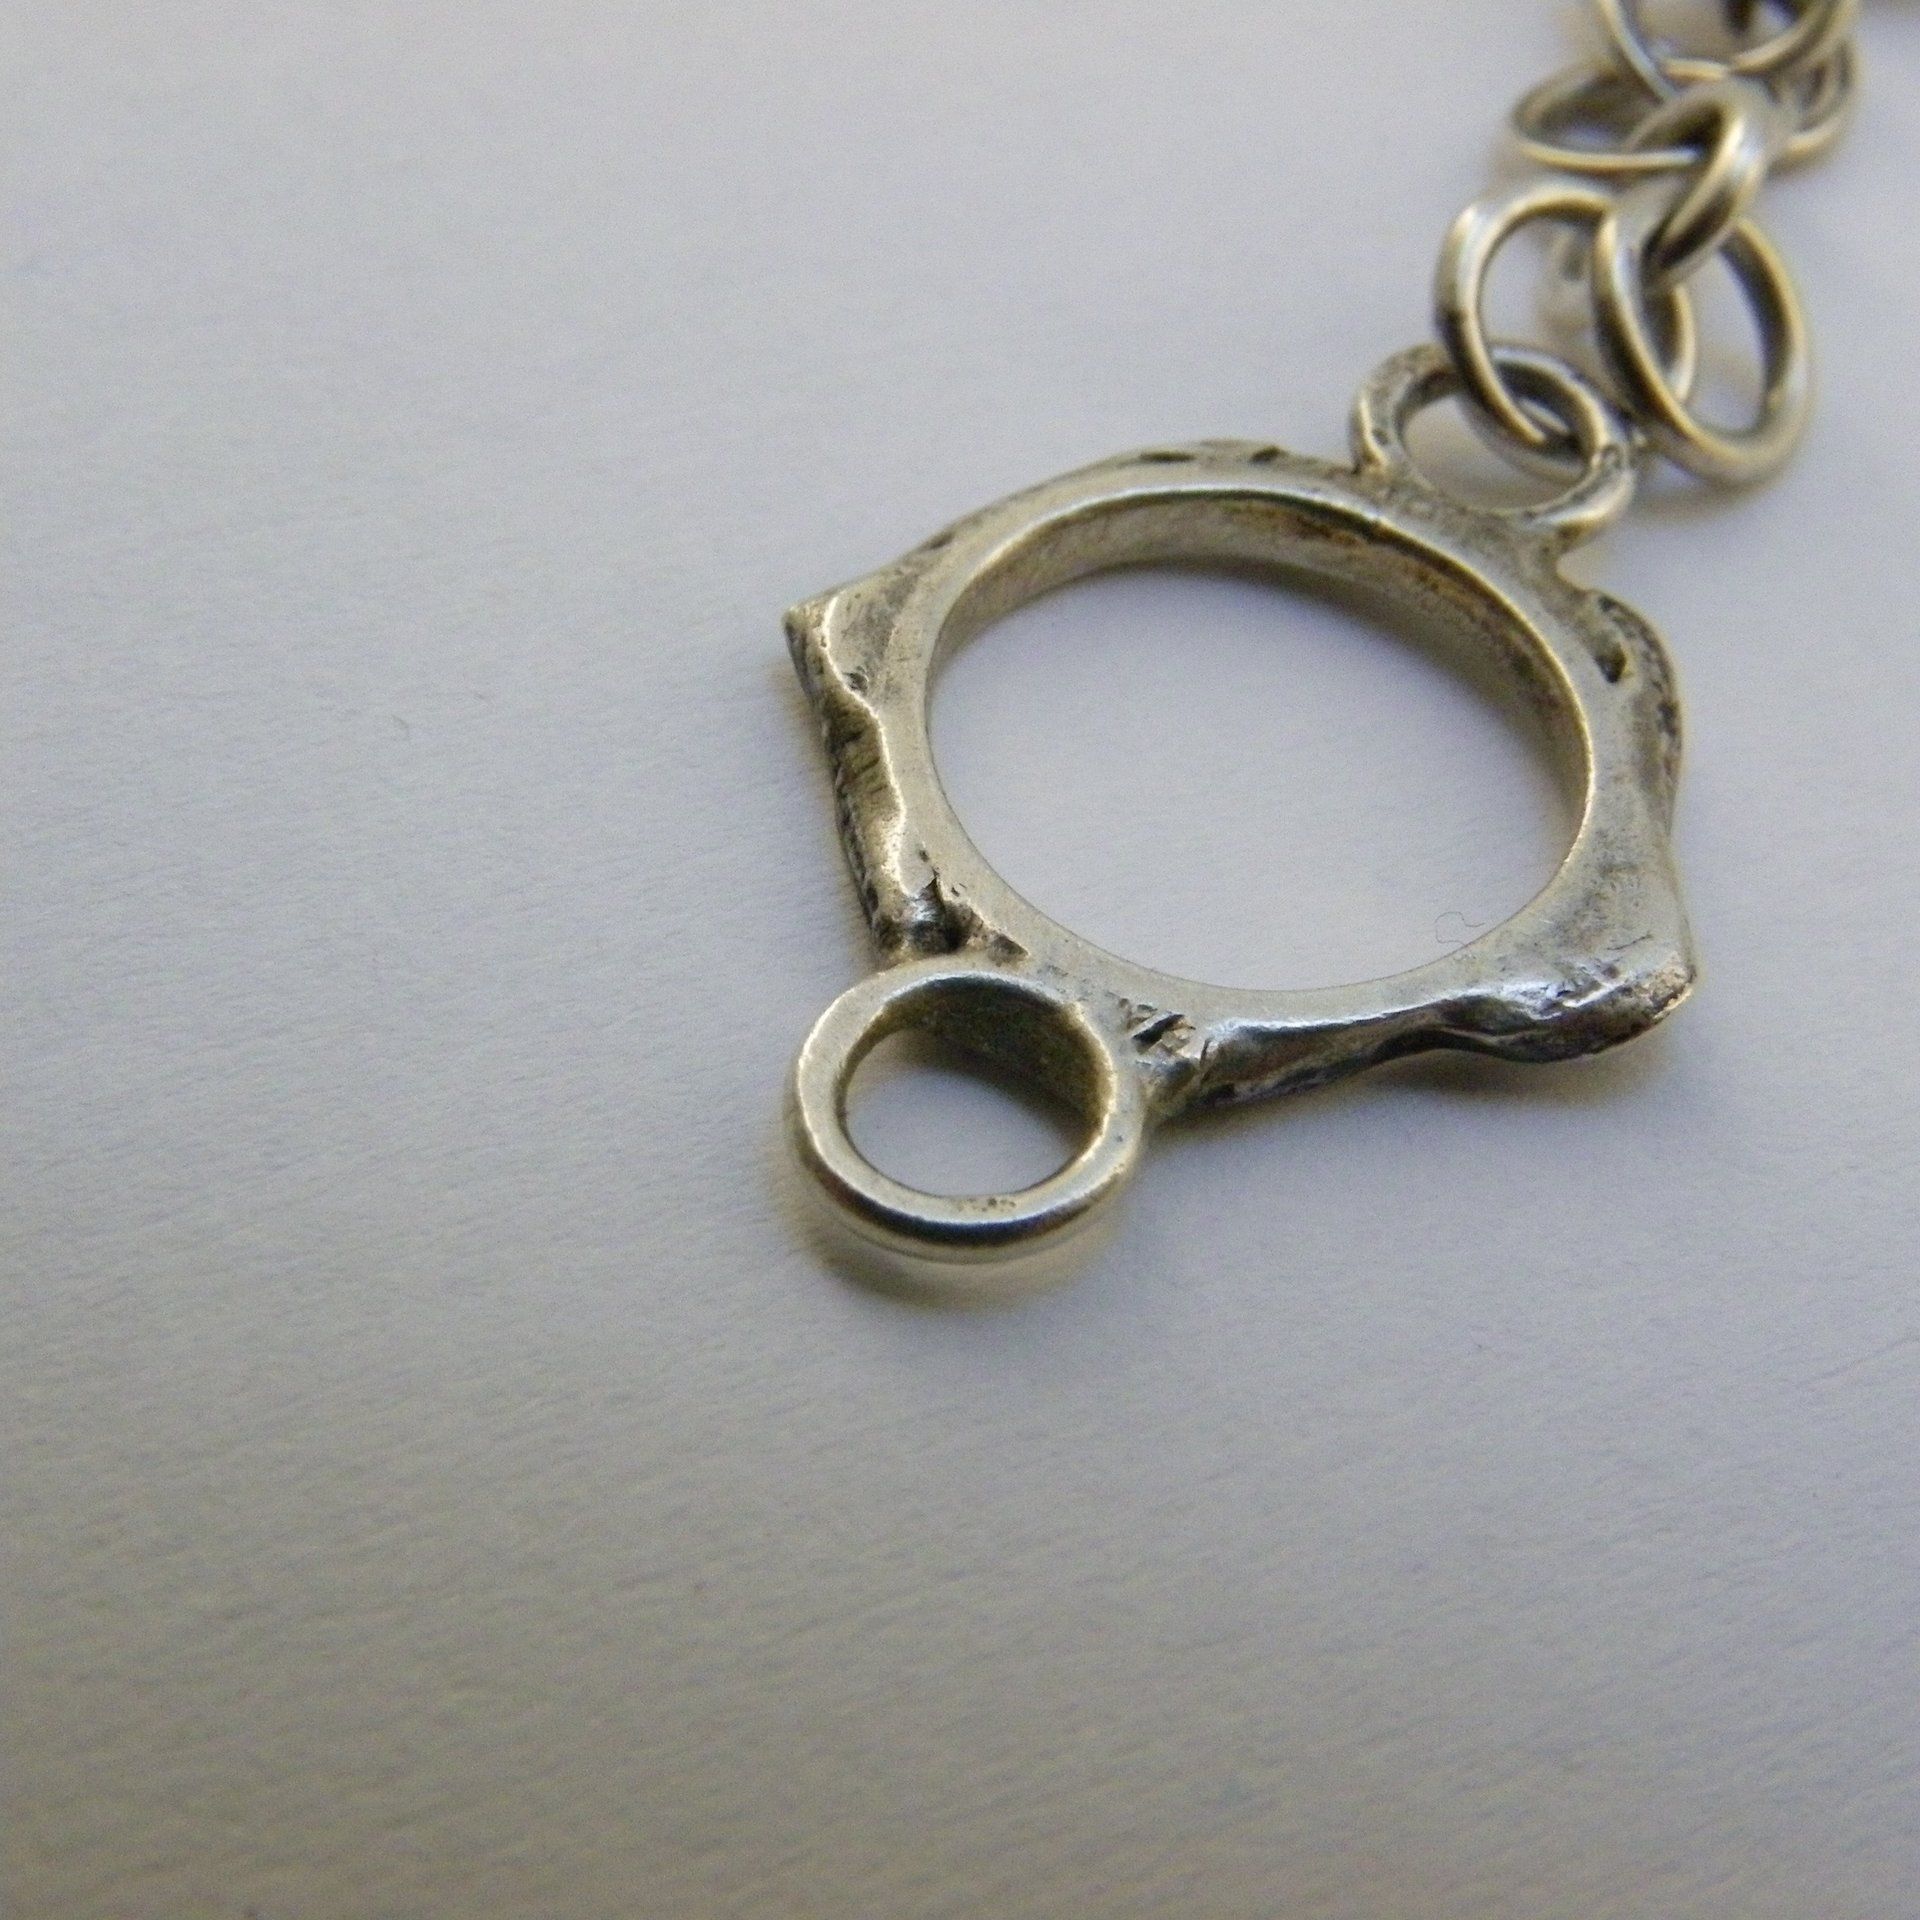
The Long Reach:
A: Here I have taken an existing link made from round 1.2mm Argentium Silver wire and have rolled it thinner and then added a reinforcing ring to its underside.
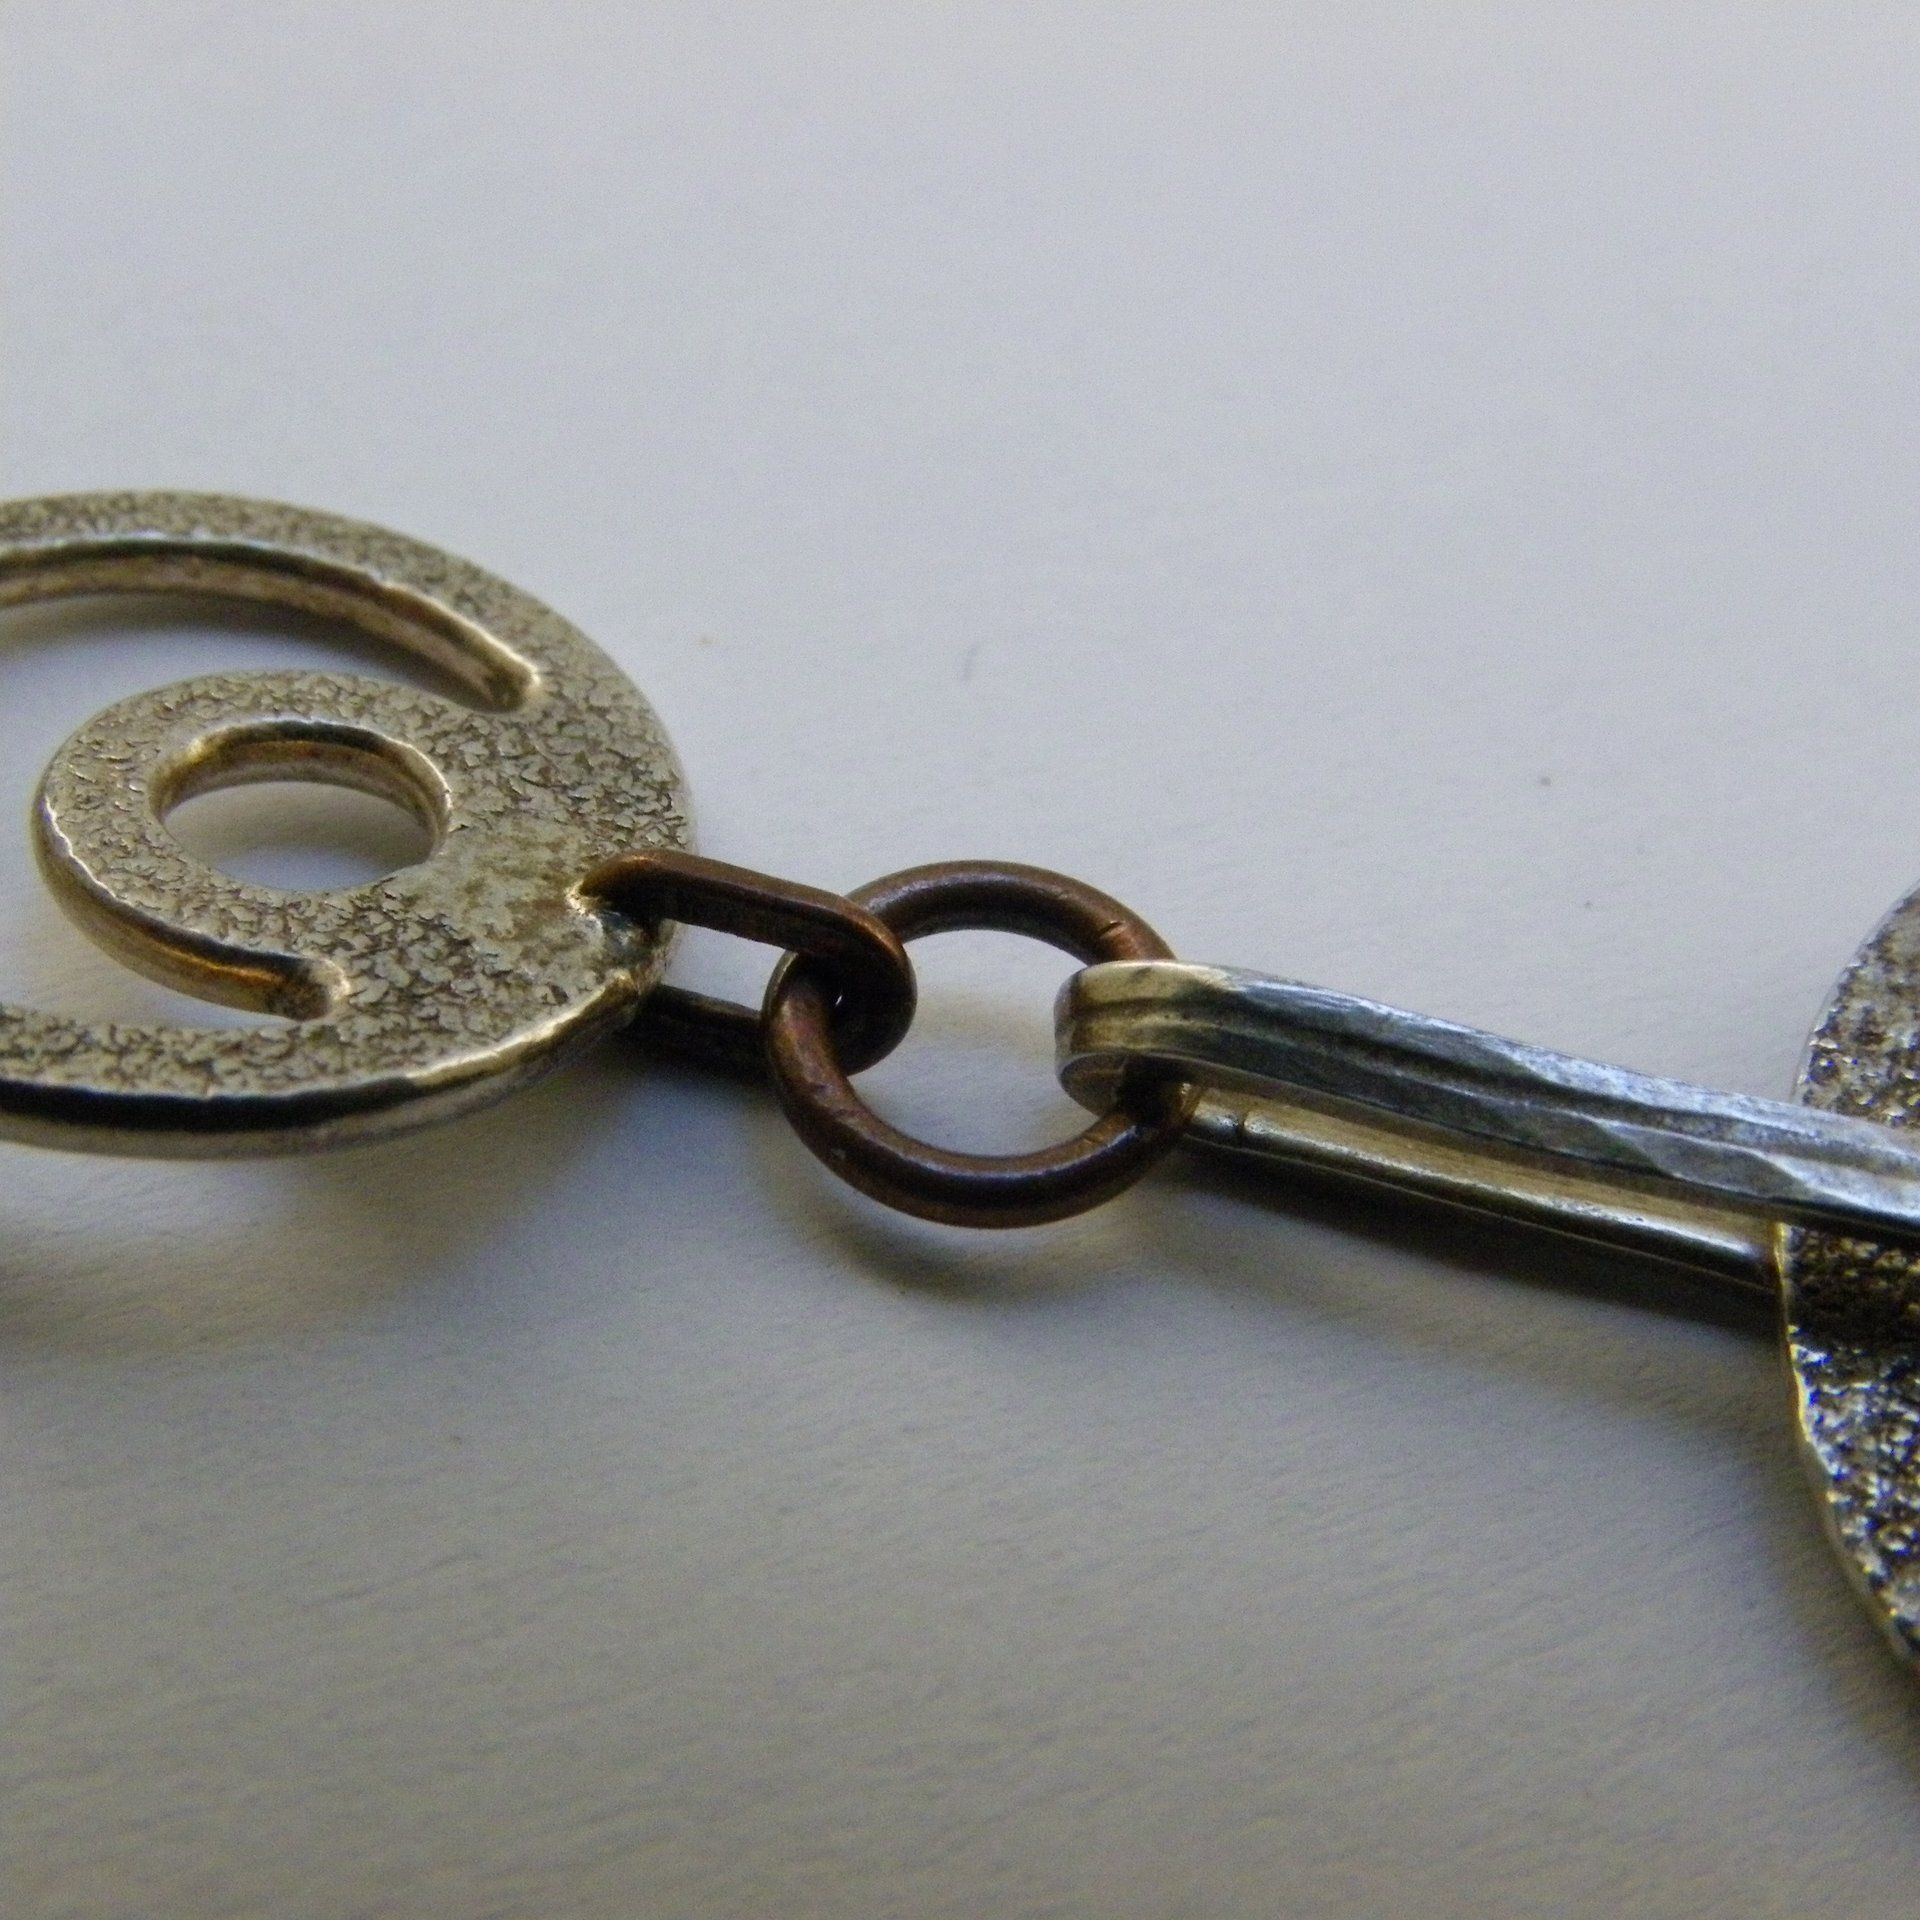
B: I have then added a long link made from two 1mm wire jump rings. Then, just to finish things off C was added in a similar way to the previous link (more drilling).
1. I like: Lackadaisical, loose, bold, movement and size.
2. I dislike: Imperfection, solder joins, need for reinforcement, need for drilling.
3. Consider: Overlapping scales. If repeated with no interlink (only parts A and B) tension would always be needed to maintain shape.
4. I would: tidy up, fuse instead of solder, design earrings around this big movement, make a tight bracelet or choker.
A: Here I have taken an existing link made from round 1.2mm Argentium Silver wire and have rolled it thinner and then added a reinforcing ring to its underside.
B: I have then added a long link made from two 1mm wire jump rings. Then, just to finish things off C was added in a similar way to the previous link (more drilling).
1. I like: Lackadaisical, loose, bold, movement and size.
2. I dislike: Imperfection, solder joins, need for reinforcement, need for drilling.
3. Consider: Overlapping scales. If repeated with no interlink (only parts A and B) tension would always be needed to maintain shape.
4. I would: tidy up, fuse instead of solder, design earrings around this big movement, make a tight bracelet or choker.